10 DIY Projects to Transform Your Kitchen
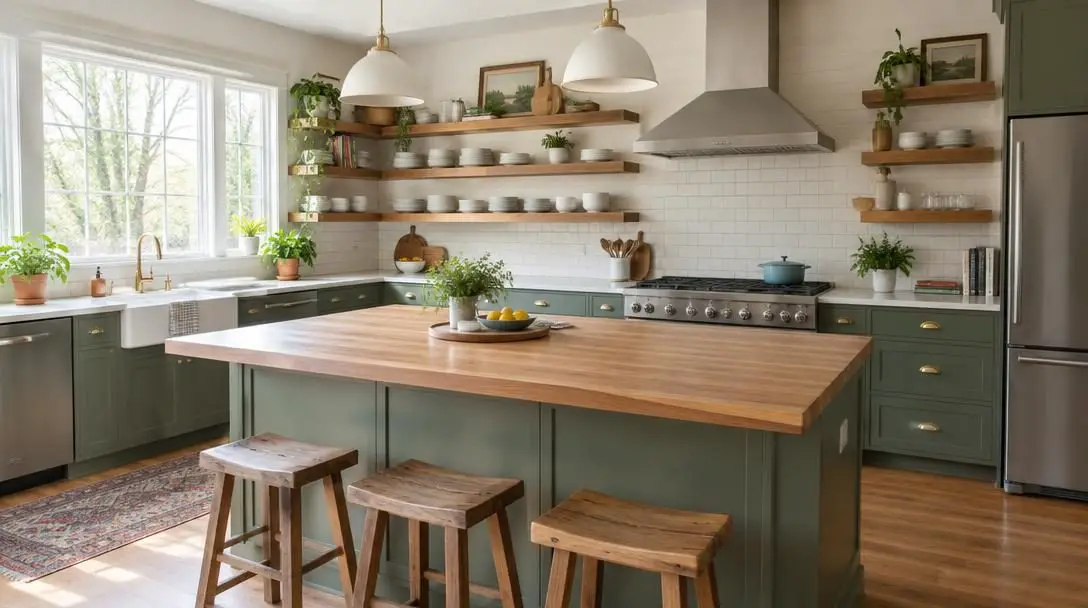
Embarking on a home improvement journey offers immense creative satisfaction, yet many homeowners channel their energy exclusively into living rooms or bedrooms. The kitchen, however, serves as the ultimate functional center of the home. As the primary setting for meal preparation, casual dining, and family connection, this high-traffic workspace dictates the daily rhythm of household life. When surfaces become dated or layouts turn chaotic, the entire house feels the strain.
Traditional kitchen remodeling is infamous for its astronomical costs, extensive contractor schedules, and the mess of gut renovations that leaves families without cooking facilities for weeks. Fortunately, do-it-yourself upgrades present a practical alternative. By concentrating your efforts on high-impact visual surfaces, introducing smart vertical storage, and refreshing tired accents, you can dramatically elevate your space. Tackling these projects yourself protects your budget, preserves quality materials from local landfills, and gives you complete artistic ownership over your interior design.
Key takeaways
- Targeting visible focal points such as backsplashes, countertops, and cabinet finishes refreshes a kitchen without the expense of a full gut renovation.
- Maximizing vertical storage through wall-mounted shelves and ceiling-hung pot racks frees up significant cabinet and drawer space.
- Small custom touches, from unique lighting covers to handmade cabinet knobs, can dramatically shift the room's overall aesthetic.
- Meticulous surface cleaning and proper hardware anchoring are essential to ensure DIY upgrades remain durable and safe.
High-impact DIY projects to revitalize your kitchen
A successful remodel starts with choosing projects that suit your existing kitchen architecture, carpentry skills, and functional needs. Rather than attempting a complete tear-out, focusing on targeted installations allows you to achieve stunning, durable results without disrupting your daily routine.
Custom Backsplash
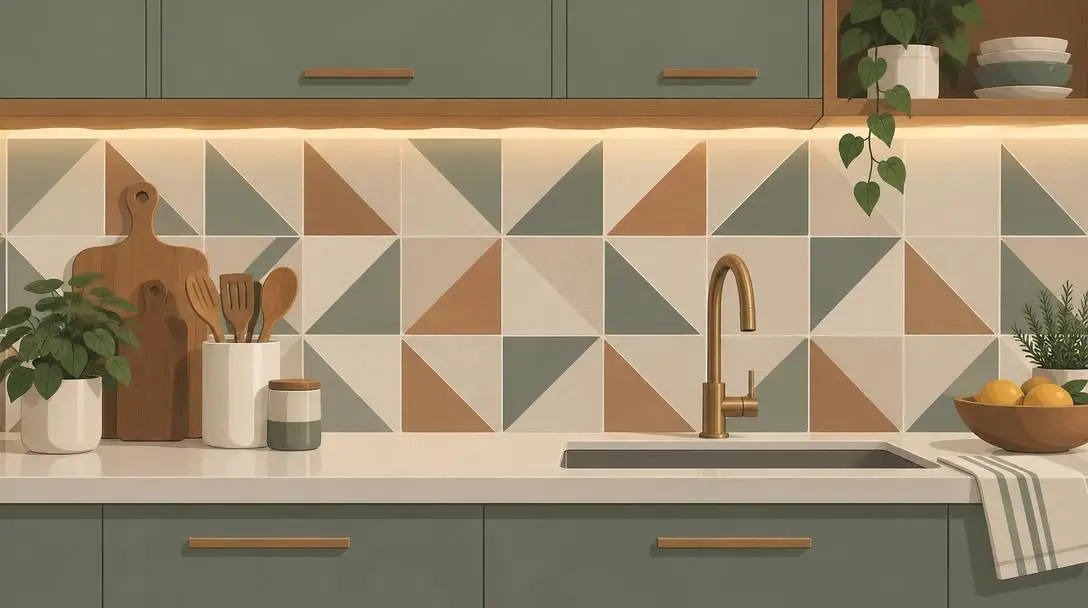
- Primary Material: Adhesive vinyl, wood, or glass
- Functional Benefit: Moisture and splatter barrier
- Target Style: Contemporary or rustic
The wall expanse between your cooking surfaces, sink, and upper cabinetry endures substantial daily abuse from hot oil, steam, and food splatters. While builders often treat backsplashes strictly as utilitarian moisture barriers, updating this vertical surface establishes an eye-catching focal point. Renters and homeowners working within limited budgets can install peel-and-stick vinyl tiles, including faux exposed-brick patterns, which attach securely over clean drywall or aged tile without requiring wet saws or messy mortar. For permanent installations, you can assemble custom panels made from reclaimed wood or clean-lined glass, or roll on a resilient, high-grade moisture-resistant paint that wipes clean after cooking.
Cabinets Done Cheap
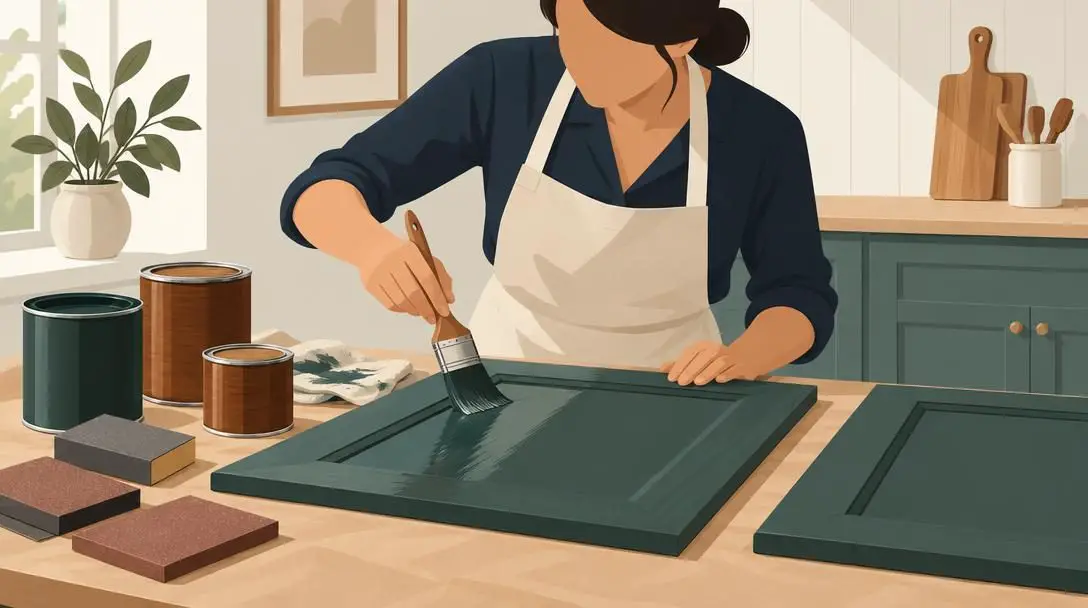
- Primary Material: Wood stain or latex paint
- Functional Benefit: Cabinet surface renewal
- Target Style: Modern or traditional
Because cabinet replacement frequently accounts for the largest line item in professional kitchen renovations, preserving sound cabinet boxes is the smartest financial decision a DIYer can make. If your cupboard doors are structurally intact, there is no need to fund expensive replacements or structural leveling. Sanding down current wooden cabinet faces allows you to apply an updated stain that highlights the natural grain. Alternatively, rolling on a coat of high-pigment latex paint in a bold accent color will modernize tired boxes without altering the functional layout of your room.
Counter Measures
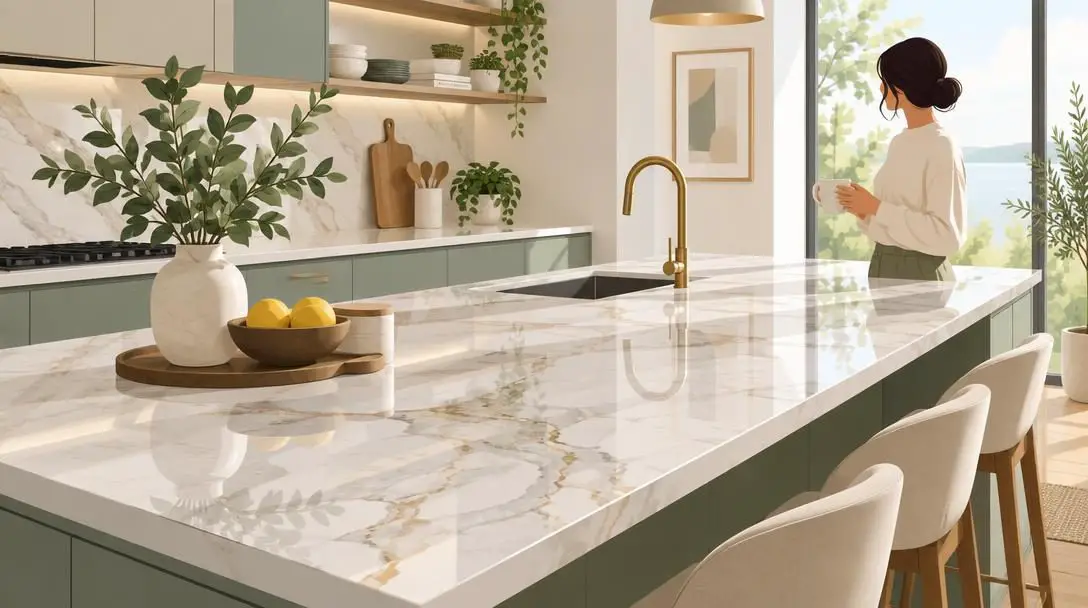
- Primary Material: Countertop epoxy kit
- Functional Benefit: Smooth, resilient work surface
- Target Style: Sleek and seamless
Countertop surfaces anchor the visual aesthetic of the whole space, meaning that scratched, discolored, or patterned laminate immediately dates the kitchen. Tearing out solid stone or synthetic counters involves considerable demolition and plumbing disconnection. In contrast, applying a specialty countertop epoxy kit creates a tough, seamless overlay right over your existing substrate. This durable finish seals small scratches, shields against daily wear, and delivers a sleek, glossy work surface at a fraction of the cost of natural stone.
Light It Up
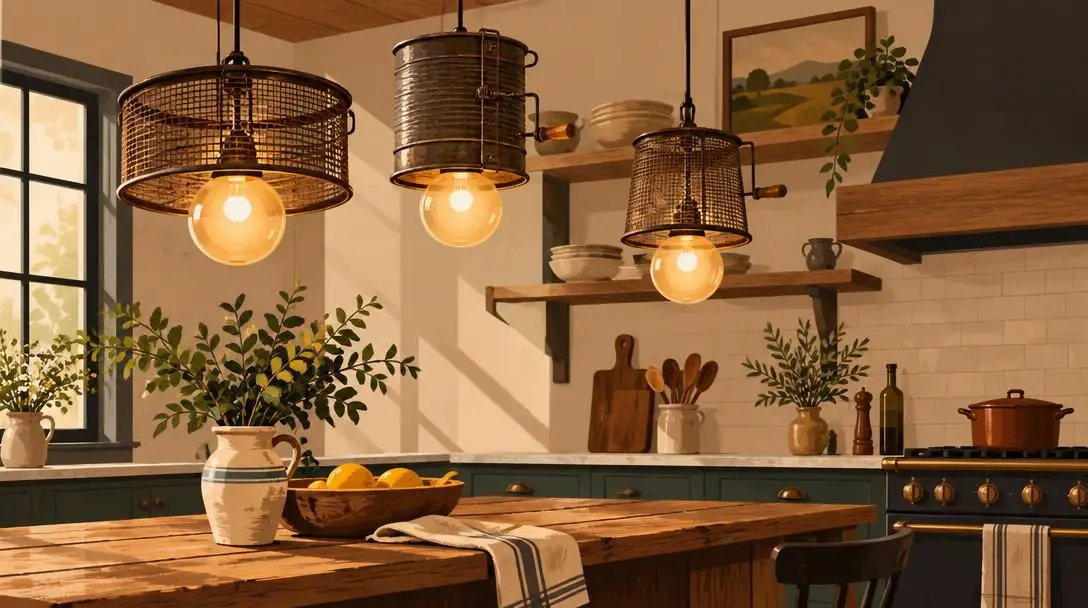
- Primary Material: Globe pendants, mason jars, or sifters
- Functional Benefit: Ambient and task illumination
- Target Style: Rustic or luxurious
Illumination dictates the mood, utility, and perceived dimensions of your cooking space. Upgrading kitchen lighting allows you to express distinct interior design themes without extensive rewiring. For a warm, rustic farmhouse ambience, craft custom light covers by positioning vintage kitchen sifters or classic glass mason jars around low-heat bulbs. If your preference leans toward a modern, luxurious look, swapping basic fixtures for oversized globe pendants introduces dramatic scale and soft, ambient illumination over primary food prep islands.
Visiting the Island
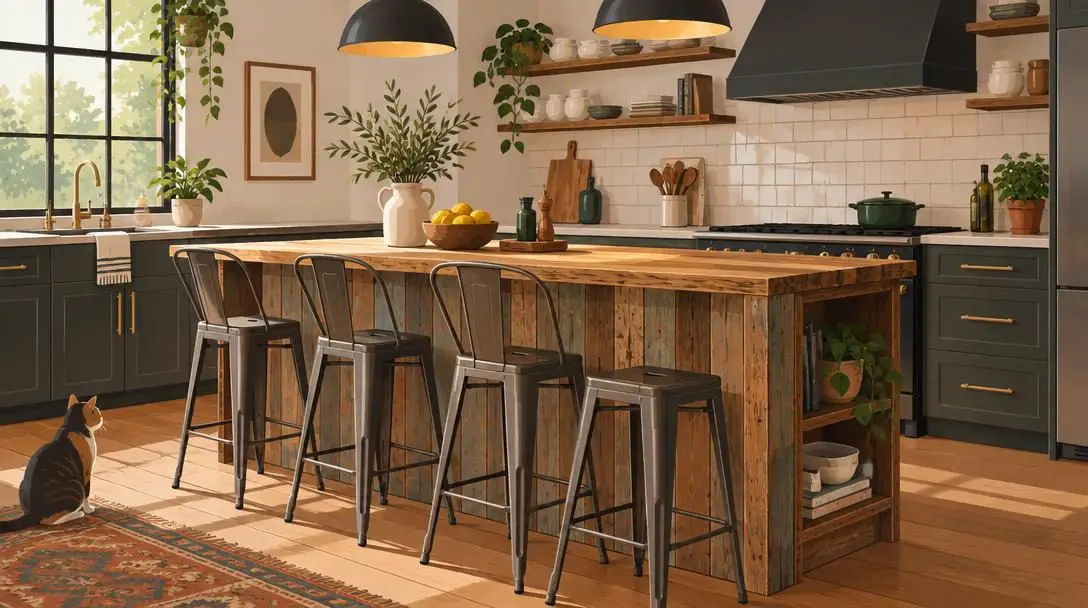
- Primary Material: Desks, doors, or accent paint
- Functional Benefit: Dining and food preparation space
- Target Style: Eclectic bistro
A central island serves as the operational and social anchor of modern culinary spaces. If your kitchen layout already includes an island, you can alter the room's energy simply by repainting the base in a contrasting color or bringing in restaurant-inspired seating, such as casual metal or wooden barstools reminiscent of a neighborhood burger spot. Those lacking a built-in island can upcycle pre-owned furniture—such as vintage office desks, solid wood tables, or repurposed doors mounted on durable frames—into functional, character-rich centerpieces with prep and dining space.
By targeting visible surfaces and functional storage elements, homeowners and renters can achieve a refreshed aesthetic without altering structural layouts.
Stock the Shelves
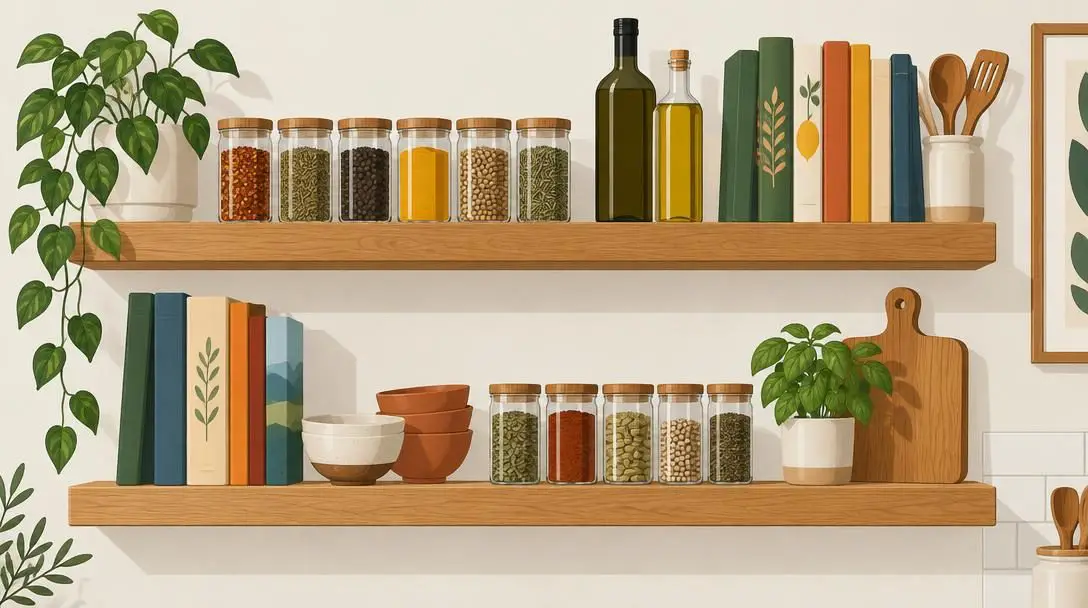
- Primary Material: Lumber boards or retail shelving
- Functional Benefit: Accessible vertical storage
- Target Style: Open-concept modern
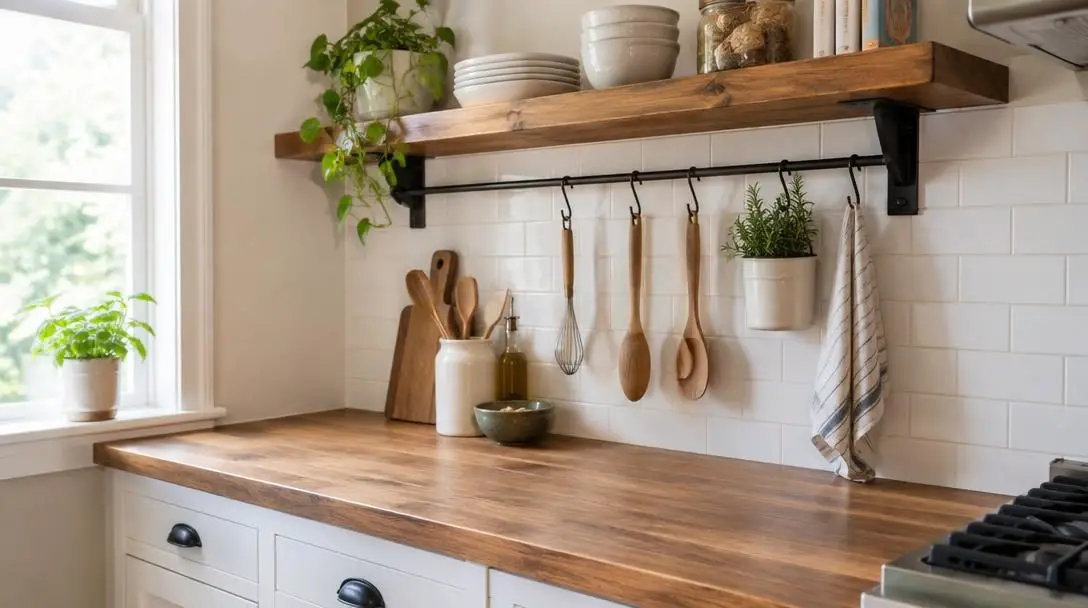
Cluttered counter surfaces are a perpetual issue when cabinets are overloaded. Introducing open shelving resolves storage shortages by turning dead vertical wall space into an accessible storage platform. Whether you construct simple floating wood ledges or mount pre-made decorative brackets, open shelves instantly free up your cupboards. These open shelves are ideal for staging everyday spice jars, olive oils, and beloved cookbooks, keeping your most frequently used ingredients within arm's reach while cooking.
Open the Window
- Primary Material: Woven shades or window film
- Functional Benefit: Glare reduction and daylight control
- Target Style: Airy and minimal
Kitchen windows are frequently overlooked, often covered by heavy, outdated curtains that block natural daylight and absorb cooking odors. Swapping these for light-filtering woven shades introduces warm natural textures while gently diffusing bright afternoon glare. Alternatively, ditching traditional fabric curtains entirely in favor of static-cling window film cuts harsh sun glare, maintains your privacy, and creates a wide-open, airy atmosphere that makes compact kitchens feel expansive.
Chalk Talk
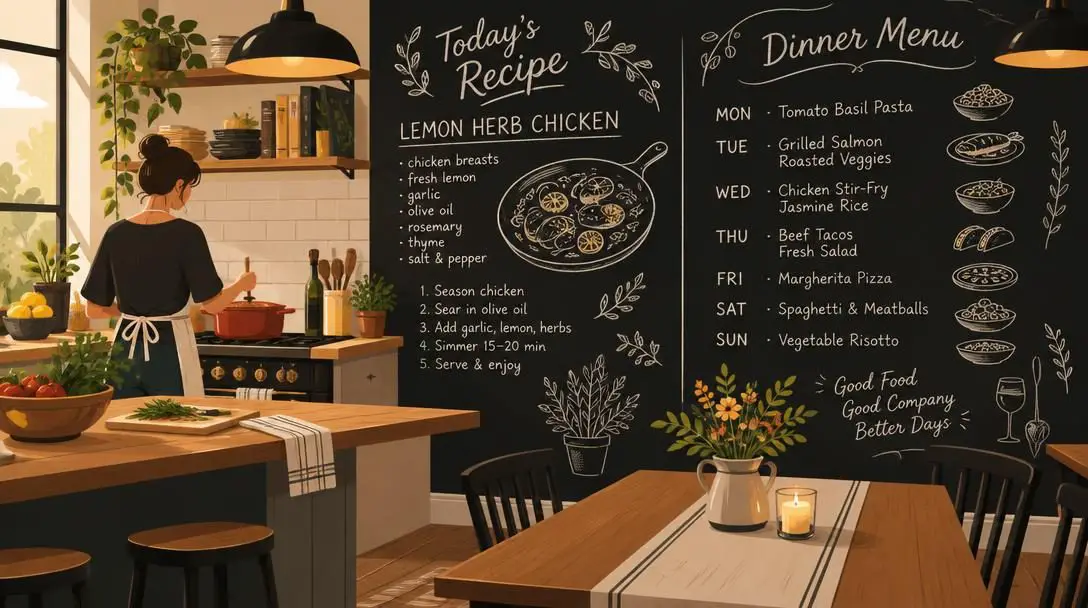
- Primary Material: Chalkboard finish paint
- Functional Benefit: Family communication and meal planning
- Target Style: Casual restaurant
Neighborhood bistros and cozy cafes regularly welcome guests with chalk-lettered menus announcing daily specials, seasonal drinks, and chef recommendations. You can recreate this relaxed, hospitable feeling by crafting your own chalkboard wall. Rolling a coat of specialized chalkboard paint onto an open wall section, an accent panel, or the side of an exposed cabinet establishes an interactive communication hub where household members can track weekly dinner menus, jot down grocery lists, or leave personalized notes.
Hanging Around
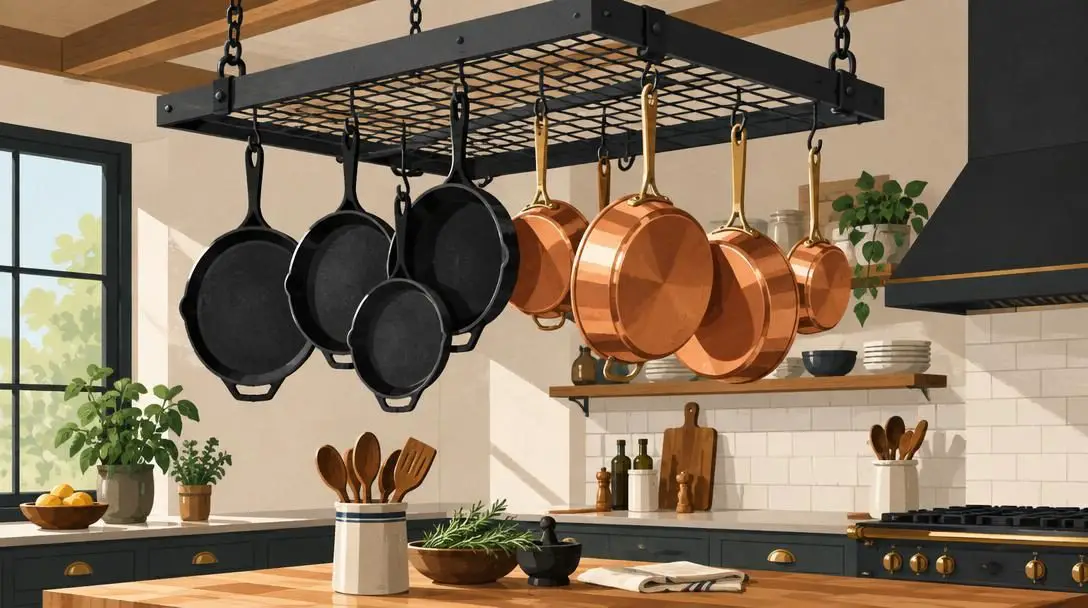
- Primary Material: Ceiling-mounted pot racks
- Functional Benefit: Reclaimed drawer and cabinet volume
- Target Style: Professional culinary
Bulky cookware, including cast-iron skillets, stockpots, and saucepans, consumes substantial volume inside cupboards and deep drawers, leading to cluttered, hard-to-navigate storage. Installing an overhead hanging pot rack turns that dead air space into an asset. Suspending a sturdy metal or wooden hanging rack directly above your kitchen island mimics the efficient, organized feel of an executive chef's workspace while reclaiming crucial cabinet space below for smaller appliances and pantry staples.
Know New Knobs
- Primary Material: Hardware pulls or children's artwork
- Functional Benefit: Tactile accent detail
- Target Style: Custom and personal
Transformative interior updates do not always demand heavy power tools or multi-day construction schedules; minor hardware swaps often provide surprising aesthetic returns. When your drawer boxes and cabinet doors remain physically sound, trading out tarnished or generic hardware delivers an immediate lift. You can browse home centers for modern metal, ceramic, or glass knobs, or take an inventive approach. Some homeowners create one-of-a-kind pulls by mounting and sealing small art pieces created by their children, lending personal charm to daily routines.
At a glance: Comparing kitchen DIY project options
Every home improvement undertaking carries distinct requirements regarding material investments, installation effort, and functional focus. The table below outlines how these ten project concepts compare across common criteria.
| Project | Primary Material Used | Functional Benefit | Target Style |
|---|---|---|---|
| Custom Backsplash | Adhesive vinyl, wood, or glass | Moisture barrier | Contemporary or rustic |
| Cabinets Done Cheap | Wood stain or latex paint | Surface renewal | Modern or traditional |
| Counter Measures | Countertop epoxy kit | Durable work surface | Sleek and seamless |
| Light It Up | Globe pendants, mason jars, or sifters | Ambient task lighting | Rustic or luxurious |
| Visiting the Island | Desks, doors, or accent paint | Dining and prep space | Eclectic bistro |
| Stock the Shelves | Lumber boards or retail shelving | Accessible storage | Open-concept modern |
| Open the Window | Woven shades or window film | Glare and light control | Airy and minimal |
| Chalk Talk | Chalkboard finish paint | Family communication | Casual restaurant |
| Hanging Around | Ceiling-mounted pot racks | Reclaimed drawer space | Professional culinary |
| Know New Knobs | Hardware pulls or children's artwork | Tactile accent detail | Custom and personal |
A practical workflow for kitchen upgrades
Because the kitchen is a functional workspace subject to daily foot traffic, preparing meals, and washing dishes, chaotic project execution can quickly disrupt entire households. Following a disciplined, step-by-step workflow keeps your renovation safe, clean, and organized from start to finish.
- Assess the room and prioritize your project list: Inspect your kitchen to evaluate whether cosmetic issues (such as tired countertops and faded cabinets) or organizational bottlenecks (like overcrowded cookware drawers) need immediate attention.
- Establish a functional work area: Clear all items off your countertops, remove contents from cabinets slated for refinishing, and set up a clean, ventilated staging zone outside main footpaths for drying painted items and mixing resins.
- Clean and prepare all working surfaces thoroughly: Cooking oils, airborne grease, and dish detergent residues compromise the bonding ability of paint, epoxy, and adhesive backsplashes. Wash down walls, doors, and counters using heavy-duty surface cleaners before starting any finish work.
- Execute messy surface-level updates first: Complete the most disruptive tasks—such as sanding wood, rolling cabinet paint, applying countertop epoxy, or setting backsplash materials—while countertops and walls are clear of hardware.
- Shut off breakers before lighting updates: When replacing standard light fixtures with statement globe pendants or mounting jars and sifters around sockets, disconnect the electrical circuit at the main breaker box to eliminate shock hazards.
- Install functional vertical storage: Locate wall studs using a stud finder to anchor floating spice shelves securely. Fasten overhead pot racks directly to ceiling joists with heavy-duty structural anchors capable of supporting dense cookware.
- Update window treatments and specialty walls: Measure and trim glare-reducing window film before applying it smoothly to glass, hang woven blinds, and roll out your dedicated chalkboard paint accent section.
- Fasten hardware and style the room: Screw on fresh store-bought pulls or handmade art knobs across all drawers and cabinet doors, arrange barstools at the island, and restock spices neatly on open shelves.
Mistakes that undermine kitchen improvements
Even modest DIY improvements require attention to detail during the preparation and installation phases. Avoiding common procedural errors ensures that your upgrades look professional and last for years without requiring corrective repairs.
- Skipping thorough surface cleaning: Applying adhesives, stains, or paints directly over grease-coated kitchen walls or cabinet faces prevents proper adhesion, leading to peeling, bubbling, and wasted materials.
- Rushing cabinet preparation: Omitting the initial sanding step when refinishing cabinets prevents deep stain penetration and causes topcoats of paint to chip easily under routine handling.
- Failing to secure heavy-load storage: Hanging pot racks or loading floating bookshelves without fastening them directly into wall studs or structural ceiling joists creates serious safety hazards for everyone in the home.
- Disregarding ventilation requirements: Pouring countertop epoxy or applying aerosol finishes without open windows and proper cross-ventilation traps strong chemical fumes inside living spaces.
- Blocking established kitchen workflow: Introducing an upcycled island or positioning an overhead rack too low can impede natural walking pathways, block swinging cabinet doors, or interfere with opening the refrigerator and dishwasher.
Frequently asked questions
Do I have to take down my cabinets to repaint or restain them?
No, you can leave the primary cabinet boxes mounted directly to the wall. However, you should unscrew the cabinet doors, remove drawer faces, and label all associated hardware so you can lay doors flat for even sanding, staining, and painting.
Can I safely install a hanging pot rack if I have low ceilings?
Hanging pot racks require adequate vertical clearance to prevent head injuries. If your ceilings are relatively low, position the rack directly above a stationary kitchen island or kitchen peninsula rather than over an open walkway.
Is peel-and-stick backsplash adhesive durable around sinks?
Quality vinyl adhesive splashbacks handle ordinary kitchen moisture and light splashing well, provided the underlying wall was scrubbed clean and allowed to dry completely prior to installation.
What kind of furniture works best for an upcycled kitchen island?
Sturdy, solid-wood pieces with level profiles provide the best foundation. Vintage office desks, heavy dining tables, and solid-core repurposed doors secured onto durable framing offer ideal prep height and sufficient legroom for barstool seating.
How should I maintain specialty chalkboard and epoxy finishes?
Both chalkboard surfaces and cured epoxy countertops require gentle care to avoid abrasion. Clean them using soft microfiber cloths and mild, non-abrasive detergents, avoiding scouring pads or harsh chemical cleaners that cause surface dulling or scratching.
The bottom line
You do not need an enormous construction budget or months of contractor visits to transform a tired, cluttered kitchen into a vibrant culinary center. By targeting cosmetic foundations—such as refreshed cabinet paint, custom peel-and-stick backsplashes, and smooth countertop epoxy—you can bypass the financial strain and structural waste of a traditional gut remodel. Pairing those cosmetic upgrades with efficient vertical storage like ceiling-hung pot racks and floating shelves instantly restores order to your prep zones. When you execute projects with methodical surface preparation and safe structural anchoring, modest do-it-yourself improvements yield lasting beauty, increased functionality, and genuine pride in your living space.