5 Tips for Creating Amazing AI Portraits
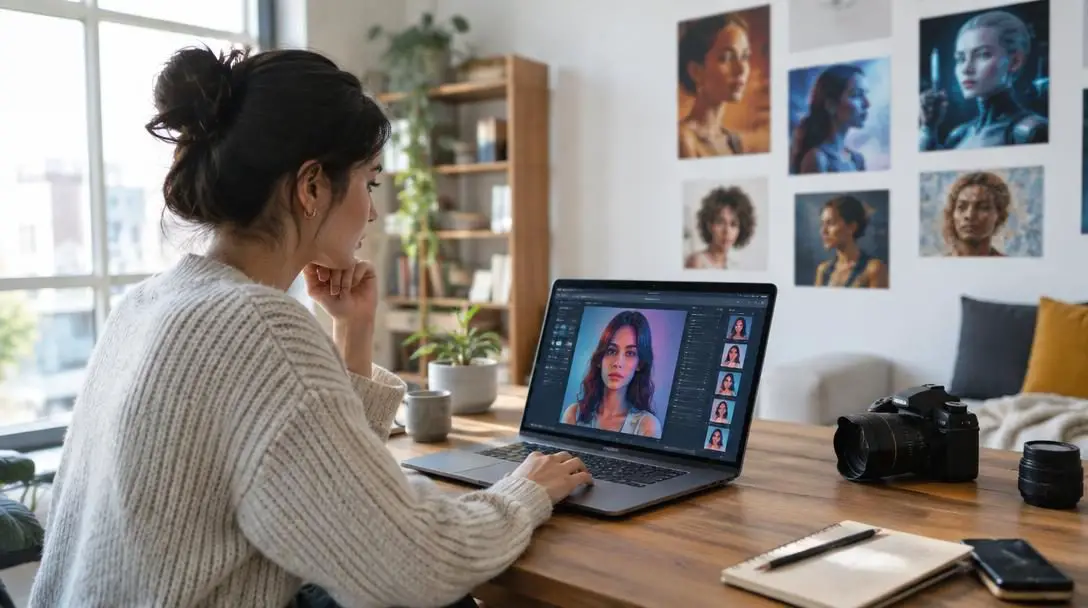
Artificial intelligence has revolutionized visual artistry, transforming portraiture from an exclusive discipline into an accessible medium for creators everywhere. In earlier eras, capturing a lifelike likeness required decades of rigorous study in human anatomy, tonal value, and classical oil painting techniques. Today, sophisticated neural networks allow digital artists, casual hobbyists, and commercial creators to craft intricate portraits that rival traditional hand-painted masterpieces in minutes.
Yet generating a genuinely arresting portrait involves much more than simply feeding an arbitrary snapshot into an automated filter. The underlying algorithms rely on mathematical patterns derived from massive libraries of classical paintings and photographic archives. To coax refined, museum-caliber aesthetics out of these automated systems, creators must approach the process with intentionality, technical understanding, and careful aesthetic judgment.
Key takeaways
- Source image quality dictates final fidelity because algorithms must invent missing details when fed low-resolution or poorly lit inputs.
- Selecting software tailored to specific aesthetics—such as classical oil textures or sleek modern styling—ensures superior facial proportions.
- Manipulating core variables like smoothing and detail sliders prevents portraits from adopting a flat, automated look.
- Hybrid creative techniques, such as overpainting digital artifacts and rebalancing color schemes, inject human nuance into algorithmic results.
- Iterative refinement across multi-stage creative workflows consistently yields more expressive, gallery-ready portraits than single-click generation.
The Mechanics of Machine Vision: How AI Systems Interpret Faces
To produce consistently remarkable portraits, it is essential to understand the computational mechanisms that drive generative platforms. Modern image models are trained on extensive image datasets encompassing historic museum paintings, classical sculpture, and contemporary studio photography. Through this exposure, algorithmic architectures develop mathematical representations of human facial geometry, light reflection, skin subsurface properties, and artistic brushwork.
When an image file is submitted to a portrait generator, the software executes a sequence of complex operations designed to deconstruct and reassemble the visual information:
- Feature detection: The network maps key facial landmarks, pinpointing the positioning of the pupils, eyelids, nose bridge, lips, chin, and overall cranial proportions.
- Lighting and contour mapping: The system evaluates directional lighting, reading highlight falloff and shadow gradients to calculate the three-dimensional volume of the face.
- Style translation: The model matches photographic pixels against learned stylistic conventions, translating flat image data into painterly strokes, impressionistic impasto, or stylized digital shading.
- Synthesis: The engine blends the identity markers of the subject with the target visual style, balancing recognizable personal likeness against expressive artistic rendering.
Because the AI relies strictly on the mathematical patterns it detects in the source data, the quality and clarity of your starting material directly determine the accuracy and beauty of the final piece.
Five Essential Strategies for Elevating Your AI Portraits
Creating compelling portraiture with artificial intelligence requires combining sound photographic fundamentals with thoughtful parameter adjustments. Relying purely on default settings often produces generic, plastic-looking faces that lack depth and character. The following five foundational tips outline how to optimize inputs, tools, and post-processing techniques to produce work of gallery quality.
| Strategy | Primary Focus | Key Visual Benefit |
|---|---|---|
| Choose High-Quality Images | Lighting, sharpness, and resolution | Prevents algorithm guessing and preserves authentic facial landmarks |
| Select a High-Quality AI Tool | Specialized model architecture | Ensures consistent anatomical proportions and authentic textures |
| Fine-Tune the Settings | Detail and smoothing sliders | Balances realistic fine lines with stylized painterly aesthetics |
| Add Your Own Personal Touch | Post-generation editing and color correction | Transforms generic outputs into personalized works of art |
| Commit to Deliberate Practice | Iterative prompting and variation testing | Builds creative intuition for algorithmic strengths and limitations |
Tip 1: Choose High-Quality Images
The foundation of any compelling portrait generation begins with the source photograph. Because neural networks analyze fine tonal gradients to calculate facial depth, the quality of your source image sets an absolute ceiling on the quality of your output. Input clarity directly dictates output fidelity. High-resolution photographs with crisp focus on the iris, natural skin texture, and well-defined edge boundaries give the model reliable visual coordinates to interpret.
When you feed an algorithm a dark, blurry, or heavily compressed image, the system cannot detect where distinct facial contours begin and end. Faced with missing structural data, the algorithm is forced to extrapolate—often resulting in warped jawlines, misaligned eyes, or muddy skin tones. Opt for portraits taken in balanced, natural light that cleanly defines the bridge of the nose and the contour of the cheekbones without harsh blowout or deep, impenetrable shadows.
Tip 2: Select a High-Quality AI Portrait Tool
Generative software platforms vary widely in their internal engineering, dataset curation, and intended artistic outcomes. Some applications are specifically optimized for rendering fine oil glazes, textured canvas brushwork, and classical lighting reminiscent of Rembrandt or Sargent. Others prioritize ultra-clean modern digital illustration, graphic vector aesthetics, or avant-garde abstractions.
Conducting thorough research into different tools before beginning your project ensures you select an engine engineered for your creative goals. High-caliber tools handle facial symmetry with precision, minimize anatomical distortion around tricky areas like the ears and hairline, and offer nuanced control over rendering intensity. A well-engineered platform reduces the time spent wrestling with visual glitches and grants you a higher rate of successful generations.
Tip 3: Fine-Tune the Parameter Settings
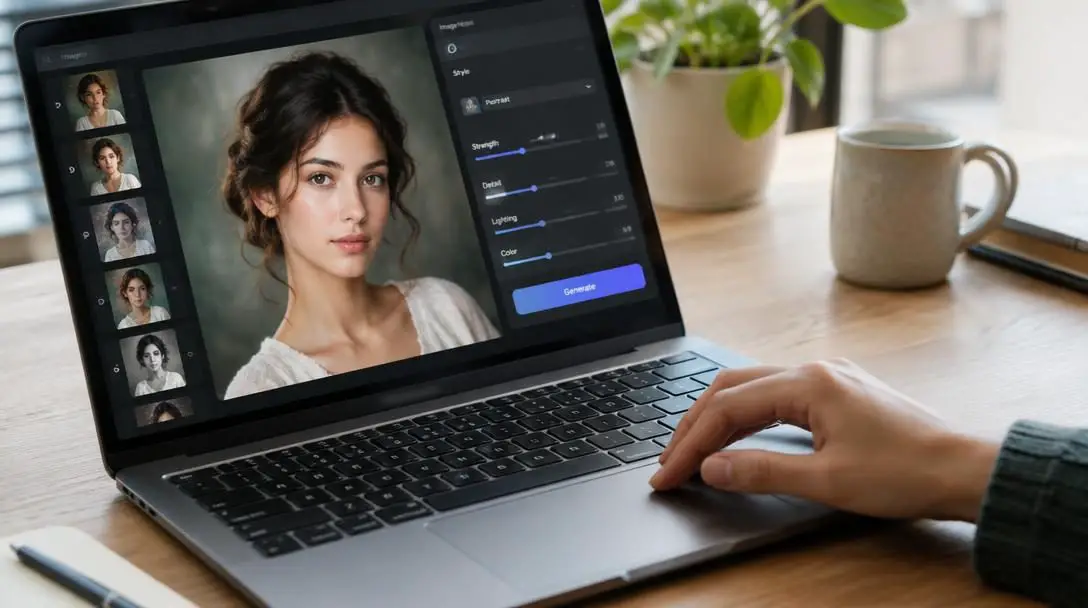
Accepting the automated preset values in generative software rarely produces extraordinary results. Most professional-tier portrait generators include granular sliders designed to modulate how aggressively the model applies styling relative to the source image. Adjusting balance controls unlocks hidden stylistic range.
Two of the most influential parameters are detail intensity and surface smoothing. By dialing down detail and increasing smoothing, you can push the software toward fluid watercolor washes, soft gouache blends, or broad impressionistic strokes. Conversely, elevating detail preserves distinct strands of hair, skin pores, fabric weaves, and delicate light reflections in the eyes. Spending time methodically nudging these controls away from their default states allows you to achieve the exact textural balance you envision.
Tip 4: Add Your Own Personal Touch
While artificial intelligence can rapidly paint intricate patterns, pure algorithmic output can occasionally feel sterile or mechanically perfect. Introducing custom interventions after the initial generation bridges the gap between machine calculation and human artistic sensibility. Treating the generated portrait as a preliminary canvas rather than a finished product unlocks far greater creative expression.
You can bring your portrait into standard image-editing programs to execute targeted enhancements:
- Shifting the overall color temperature from cold digital hues to warm, inviting golden-hour palettes.
- Manually brushing over minor algorithmic artifacts, awkward hairs, or misrendered skin seams.
- Compositing the best elements from multiple generations—such as combining the eyes from one render with the lighting of another.
- Overlaying authentic canvas grain, paper tooth, or cracked varnish textures to introduce tactile warmth.
Tip 5: Commit to Deliberate Practice
Mastering AI portrait generation requires the same observational dedication as any traditional medium. While the computer handles pixel rendering, developing an eye for which lighting schemes, head angles, and stylistic weights produce harmonious compositions demands consistent experimentation. Intuitive mastery develops through repeated iteration.
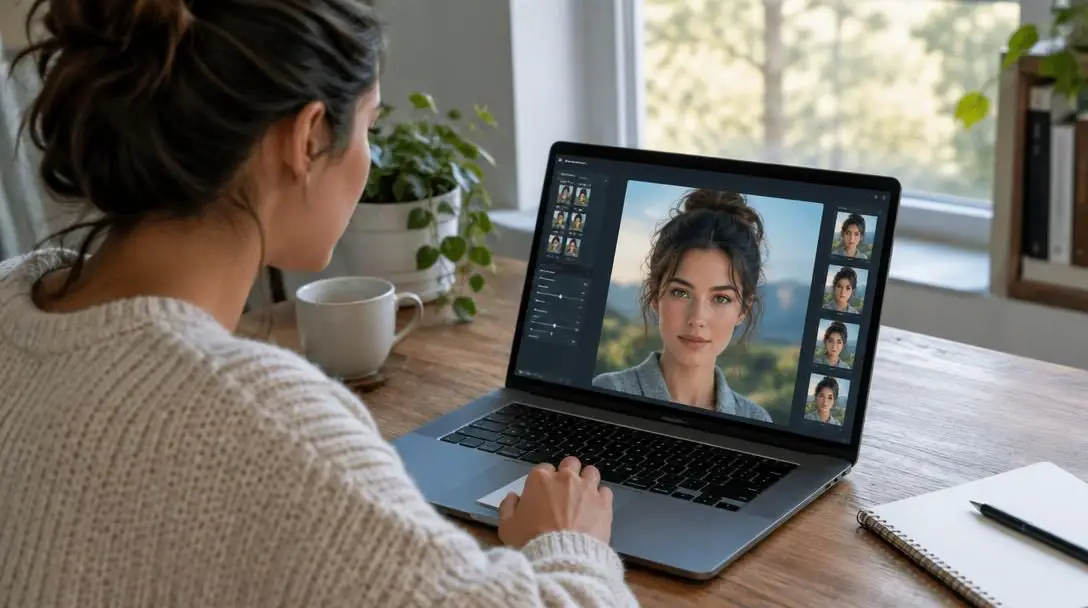
Set aside time to run controlled tests with varied source imagery. Observe how subtle differences in facial rotation impact how the model renders the jawline, or how varying degrees of ambient lighting influence hair rendering. As you accumulate hands-on experience, you will learn to anticipate how specific models respond to subtle visual cues, allowing you to produce exceptional artwork reliably.
A Step-by-Step Practical Workflow for Portrait Generation
Establishing an organized production sequence ensures that your creative ideas translate seamlessly into finished artwork. The following methodical workflow helps you move from initial image selection to final post-production with minimal friction.
- Curate the source photo: Review your photo library to identify an image characterized by sharp focus around the eyes, pleasant facial symmetry, and balanced tonal contrast across the features.
- Clean up the source: Crop away distracting background clutter and apply preliminary contrast, exposure, and color corrections in a photo editor to present the algorithm with an optimal input.
- Select and configure the tool: Open your preferred portrait generator, import your curated base image, and select an artistic style profile that harmonizes with the emotional tone of the photograph.
- Iterate on parameters: Generate multiple draft batches while incrementally modifying detail density, style strength, and smoothing values to explore different visual interpretations.
- Select the best output: Compare your candidate renderings side by side, evaluating anatomical accuracy, expressive character, and the natural integration of artistic brushwork.
- Apply manual post-processing: Import your chosen piece into digital painting software to correct small anatomical imperfections, fine-tune color balance, and introduce final texture overlays.
Common Pitfalls and Mistakes to Avoid
Navigating the nuances of generative software requires knowing which traps regularly sabotage portrait quality. Awareness of these common missteps will help you troubleshoot unexpected results and elevate your final art.
- Using low-light or pixelated photos: Uploading grainy, compressed, or underexposed photos forces the system to hallucinate missing data, frequently creating distorted facial symmetry and muddy skin textures.
- Relying strictly on default presets: Settling for default software configurations yields generic results and prevents you from discovering nuanced artistic textures.
- Ignoring facial anatomy errors: AI models frequently misinterpret complex biological structures like ears, dental alignment, and hands; failing to inspect and retouch these areas leaves work looking amateurish.
- Over-processing the image: Applying excessive smoothing, aggressive sharpness, or oversaturated color grades flattens dynamic range and robs the face of lifelike organic depth.
- Abandoning projects after one attempt: Generative portraiture is fundamentally an iterative craft; leaving after an initial unpolished render guarantees you miss out on superior algorithmic variations.
Expanding Beyond the Screen: Pipelines and Real-World Applications
Once you are comfortable with basic generation techniques, you can expand your creative repertoire into advanced multi-application pipelines and tangible physical formats. Highly experienced digital artists rarely rely on a single application. Instead, they pass an image through a generative engine, push it through a dedicated neural resolution upscaler to restore microscopic details, and finish the piece inside traditional painting software with custom digital brushes.
These refined digital creations have broad practical utility beyond digital displays. They make compelling personalized gifts, evocative illustrations for visual novels and creative writing, dynamic social branding avatars, and stunning fine-art prints. If your goal is to produce physical canvas prints, remember to configure your working files for high resolution, verify print color profiles, and select tactile media that complement the painterly aesthetic of your AI portrait.
Frequently asked questions
What makes an ideal source photo for AI portrait generation?
An ideal input photograph features sharp focus—particularly across the eyes and facial edges—even lighting that reveals cheekbone contours, and high resolution. Avoiding heavy compression artifacts and deep shadows ensures the neural network can identify landmarks accurately without guessing.
Why do AI portrait generators sometimes distort ears, teeth, or facial symmetry?
Generative models calculate visual patterns statistically rather than understanding underlying skeletal and dental anatomy. When an input image lacks absolute clarity around intricate areas like ears or teeth, the model can synthesize irregular shapes that require manual retouching.
How do detail and smoothing sliders change the final look of a portrait?
Lower detail combined with higher smoothing softens color transitions, producing painterly effects reminiscent of watercolors or loose impressionistic oil sketches. Higher detail settings preserve fine textures such as individual hair strands, skin pores, and sharp iris reflections.
Can I legally and creatively edit an AI-generated portrait after it is created?
Yes, manual post-processing in digital painting software is highly encouraged. Modifying color palettes, repainting visual flaws, blending different variations, and adding canvas textures help transform an automated render into a customized, distinctive personal work.
What steps are required to prepare an AI portrait for high-quality physical printing?
To prepare an AI portrait for physical display, route the final image through a specialized detail upscaler to achieve high print resolution, adjust color profiles for physical ink reproduction, and select textured paper or canvas that complements the simulated medium.
The bottom line
Generating captivating AI portraits is a dynamic, creative synthesis of machine computation and personal artistic direction. By starting with meticulously chosen photographs, choosing tools suited to your stylistic ambitions, fine-tuning internal parameters, and infusing your own hand-crafted edits, you can consistently bypass the generic sheen of automated filters. Approach every session as an iterative experiment, embrace deliberate practice, and you will transform generative algorithms into powerful extensions of your visual voice.