Exploring the World of Amateur Astronomy: Stargazing Made Simple
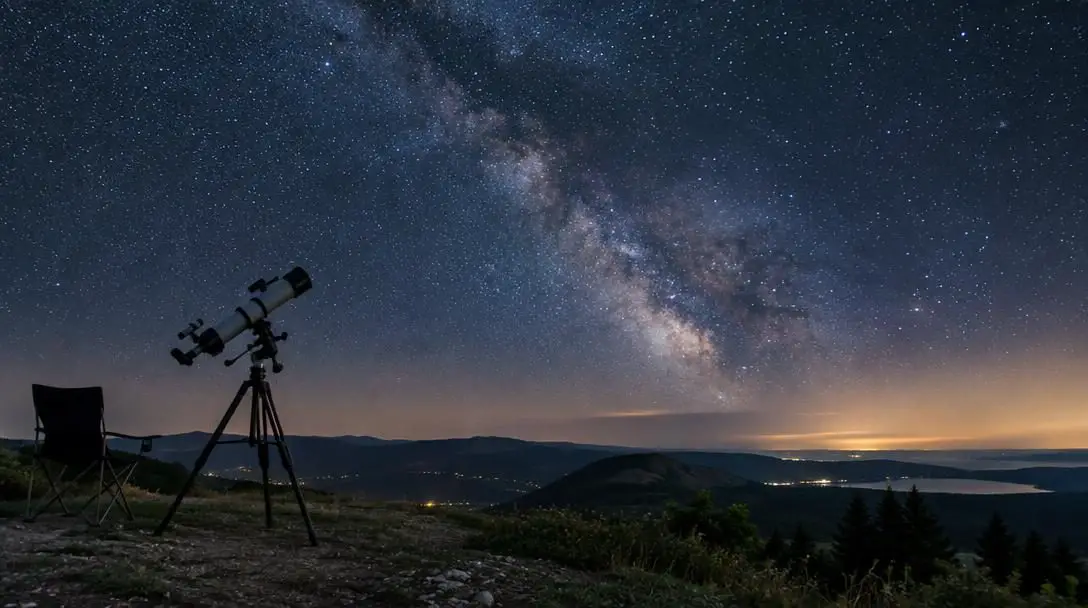
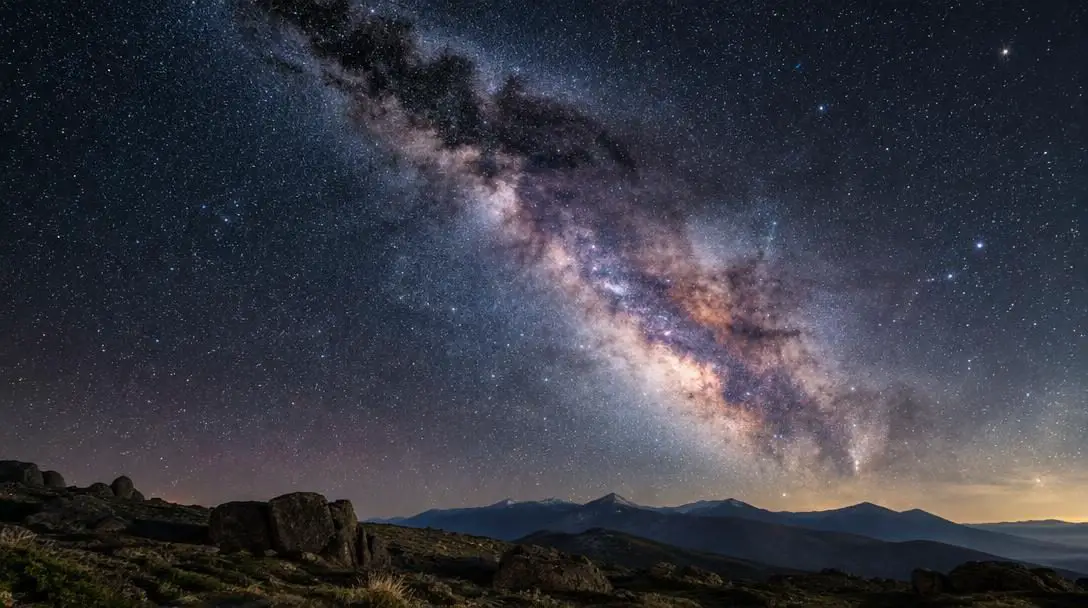
Looking up into a clear night sky evokes an immediate sense of wonder. For millennia, observing the heavens has guided human navigation, inspired calendars, shaped philosophy, and catalyzed major breakthroughs in physics. In the modern era, amateur astronomy offers a peaceful retreat from the frantic pace of digital life, inviting anyone with curiosity to witness the ancient and dynamic movements of the cosmos firsthand.
Yet, newcomers often feel overwhelmed by the sheer scale of the night sky. Stepping outdoors under a canopy of thousands of glittering pinpoints raises immediate questions about what gear is required, where to look, and how to tell a distant planet from an ordinary star. Fortunately, you do not need an advanced degree in astrophysics or thousands of dollars in equipment to become an active stargazer. With basic observational principles, practical tools, and a bit of patience, the universe becomes readily accessible to anyone willing to look up.
Key takeaways
- Wide-field 7x50 binoculars offer a more practical, budget-friendly starting point for beginners than bulky telescopes.
- Human eyes require twenty to thirty minutes of complete darkness to build optimal night vision for detecting faint deep-sky targets.
- Preserving dark adaptation requires switching from disruptive white flashlights and phone screens to red-filtered illumination.
- Prominent constellations like Ursa Major and Orion serve as essential stepping stones for locating dimmer celestial objects.
- Planets generally shine with a steady, unblinking light, while distant stars twinkle noticeably through atmospheric turbulence.
Essential Starter Gear for Backyard Astronomy
A common misconception among aspiring stargazers is that an elaborate, expensive telescope is mandatory on day one. In reality, large telescopes are heavy, challenging to transport, and technically complex to configure. Struggling with balance axes, optical collimation, and narrow fields of view often leads to early frustration. Starting with simpler, highly portable tools allows beginners to focus on learning the geography of the sky first.
7x50 Binoculars
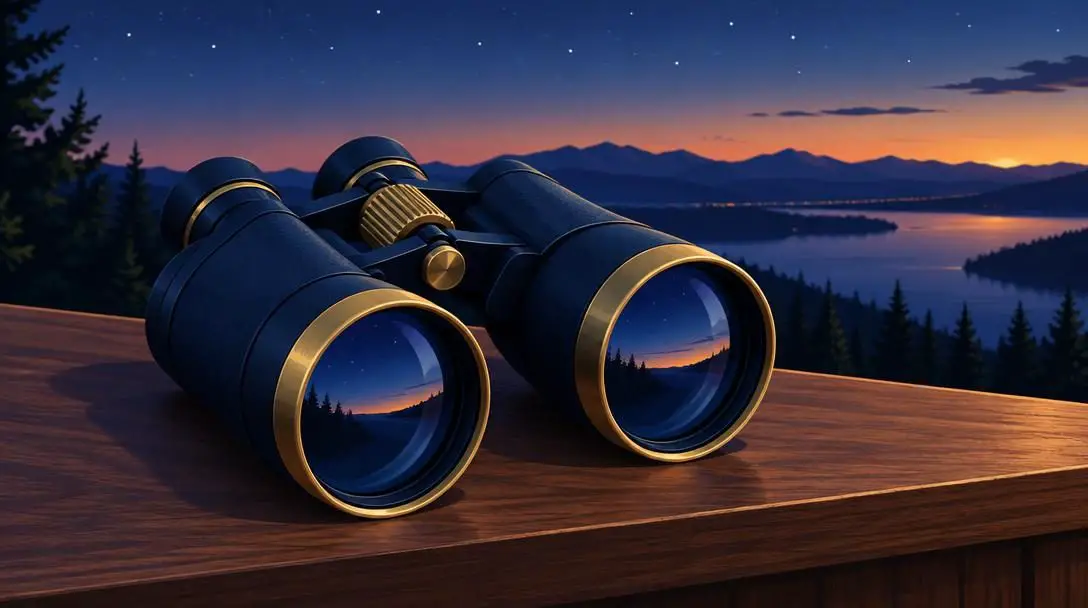
Binoculars are widely considered the ideal introductory instrument for amateur astronomers. Because they utilize both eyes, binoculars provide a natural, stereoscopic viewing experience with a broad field of view, making it much easier to locate targets than hunting through a narrow telescope eyepiece. For astronomy, a specification of 7x50 is the standard recommendation. The first number denotes 7x magnification, which enhances detail while keeping the view steady enough for hand-held use. The second number indicates a large 50-millimeter objective lens diameter, which gathers abundant light from faint, distant clusters and nebulae.
Physical Star Charts
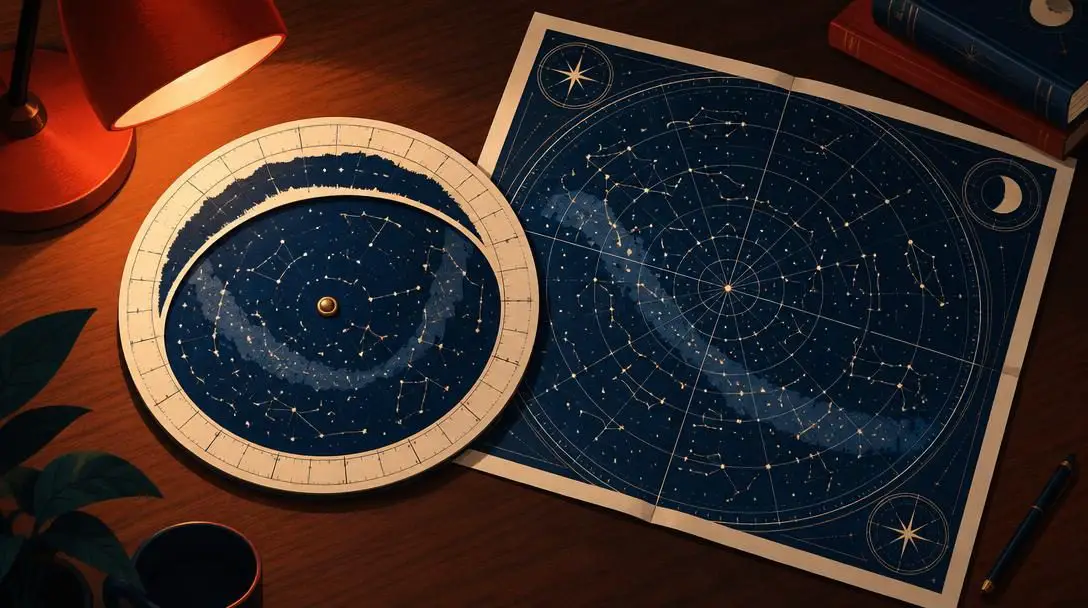
While digital tools are convenient, printed star charts remain an indispensable tool in the field. Physical sky maps do not rely on battery power or cellular reception, and they never emit harsh blue light that spoils dark adaptation. By learning to rotate and align a paper chart with the cardinal directions, observers gain a physical, tactile understanding of celestial coordinates and constellations.
Red-Light Flashlight
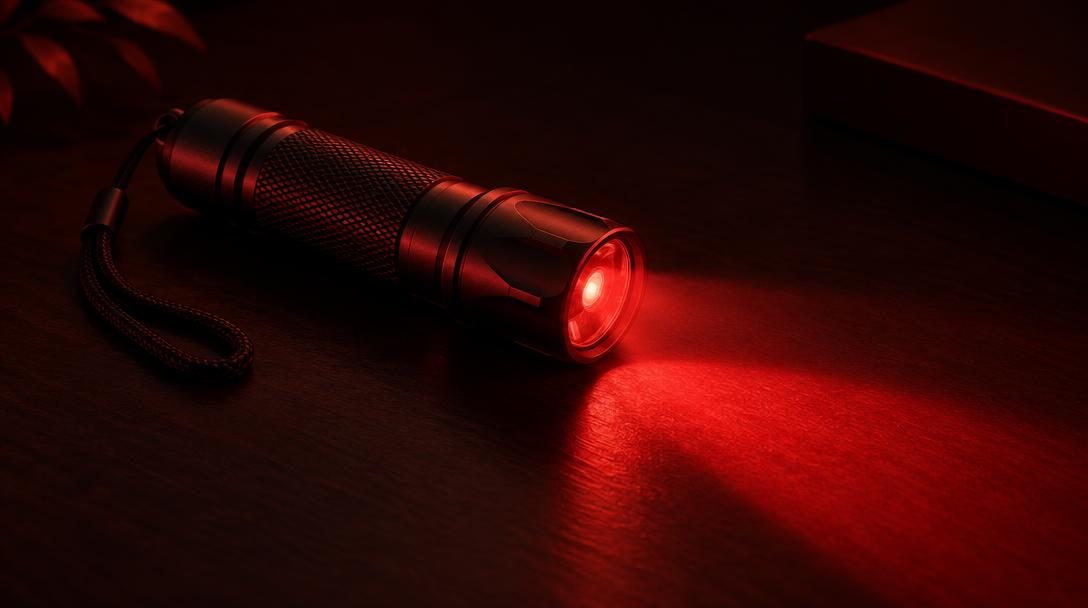
Standard white light instantly impairs the eyes' ability to see faint cosmic objects. A dedicated red flashlight—or a regular light covered with a specialized red filter—provides just enough illumination to read charts, check gear settings, and move around an observing site safely. Red wavelengths do not disrupt the delicate chemical adaptation that allows human pupils to process low-light environments.
Adjustable Tripod
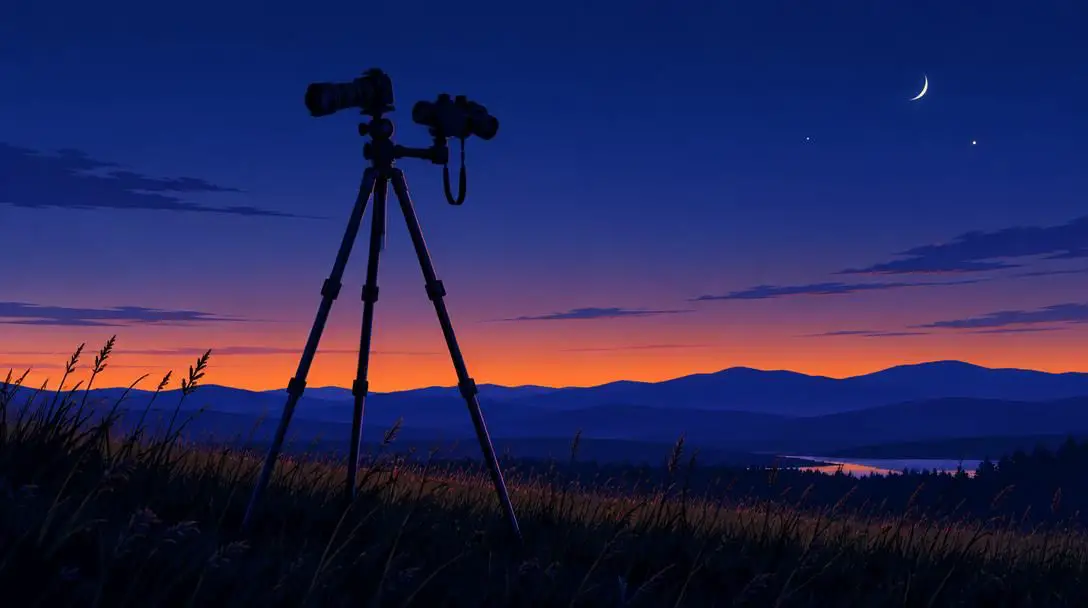
Even moderate hand tremors become magnified when holding optical instruments toward the sky. Mounting binoculars or a small spotting scope onto a rigid, adjustable tripod eliminates shaking and eye fatigue. A stable platform lets multiple observers inspect the exact same patch of sky without losing track of a faint target.
Padded Observing Chair
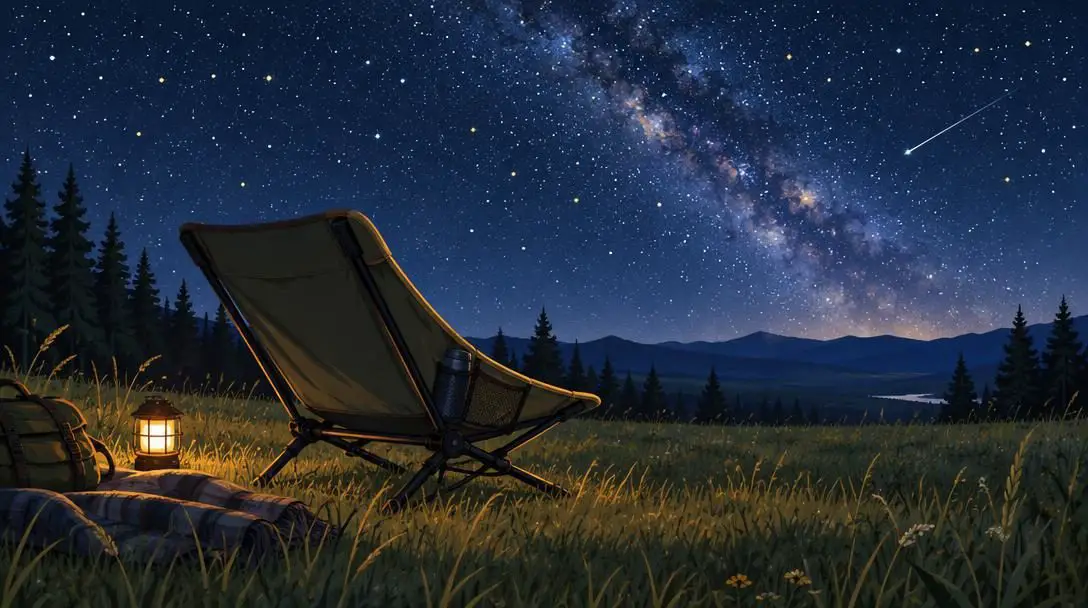
Stargazing requires prolonged periods of stillness, frequently while craning the neck upward at awkward angles. A sturdy, comfortable observing chair supports the lower back and neck, minimizing physical fatigue. Staying comfortable enables longer, more relaxed sessions, which directly improves how much visual detail you can tease out of faint objects.
| Equipment Item | Primary Function | Key Beginner Advantage | Portability |
|---|---|---|---|
| 7x50 Binoculars | Wide-field optical magnification | Intuitive two-eye viewing; wide field of view | High |
| Physical Star Charts | Manual sky navigation | Zero battery drain; preserves dark adaptation | High |
| Red-Light Flashlight | Field illumination | Protects night vision while reading maps | High |
| Adjustable Tripod | Optical stabilization | Eliminates image shaking and neck fatigue | Moderate |
| Observing Chair | Ergonomic physical support | Enables longer, fatigue-free observation sessions | Moderate |
Understanding the Mechanics of the Night Sky
Successful stargazing relies on understanding how the Earth moves and how human biology interacts with low-light environments. Because the Earth constantly spins on its axis from west to east, celestial bodies appear to rise along the eastern horizon and set in the west throughout the evening. Simultaneously, as our planet completes its annual orbit around the Sun, the night side of Earth faces different sectors of space, causing the visible constellations to shift progressively with each changing season.
Human vision also requires deliberate management in the dark. In bright conditions, human eyes rely on cone cells to detect color and fine detail. When you step into the dark, your pupils dilate, and your retinas slowly activate light-sensitive rod cells through the buildup of a light-sensitive pigment. It takes twenty to thirty minutes of total darkness for human eyes to reach maximum dark adaptation. A single momentary flash of bright white light—such as glancing at a smartphone notification or passing headlights—instantly resets this biological adaptation, requiring another half-hour to recover.
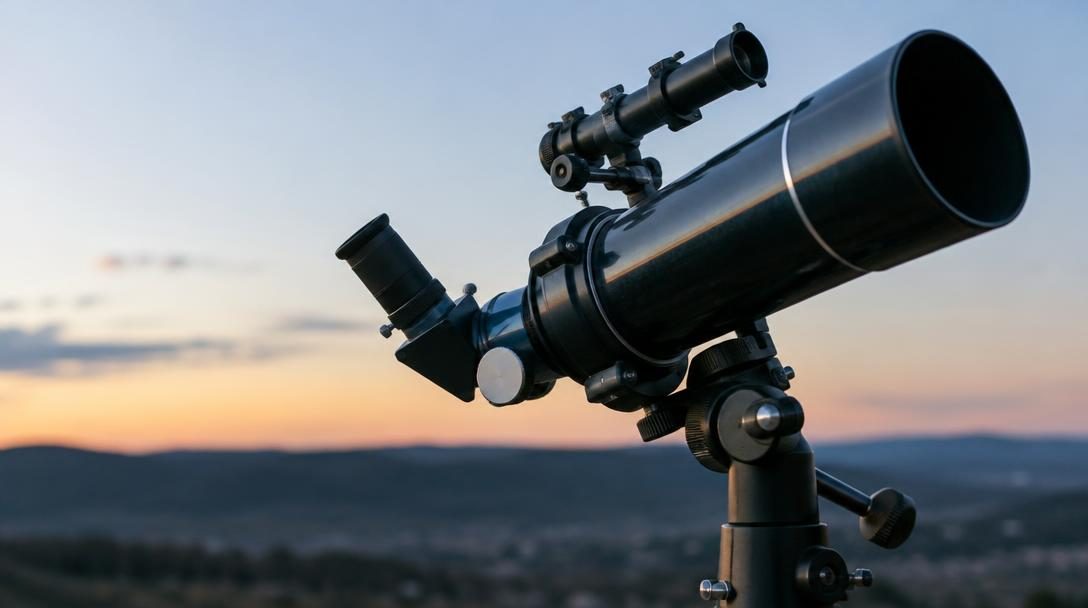
Environmental factors also play a deciding role in visual clarity. Artificial illumination from streetlamps, shopping centers, and highways creates a persistent atmospheric haze known as light pollution, which washes out dim stars. The lunar cycle is equally influential. While viewing the Moon's craters and mountain ranges is rewarding, a bright full Moon illuminates the atmosphere with reflected sunlight, drowning out faint deep-sky targets. Scheduling observing runs around the new Moon provides the dark skies required for observing faint star clusters and galaxies.
How to Set Up a Successful Stargazing Outing
Transforming an evening under the stars from a chaotic search into a rewarding viewing session requires systematic planning. Taking deliberate steps before departing ensures you spend your time observing rather than troubleshooting problems in the dark.
- Choose a dark location: Seek areas well away from urban lighting. National parks, remote rural preserves, and designated dark-sky sites hosted by regional astronomy groups provide unobstructed horizons and low light pollution.
- Verify the weather and lunar calendar: Inspect local forecasts for clear conditions, low wind, and minimal humidity or fog. Cross-reference your target list with the lunar phase to ensure the Moon will not overpower faint targets during your planned hours.
- Pack and inspect all gear: Assemble your binoculars or telescope, tripod, star maps, red flashlight, extra batteries, and observing chair. Always pack more layers of warm clothing, gloves, and headwear than daytime conditions suggest, as stationary nighttime observing causes rapid body heat loss.
- Level and stabilize your equipment: Arrive at your observing location while twilight remains, if possible. Place your tripod feet firmly on solid, level ground. Check that optical lenses are clean and that mounting brackets are securely balanced to avoid optical distortion or neck strain.
- Allow your vision to dark-adapt: Extinguish all white lights, turn off vehicle interior lamps, and store mobile devices away. Allow your eyes to adjust to the darkness for at least twenty to thirty minutes, navigating solely with your red-filtered light.
Navigating Constellations, Stars, and Planets
With thousands of stars visible under dark skies, locating specific targets requires reliable guideposts. The traditional technique used by amateur astronomers is known as star-hopping. Observers identify prominent, easily recognizable constellations first, then follow distinct geometric angles and imaginary lines from those bright stars toward fainter, adjacent targets.
Ursa Major
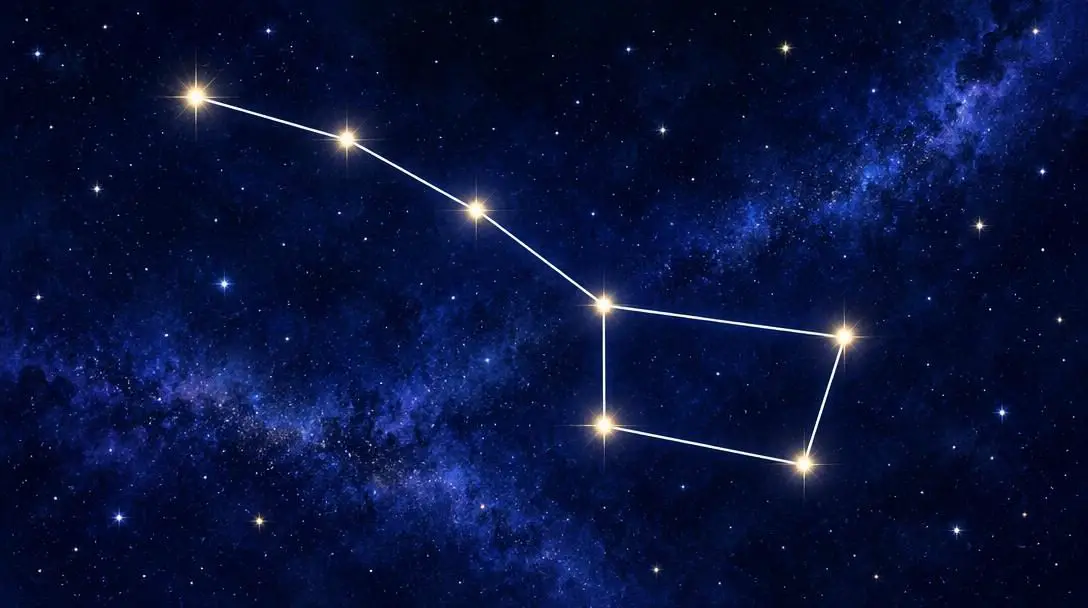
Commonly referred to as the Great Bear, Ursa Major is one of the most prominent constellations in the Northern Hemisphere. Its most recognizable asterism, the Big Dipper, serves as a universal celestial compass. By drawing an imaginary line through the two outer stars of the Dipper's bowl—Merak and Dubhe—and extending that line outward, observers can easily locate Polaris, the North Star, which anchors celestial navigation.
Orion
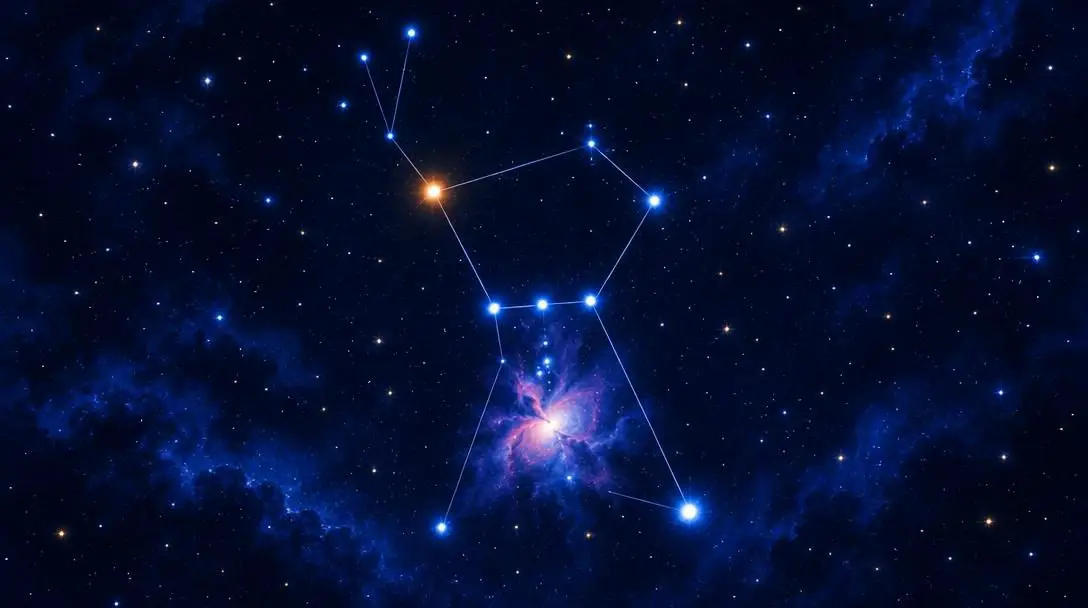
Dominating the winter sky, Orion, the Hunter, features a striking alignment of three bright stars forming Orion's Belt. This distinctive formation makes the constellation unmistakable even from suburban backyards. Extending a line downward from the belt leads the eye toward Sirius, the brightest star in the night sky, while sweeping slightly below the belt reveals the glowing fuzzy patch of the Great Orion Nebula.
Direct visual observation through an eyepiece reveals subtle, delicate structures that connect you to the raw cosmos in a way photographs never can.
When sweeping across the constellations, beginners can easily distinguish planets from background stars using a classic observational rule: stars twinkle, but planets do not. Stars are so distant that their light travels to Earth as an infinitesimal pinpoint, which atmospheric turbulence readily disrupts, causing rapid fluctuations in brightness and color. In contrast, planets are much closer to Earth and project as measurable physical disks through the atmosphere, stabilizing their light into a calm, steady beam.
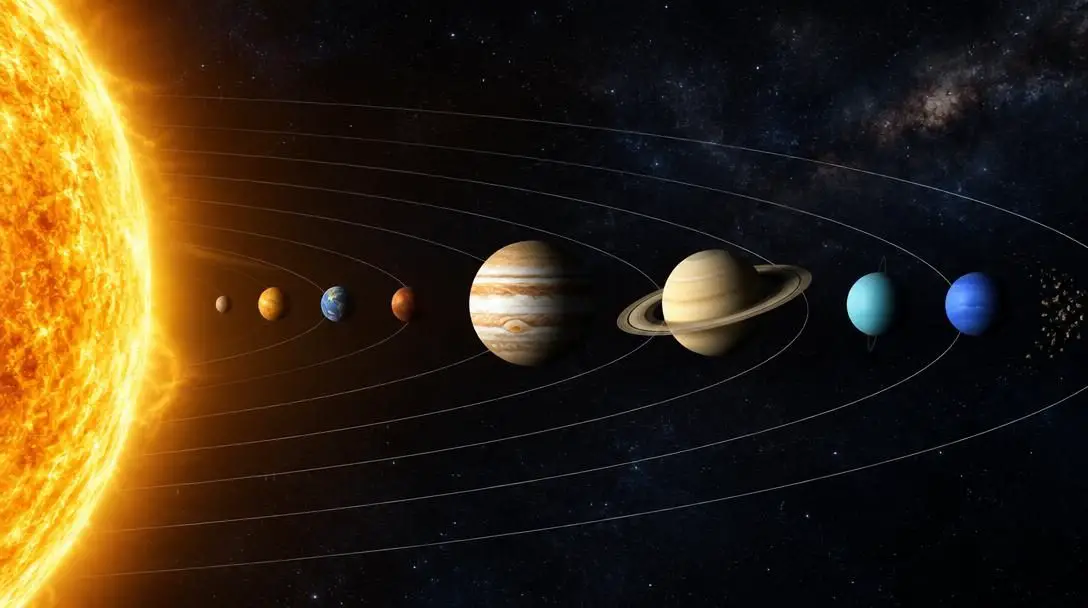
The brightest planets in our solar system—Venus, Jupiter, Mars, and Saturn—frequently outshine the brightest stars in the night sky. In addition to planets, dynamic events provide regular excitement. Meteor showers occur when Earth passes through debris fields left by comets, generating swift streaks of light as particles burn up in the upper atmosphere. Solar and lunar eclipses showcase the geometric alignments of the Earth, Moon, and Sun, drawing observers outdoors to track celestial mechanics in real time.
Digital Stargazing Tools and Planetarium Apps
While physical star charts are essential backups, modern software tools provide powerful interactive visualization capabilities. Planetarium software models the sky from your exact geographic coordinates and displays real-time planetary positions, satellite passes, and deep-sky locations.
Stellarium
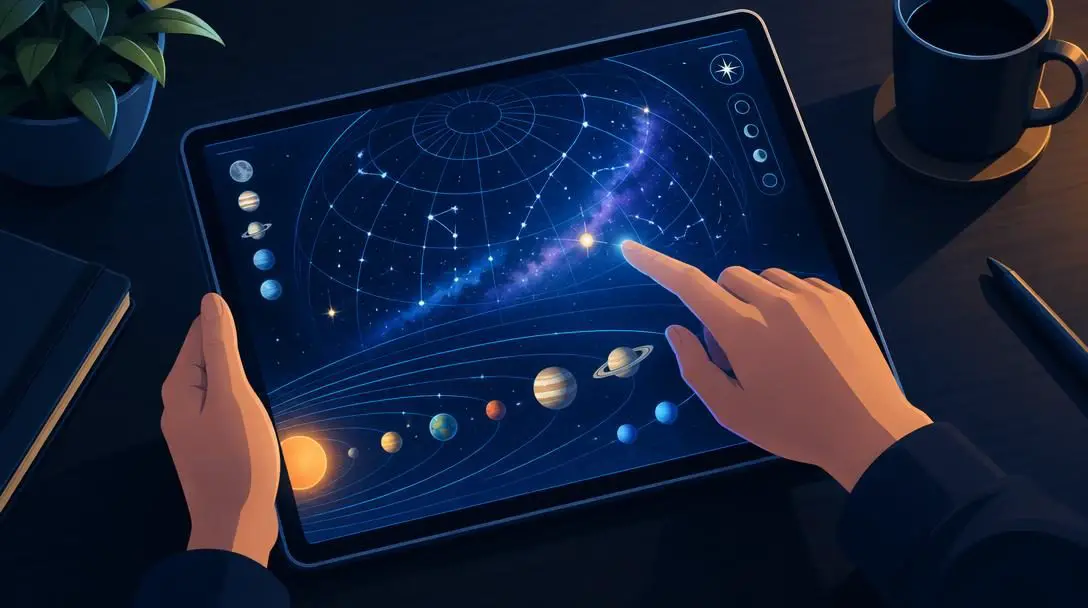
Stellarium is an open-source planetarium tool widely used by amateur observers and professional educators. It generates a photorealistic, three-dimensional simulation of the night sky, allowing users to accelerate time, preview planetary conjunctions, and inspect constellation boundaries across different epochs and vantage points.
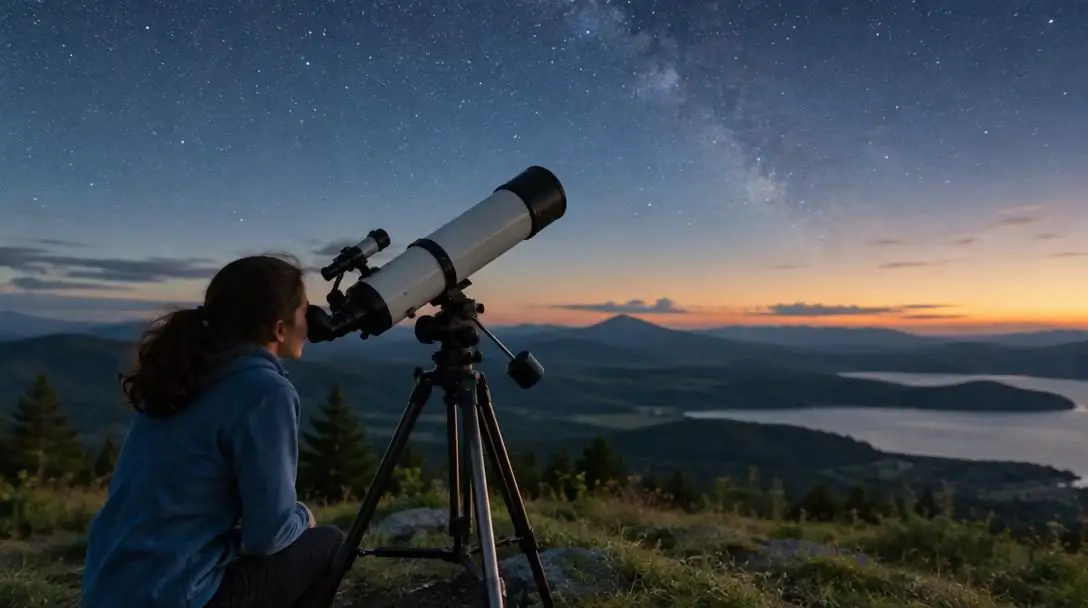
SkySafari
SkySafari is a comprehensive mobile astronomy application designed for real-time field navigation. It offers an expansive database of stars, deep-sky objects, and solar system targets. Crucially, the app includes a dedicated night-vision mode that converts the interface to deep crimson tones, enabling observers to consult digital catalogs without destroying their dark adaptation.
Keeping a Detailed Observation Log
Documenting your nights under the sky transforms casual stargazing into a structured personal pursuit. Maintaining an observation journal encourages close, critical viewing, training your eyes to detect fine structural details that casual observers overlook.
A thorough observation log entry should capture key environmental and target details:
- Date and precise time: Recording exact times helps track the orbital movement of planets and the rising or setting of specific targets.
- Geographic location: Note the observing site, whether a suburban backyard, a rural park, or a mountain overlook.
- Atmospheric conditions: Record sky clarity, cloud coverage, temperature, wind, and the presence of any light pollution or lunar glare.
- Optical instruments used: Note whether you observed with the naked eye, 7x50 binoculars, or a specific telescope aperture.
- Visual descriptions: Detail the appearance of the object, such as the subtle colors of a planet, the texture of a star cluster, or the orientation of a lunar crater.
Reviewing your journal over months and years provides tangible proof of your growing observational skills. You will find that patterns emerge naturally, making it easier to predict when planetary targets return to favorable viewing positions and how seasonal skies cycle over time.
Common Mistakes That Hinder Beginners
Stepping into amateur astronomy involves a modest learning curve. Steering clear of common missteps ensures your early outings remain enjoyable and productive:
- Rushing into complex telescopes: Buying an expensive, heavyweight telescope before learning the sky often results in dusty equipment left in closets. Large scopes demand careful alignment and transport, creating friction for spontaneous viewing sessions.
- Exposing eyes to white light: Checking phone screens, turning on vehicle headlights, or using unshielded flashlights immediately erases nighttime visual adaptation, blinding the observer to faint nebulae for up to thirty minutes.
- Observing under a full Moon: Attempting to hunt faint galaxies or diffuse nebulae during a bright lunar phase is an exercise in futation. The brilliance of the full Moon washes out faint contrast across the entire sky.
- Underestimating nighttime cold: Because stargazers remain stationary for long periods, body temperatures drop rapidly. Dressing only for daytime warmth cuts sessions short; always wear layered, windproof clothing.
- Expecting astrophotography results: Long-exposure images from space observatories combine hours of sensor data and digital color enhancement. Direct visual observation reveals faint, delicate textures, delicate silver smudges, and subtle hues rather than saturated, vibrant portraits.
Deepening Your Involvement in the Astronomy Community
As you gain confidence finding constellations, spotting planets, and charting deep-sky targets, connecting with other stargazers can accelerate your learning. Joining a local astronomy club introduces you to seasoned observers who are glad to share their knowledge, recommend reliable viewing locations, and offer advice on equipment.
Most astronomy societies regularly host community observing nights and public star parties. These gatherings welcome beginners and provide hands-on opportunities to look through an assortment of optical designs—including refractor telescopes, large-aperture Newtonian reflectors, and specialized binoculars. Testing equipment at a star party gives you a realistic, firsthand perspective on how various instruments perform before you spend money on larger gear.
From there, you can pursue progressive observing milestones: tracking the nightly orbital dance of Jupiter's four largest moons, identifying complex crater systems along the lunar terminator line, or cataloging every deep-sky object nestled within a single constellation. The learning process never ends, offering a lifetime of peaceful engagement with the cosmos.
Frequently asked questions
Can I practice amateur astronomy from a city or suburban backyard?
Yes. While light pollution obscures faint deep-sky targets like distant nebulae and faint galaxies, bright objects remain clearly visible from urban environments. The Moon, bright planets such as Venus, Jupiter, Mars, and Saturn, and double stars can all be observed effectively even from brightly lit cities.
Why are 7x50 binoculars recommended instead of higher-magnification models?
Binoculars with magnification higher than 7x or 10x amplify natural hand tremors, making it difficult to hold the image steady without a tripod. The 50mm objective lens provides a large optical aperture that collects sufficient light from faint stars while keeping the instrument lightweight and easily portable.
How long does it take for human eyes to fully adapt to the dark?
It takes roughly twenty to thirty minutes in total darkness for human pupils to fully dilate and for light-sensitive retinal pigments to build up. Any brief exposure to white light quickly resets this chemical adaptation, requiring another half-hour to re-establish.
Why do stars twinkle while planets appear to shine steadily?
Stars are trillions of miles away and appear as pinpoint light sources whose narrow beams are easily refracted and scattered by shifting temperature layers in Earth's atmosphere. Planets are much closer and appear as tiny disks; the atmospheric blurring across that broader disk averages out, producing a steady, unblinking light.
What is the best lunar phase for stargazing?
The new Moon phase is best for observing faint deep-sky objects like star clusters and nebulae because the sky remains completely dark. If you want to study the Moon itself, the first-quarter and crescent phases provide dramatic shadows along craters and mountains, whereas a full Moon appears flat and overly bright.
The bottom line
Amateur astronomy does not require elaborate technical expertise or costly gear to be deeply rewarding. By starting with simple 7x50 binoculars, preserving your dark adaptation with red light, and learning to navigate outward from landmark constellations like Ursa Major and Orion, you can explore the night sky with confidence. The universe is waiting overhead; all you need to do is step outside into the quiet dark and look up.