Getting Started With Home Recording
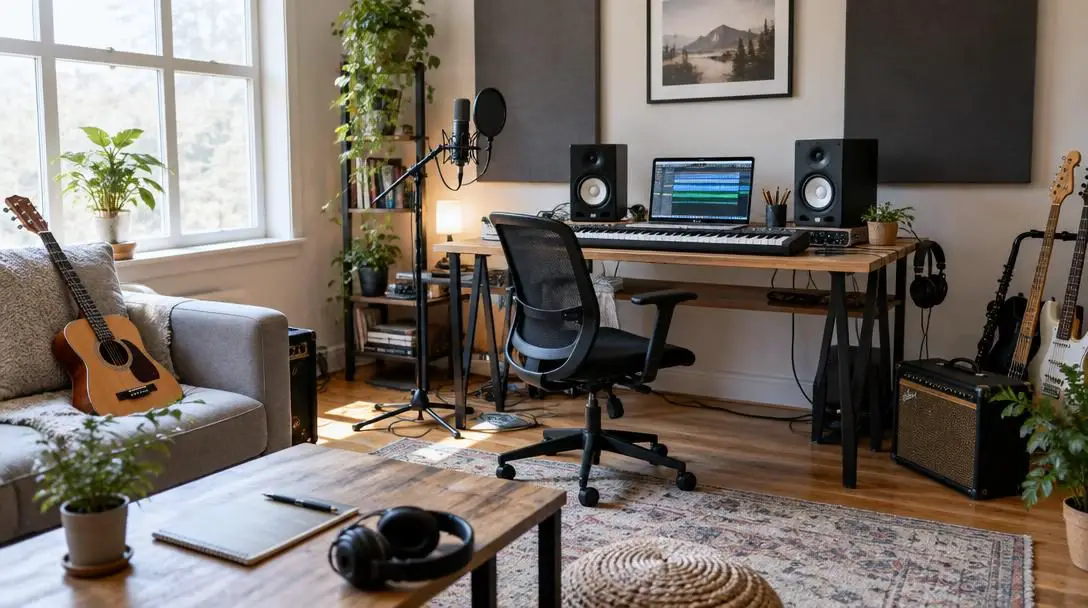
In past eras, capturing professional-quality audio required booking costly sessions in commercial recording studios outfitted with sprawling mixing consoles, bulky multi-track tape machines, and dedicated audio engineers. For independent creators, songwriters, and hobbyists, the sheer cost of studio time and industrial-grade hardware presented an almost insurmountable financial barrier. Today, dramatic leaps in personal computing and digital audio hardware have shifted the entire production landscape into domestic spaces, empowering creators to build capable recording environments right in a spare bedroom, home office, or quiet corner.
While the democratization of recording technology makes turning an audio hobby into a professional career a genuine possibility, the initial learning curve can be formidable. Beginners frequently encounter dense technical terminology, intricate hardware routing, complex software interfaces, and room acoustics challenges. Approaching home recording with a realistic budget, a clear understanding of the core signal chain, and steady patience ensures you build an effective workspace without falling into costly gear traps.
Key takeaways
- Building a functional starter studio typically requires an initial investment of at least $300 for basic hardware and a microphone, excluding the cost of a capable computer.
- A digital audio workstation serves as the operational nerve center of your studio, handling tracking, editing, and mixing on your computer.
- Setting input levels so that peak volumes register around -10 dBFS protects your recordings from harsh digital clipping and distortion.
- Adopting consistent file-naming conventions and keeping initial mix sessions minimal will prevent technical confusion and creative fatigue.
Budgeting for Your Setup: Costs, Computing, and Strategy
Entering the world of home recording without a concrete financial strategy often results in misallocated funds, leaving creators with expensive specialty items while lacking basic necessities. A complete novice should anticipate spending a baseline investment of at least $300 for fundamental recording gear, which covers an entry-level audio interface, a microphone, basic cabling, and monitoring accessories. However, this figure covers only audio hardware and assumes you already own a computer equipped to handle the heavy demands of modern audio software.
Audio production places intense demands on central processing units and system memory, especially when running multiple high-resolution tracks simultaneously. Recording generates large, uncompressed audio files, and a weak computer will rapidly suffer from processing bottlenecks, software freezes, latency delays during tracking, or abrupt crashes mid-performance. If your existing computer lacks sufficient random-access memory or storage space, you must factor an upgraded machine into your overall budget. Shopping around and pacing equipment purchases over time allows you to thoroughly master each piece of hardware before acquiring more complicated tools.
Core Studio Components: The Essential Gear Chain
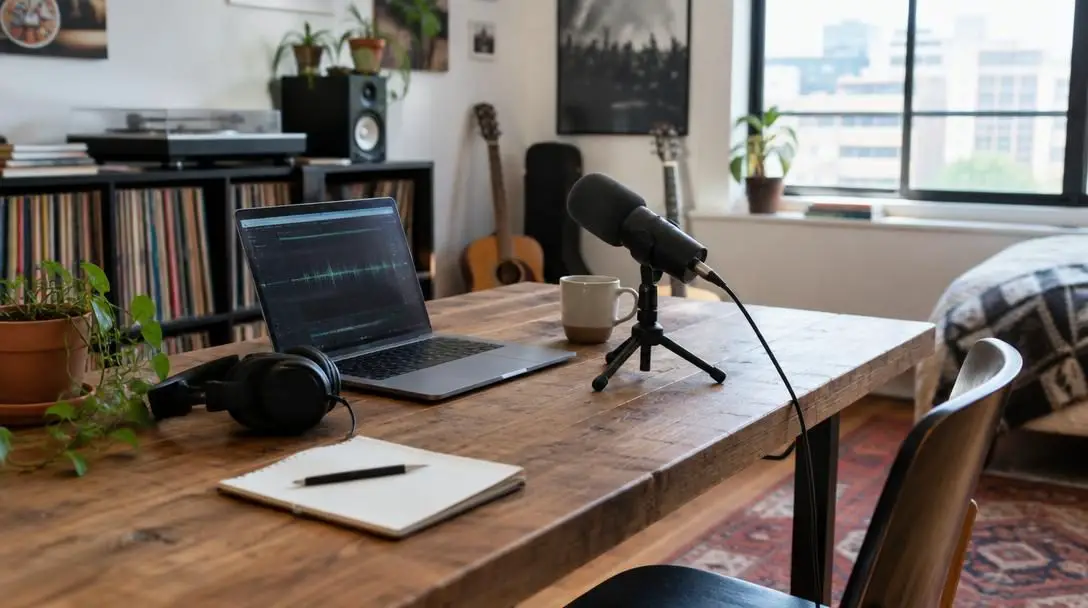
Every home recording setup functions as an unbroken chain: sound originates as mechanical acoustic vibrations, converts into an electrical signal through a microphone, transforms into digital binary data through an interface, and is finally translated back into audible sound waves through speakers or headphones. Choosing reliable components across each stage of this signal path guarantees that your creative ideas translate cleanly into finished audio files.
Digital Audio Workstation (DAW)
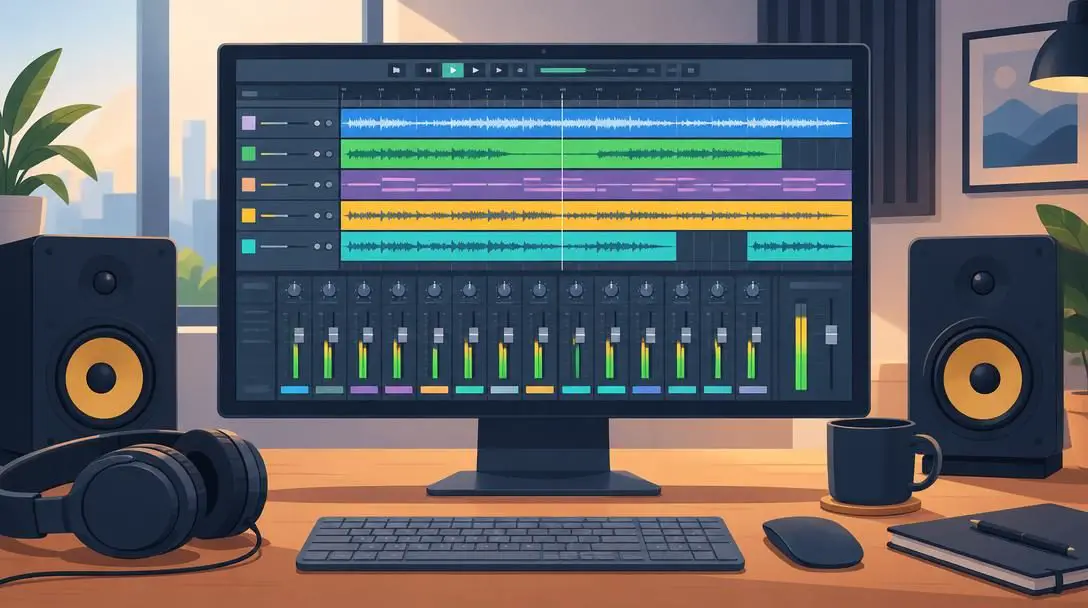
The Digital Audio Workstation is the central production software that replaces traditional multi-track tape machines, patch bays, and massive analog mixing consoles. A DAW allows you to record multiple audio streams, slice and arrange individual takes, insert digital effects, and balance balance levels into a cohesive final stereo mix. Different DAW platforms offer distinct workflows tailored to electronic music production, live acoustic tracking, or podcast editing. Researching software options and networking with experienced producers will help you select a platform that complements your specific creative goals.
Audio Interface
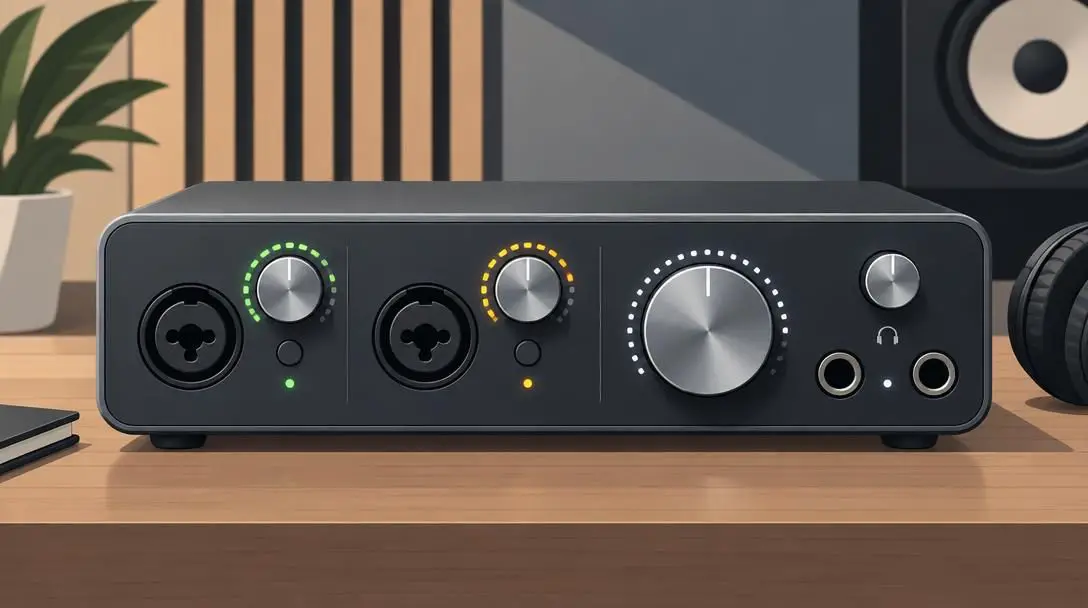
Because standard consumer computer sound cards lack high-fidelity audio processing and specialized input jacks, a dedicated external audio interface is required. This hardware unit serves as the physical bridge between your analog recording tools and your computer's digital environment. It contains dedicated preamplifiers to boost fragile microphone signals to usable line levels and houses analog-to-digital converters that translate incoming voltage fluctuations into digital data. In reverse, it converts digital audio streams back into analog signals so you can monitor your work through speakers or headphones with negligible latency.
Microphone, Cable, and Stand
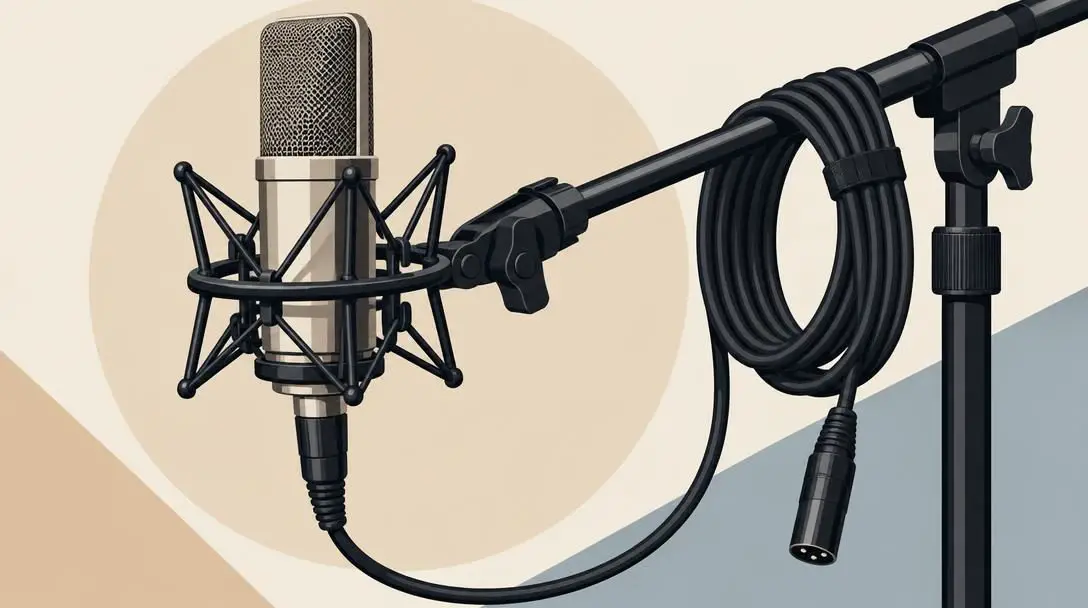
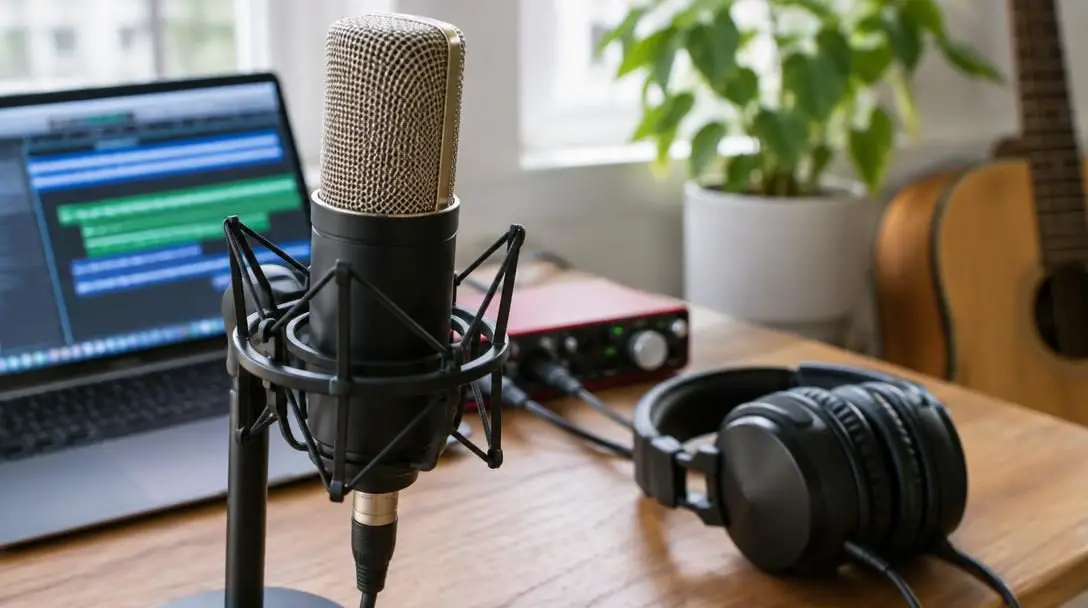
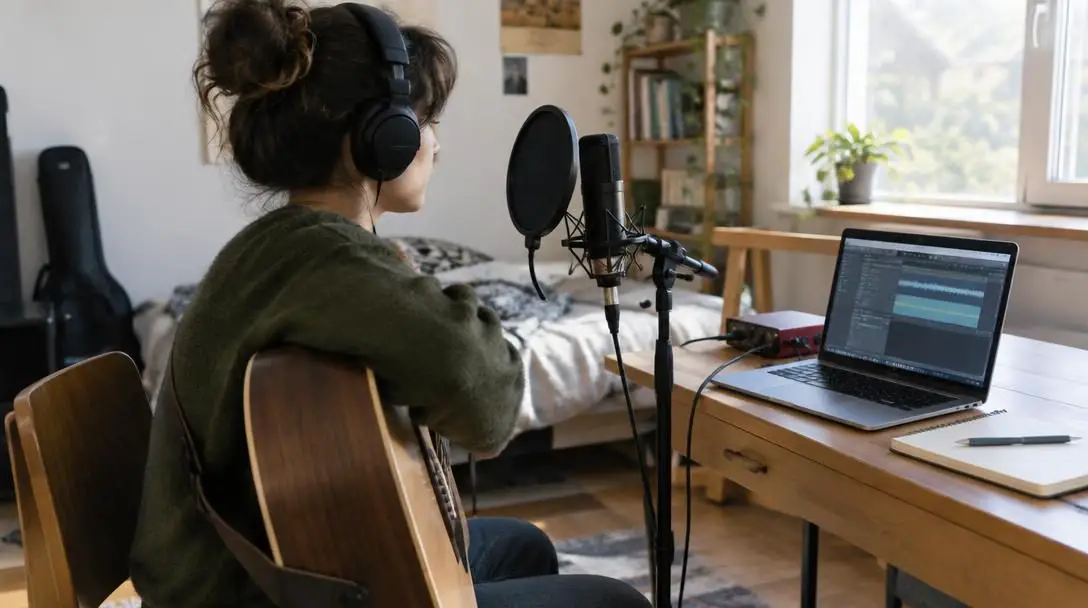
The microphone is the primary capture tool in your studio, responsible for converting physical acoustic energy into an electrical signal. To use a microphone effectively, you must pair it with a reliable XLR cable and a sturdy, adjustable stand. Placing a microphone on an unstable surface or holding it by hand introduces handling noise, mechanical vibrations, and inconsistent positioning that can compromise an otherwise great vocal or instrumental performance.
Popshield
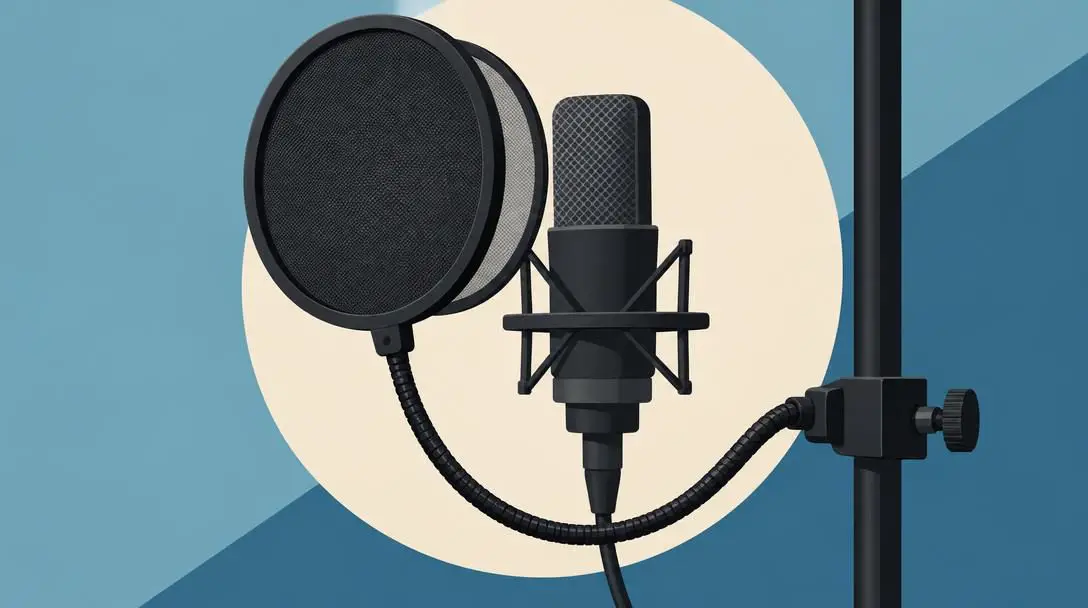
A popshield, commonly referred to as a pop filter, consists of a fine mesh or metal screen mounted between the vocalist and the microphone capsule. When singers pronounce plosive consonants such as "p" and "b," they expel sudden, high-velocity bursts of air. If these gusts hit the delicate diaphragm of a microphone unchecked, they produce an unnatural, low-frequency thud that is exceptionally difficult to eliminate during mixing. A simple popshield safely disperses this air movement before it strikes the capsule.
Studio Headphones
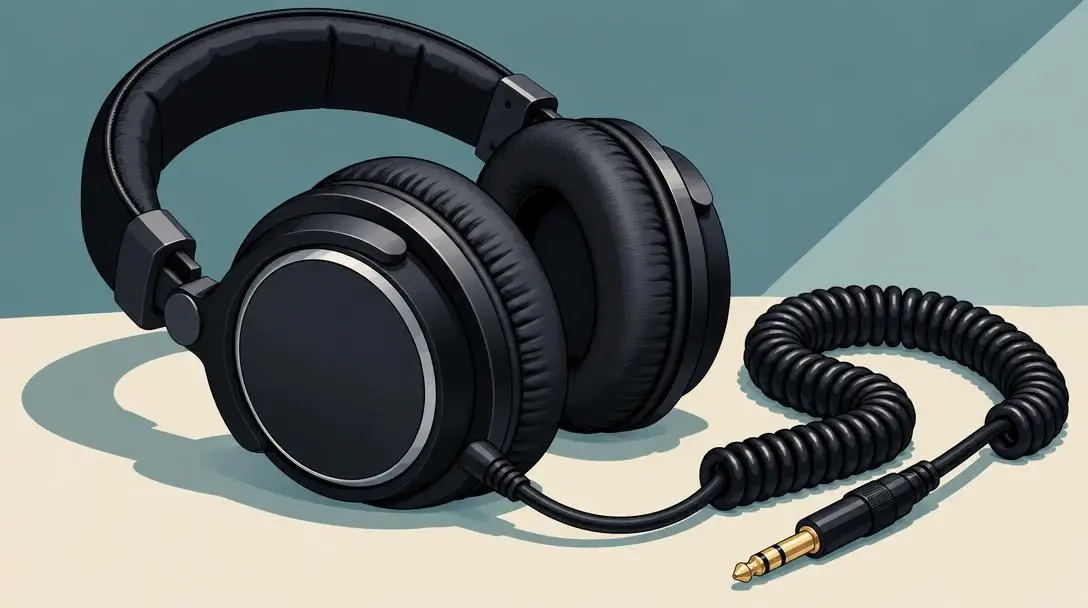
A dedicated pair of studio headphones provides direct, detailed monitoring while keeping sound from escaping into an active microphone. Unlike consumer listening headphones that artificially boost low frequencies, studio models strive for balanced, accurate frequency delivery. During recording passes, headphones allow the performer to hear backing tracks, metronomes, or reference guides clearly without causing acoustic bleed that ruins clean vocal or instrumental takes.
Studio Monitor Speakers
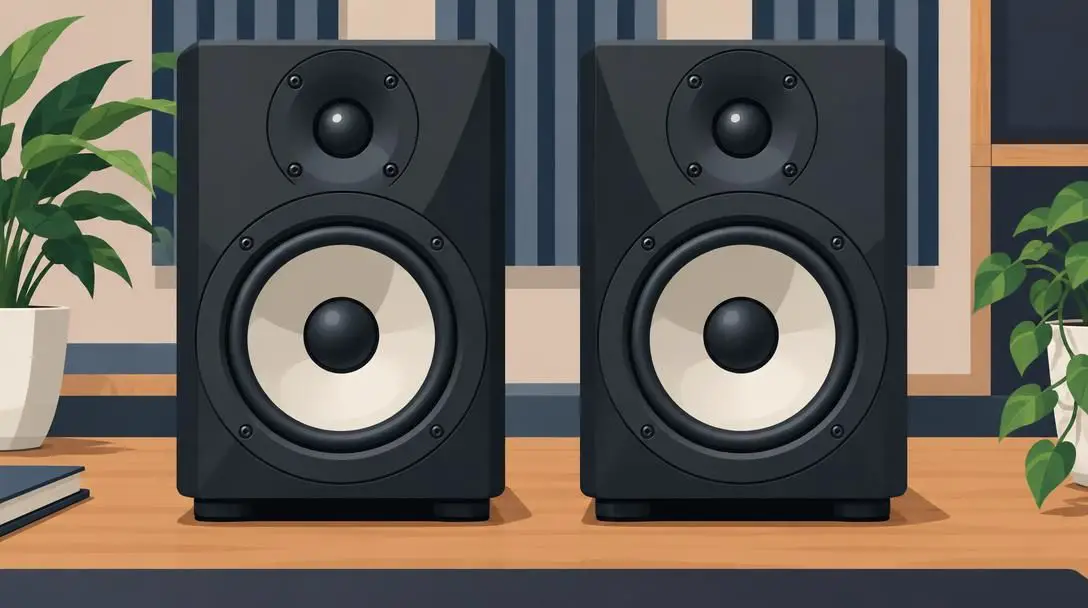
Unlike commercial hi-fi speakers designed to flatter music with boosted bass and hyped high frequencies, studio monitor speakers deliver an honest, unvarnished acoustic representation of your audio. Their flat frequency response allows you to pinpoint harsh resonances, track imbalances, and muddiness that consumer speakers routinely mask. Accurate monitoring guarantees that a mix translated to other playback devices—such as car sound systems, laptop speakers, or earbuds—remains clear and well-balanced.
Acoustic Treatment
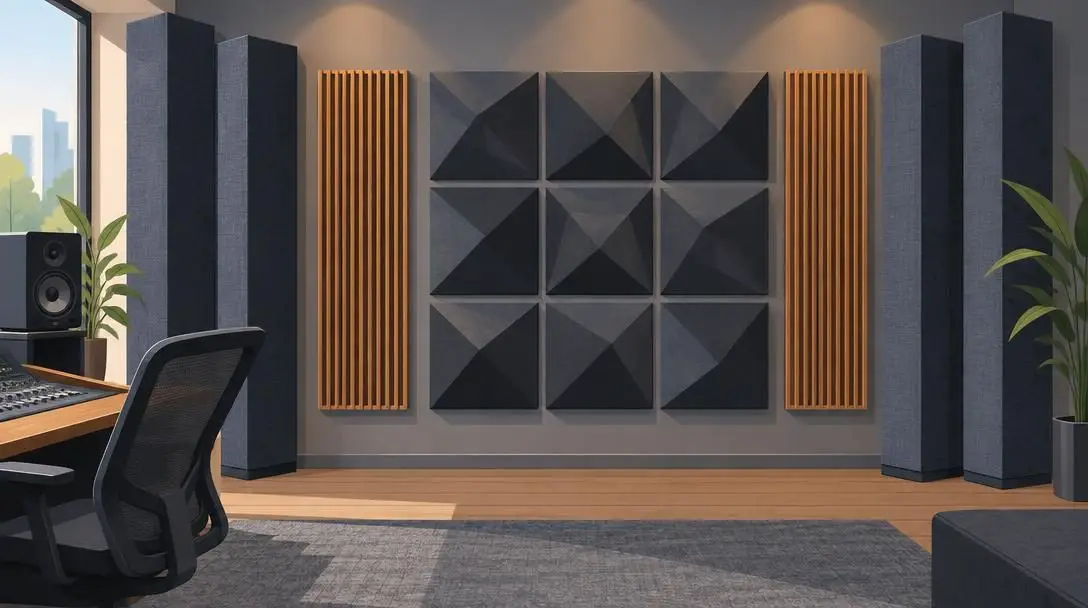
Even the finest hardware will struggle to yield clean recordings in an untreated domestic room. Bare drywall, hardwood floors, and low ceilings cause sound waves to ricochet around the room, generating flutter echoes and standing waves that color both the sound entering your microphone and the sound leaving your monitors. Incorporating targeted acoustic treatment absorbs and diffuses these reflections, creating a controlled listening environment where you can trust the sonic decisions you make.
| Component | Primary Role | Signal Direction | Studio Impact |
|---|---|---|---|
| Digital Audio Workstation (DAW) | Multi-track recording and mixing | Digital data processing | Core software workflow hub |
| Audio Interface | Preamplification and A/D conversion | Two-way (Analog/Digital) | Signal clarity and low latency |
| Microphone Setup | Capturing acoustic performance | Input (Acoustic to Analog) | Direct sonic character capture |
| Popshield | Dispersing vocal plosive air bursts | Physical acoustic shield | Prevents low-end vocal thuds |
| Studio Headphones | Isolated playback during tracking | Output (Analog to Ear) | Eliminates microphone bleed |
| Monitor Speakers | Flat-frequency audio evaluation | Output (Analog to Room) | Accurate mix balance decisions |
| Acoustic Treatment | Controlling room reflections | Environmental modification | Reduces unwanted echo and resonance |
Recording can make big files that require a powerful computer to manipulate, making system processing just as vital as your microphones.
Practical Steps to Recording Your First Track
Transitioning from an empty room filled with boxes of gear to a functioning recording environment requires methodical discipline. Rushing into a session without following a structured routine frequently causes lost takes, distorted tracks, and unnecessary stress. Follow this sequential workflow to ensure your tracking sessions operate cleanly from the start.
- Prepare your recording space: Clear clutter out of your workspace, shut off noisy appliances like fans or air conditioning units, and firmly anchor your microphone stand. Adjust the stand to match your performance height and clamp the popshield two to three inches in front of the microphone capsule.
- Connect and power your gear: Connect your audio interface to your computer via USB or designated bus connection. Plug your microphone into an input channel using a high-quality XLR cable, plug in your studio headphones, and adjust speaker volume dials to a safe starting level before launching your DAW.
- Establish file organization: Before hitting the record button, name your project file and establish a structured track naming convention. Labeling tracks with details such as instrument name, song title, or take number ensures your session files stay orderly and prevents media from getting lost on your hard drive.
- Set input gain levels: Have the performer run through the loudest portion of their song while you watch the input meters inside your DAW or on the interface hardware. Adjust the preamp gain so these loudest peaks register around -10 dBFS, creating generous headroom that protects against digital distortion.
- Execute the performance: Put on your studio headphones, engage the recording function within your software, and perform the passage cleanly. Once complete, listen back immediately to verify technical cleanliness, making sure no background buzzes, room reflections, or plosive thuds made it into the take.
- Handle basic balance with restraint: Avoid diving into heavy digital equalization, aggressive compression, or complex effects chains right after recording. Keep your initial post-recording adjustments restricted to modest volume fader balance and simple pan positioning.
Common Traps and Pitfalls to Avoid
Because modern recording involves multiple disciplines—acoustics, electrical engineering, software navigation, and musical technique—beginners routinely encounter pitfalls that impede their artistic progress. Being mindful of these stumbling blocks early will save money and spare you hours of creative frustration.
- Overspending before mastering the fundamentals: Novice engineers often assume that buying expensive, boutique microphones or high-end converters will automatically make their music sound professional. In reality, expensive hardware cannot compensate for poor microphone technique, improper gain staging, or a poorly tuned instrument. Master basic gear first before investing in luxury equipment.
- Tracking with excessive gain: In the vintage analog era, recording hot signals onto magnetic tape produced desirable tape saturation. In modern digital recording, however, exceeding 0 dBFS results in harsh digital clipping that degrades audio permanently. Always leave safe headroom by targeting maximum peaks around -10 dBFS during tracking.
- Neglecting file organization: Leaving sessions filled with default track names like "Audio 1" or saving project files haphazardly to a crowded desktop creates chaos. When a session expands to include dozens of tracks, disorganized file management leads to missing audio assets, broken file links, and wasted time.
- Overcomplicating the mixing stage: Beginners often attempt to fix recording errors by stacking complex equalizers, compressors, and reverb plugins onto every channel. Basic mixing is challenging enough on its own; applying aggressive processing without a trained ear usually makes tracks sound thin, muddy, or unnatural.
- Ignoring room acoustics: Placing a sensitive microphone inside a room surrounded by bare plaster walls, large windows, and reflective floors introduces hollow, boxy resonances into your tracks. Without basic acoustic treatment, your recordings will capture unwanted room reflections that cannot be removed later.
Developing Your Craft and Expanding Your Horizon
Producing audio at home is an intricate craft that requires sustained dedication and deliberate practice. It is completely normal for your earliest recordings to sound unpolished, flat, or dynamic when compared to commercial releases engineered by seasoned professionals in specialized acoustic environments. Rather than feeling discouraged by early shortcomings, treat each session as an educational study in microphone placement, room interaction, and balance.
As you build confidence with basic tracking routines and maintain clean signal levels, seek out communities of fellow audio enthusiasts and home producers. Exchanging constructive feedback with peers exposes you to different workflows, listening perspectives, and problem-solving techniques. Over time, you can systematically broaden your knowledge base by studying microphone polar patterns, experimenting with room acoustic treatment, and exploring nuanced equalization strategies.
Frequently asked questions
How much money do I need to start a home recording studio?
Most beginners need to invest at least $300 to purchase basic utility equipment and a microphone from scratch. This baseline amount does not include the cost of a capable computer, which must have sufficient processing speed and memory to handle large audio files without stalling or crashing.
What is a DAW and why do I need one?
A Digital Audio Workstation (DAW) is the software suite used to record, edit, process, and mix multi-track audio projects directly on your computer. It serves as the digital hub of your home studio, replicating the functions of traditional multi-track tape machines and physical mixing consoles.
What level should I aim for when setting recording input meters?
When tracking your loudest performance passages, adjust your preamplifier gain so that the peaks settle around -10 dBFS on your digital meters. Maintaining this buffer prevents unexpected dynamic spikes from hitting 0 dBFS, which produces harsh and unrecoverable digital clipping.
Why shouldn't I use consumer entertainment speakers for mixing?
Consumer entertainment speakers artificially enhance bass and treble frequencies to make music sound flattering, which hides flaws in your raw audio. In contrast, dedicated studio monitor speakers provide a flat, honest frequency response, allowing you to identify balance problems and ensure your mixes translate accurately across all playback systems.
What does a popshield do for vocal recordings?
A popshield, or pop filter, is placed between the performer and the microphone to disperse sudden bursts of fast-moving air generated by plosive consonants like "p" and "b." Blocking these air blasts prevents unwanted low-frequency thuds from distorting your vocal takes.
The bottom line
The barrier to entry for music and audio production has never been lower, bringing studio-grade potential within reach of home hobbyists and aspiring professionals alike. By understanding that clean recording stems from a disciplined workflow—rather than accumulating an excessive collection of expensive gear—you can produce high-quality audio projects right from home. Invest in foundational gear, keep your files organized, maintain safe digital levels, and give your creative skills room to grow with each track you record.