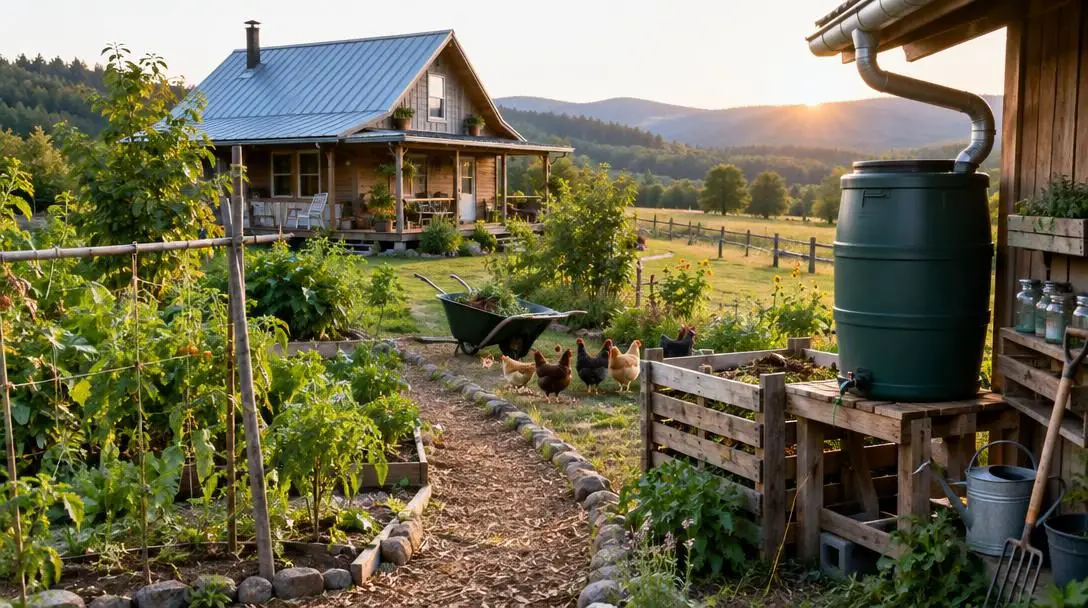
Homesteading Secrets: 5 Fundamentals to Compost Faster
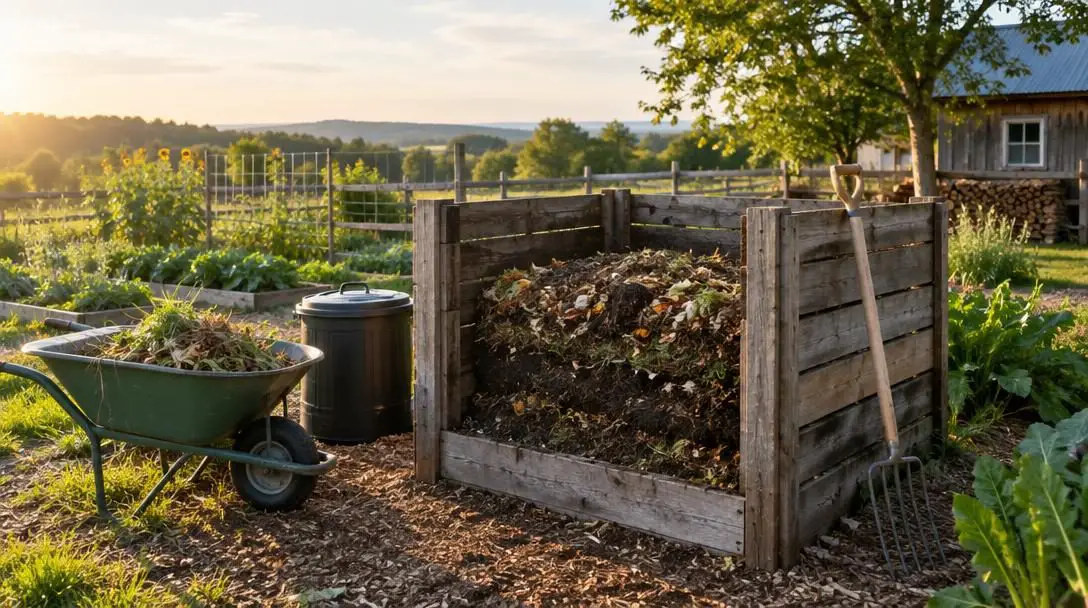
On a homestead or productive garden, organic scraps are far too valuable to treat as useless waste. Sending discarded kitchen trimmings and yard clippings to a landfill traps organic material in anaerobic conditions where it cannot decompose naturally, producing toxic garbage rather than revitalizing the earth. By managing your own compost, you step directly into the circle of life, taking kitchen leftovers, pulled weeds, and livestock bedding and converting them into dark, nutrient-dense soil amendment to nourish crops and sustain permaculture garden ecosystems.
The central obstacle for most homesteaders is time. Left untended, a cold, passive compost pile can easily take up to two years to break down, a frustrating delay that stalls garden expansion—especially in colder climates where ambient chill halts microbial activity. By shifting from slow passive breakdown to active hot composting, you can dramatically accelerate the natural cycle, harvesting rich, steaming black compost in as few as 3 to 6 months.
Key takeaways
- Hot composting speeds decomposition from up to two years down to just 3 to 6 months by sustaining internal biological heat between 50 and 70 degrees Celsius (125 to 160 degrees Fahrenheit).
- Running multiple batches rather than treating a single bin as a continuous disposal system ensures older material can rest and finish without being contaminated by fresh scraps.
- Jumpstarting a new heap with a gallon or more of finished compost instantly inoculates the raw waste with billions of active microorganisms.
- Balancing moisture-rich greens and fibrous browns in an approximate visual 1:1 ratio gives bacteria the ideal fuel to generate maximum heat without rotting or stinking.
- Weekly turning reintroduces essential oxygen and moisture into the core, keeping aerobic microbes thriving and preventing the pile from turning sour and cold.
How thermal biology accelerates homestead composting
The remarkable speed of hot composting is powered by natural biological heat generated by microscopic life. In a functioning hot pile, billions of aerobic microorganisms rapidly consume simple sugars, proteins, and structural fibers. As these organisms feed, reproduce, and respire, their combined metabolic activity drives the core temperature upward, creating a miniature biological furnace right in your backyard.
In an efficiently managed setup, the internal temperature of the pile should consistently read between 50 and 70 degrees Celsius, which translates to 125 to 160 degrees Fahrenheit. During crisp autumn or frosty winter mornings, a thriving pile will visibly vent plumes of steam into the air. This steam serves as immediate visual confirmation that microbial populations are thriving deep within the heap.
Heat is the primary driver of rapid decomposition, converting raw organic waste into rich black gold in just a few short months.
The five core fundamentals to compost faster
Moving away from stagnant, multi-year piles requires a deliberate shift in how you build, feed, and manage your compost heap. These five core fundamentals establish and maintain the intense internal heat needed to produce finished compost on a reliable schedule.
Check Its Temperature
Consistently monitoring the internal core reveals exactly how your microorganisms are performing long before physical changes become visible on the outside. You can track this warmth using a dedicated long-stem compost thermometer or by repurposing a standard kitchen meat thermometer. However, you must keep the meat thermometer strictly for outdoor soil use; never bring it back indoors for food preparation.
Internal temperatures naturally peak and fall as distinct waves of microbial species finish consuming specific compounds and yield to others. You do not need to panic if the pile is not scorching hot every single day. Tracking the temperature simply gives you clear feedback, alerting you the moment the core cools down so you know it is time to aerate, adjust moisture, or add biological fuel.
Set Up More Than One Compost
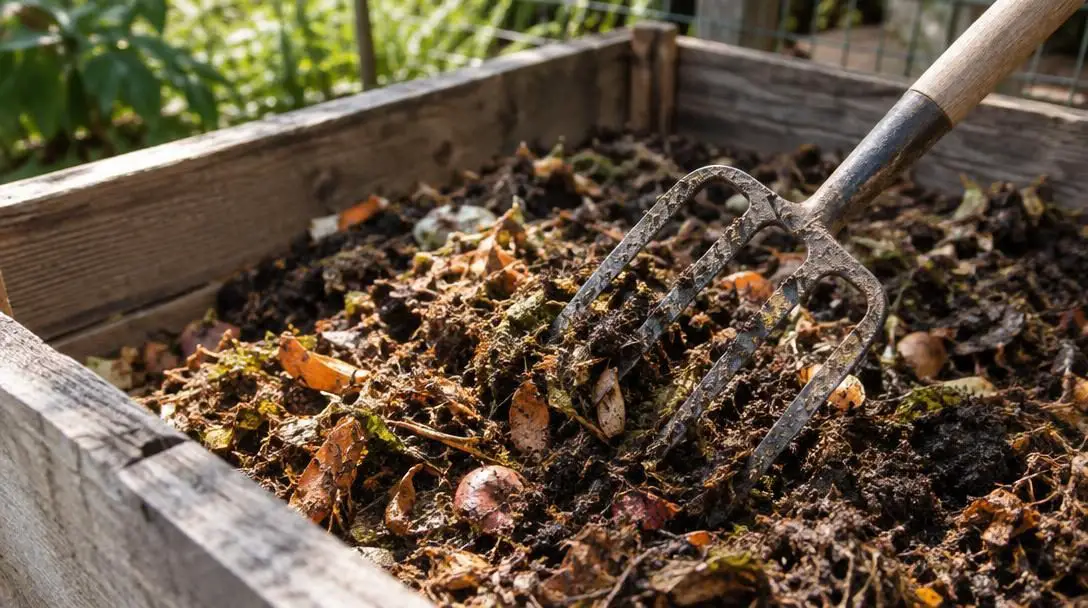
One of the most frequent missteps among beginners is treating a single compost heap as a bottomless garbage bin. Tossing fresh vegetable ends, potato peelings, or freshly plucked weeds onto a heap that has been breaking down for weeks immediately resets the decomposition clock for that batch. You end up with a frustrating blend of finished black loam intertwined with whole, unprocessed kitchen scraps.
The solution is running a structured, multi-pile batch rotation. Spend approximately three months gathering materials to construct and fill a single pile. Once that bin is fully assembled, stop adding fresh inputs entirely. Let it cook, turn, and decompose undisturbed for the next three months. While that completed batch is maturing, open and begin filling an entirely new pile. Many serious homesteaders operate three or four distinct heaps or bins side by side to ensure a non-stop harvest of dark compost for their garden beds.
Add Finished Compost to Your New One
Starting a new compost pile with only fresh kitchen scraps and raw yard waste means relying solely on wild ambient bacteria and fungi blowing in on the wind. This passive colonization introduces a lag phase that can leave materials sitting dormant for weeks before active decomposition takes hold.
You can bypass this initial delay by intentionally introducing an established microbial workforce from day one. Finished compost retains an immense, diverse population of active microorganisms. Adding a gallon or more of finished compost directly into the core of your newly assembled heap acts as an immediate biological starter. These beneficial microbes rapidly multiply across the fresh surfaces, accelerating the startup phase and triggering rapid temperature increases.
Add a Mix of Materials
Composting microbes require a precise chemical balance of nutrients to sustain intense metabolic activity and generate high heat. The ideal target is roughly a 1:1 biological ratio of nitrogen-supplying ingredients to carbon-rich materials. If the mixture swings too heavily in one direction, the biological system fails; an overabundance of wet nitrogen causes the mass to turn sour, rot, and stink, while an excess of carbon starves the bacteria of protein, causing the pile to sit inert and cold.
On the homestead, these two categories are categorized as greens and browns. Rather than getting bogged down in complex laboratory formulas, aim for a balanced 50/50 visual proportion when assembling your materials:
- Greens (Nitrogen): High-moisture, protein-dense materials that fuel rapid microbial reproduction. These include kitchen scraps, vegetable tops, roots, seeds, corn cobs, shells, coffee grounds, loose tea leaves, compostable tea bags, spoiled leftovers, freshly cut grass clippings, pulled garden weeds, coop chicken droppings, and green plant prunings.
- Browns (Carbon): Dry, fibrous inputs that supply structural bulk, trap air channels, absorb surplus water, and serve as long-term energy. Common browns include torn cardboard, scrap paper, dry autumn leaves, small sticks, untreated wood sawdust and wood shavings, and clean straw.
Turn Your Compost Weekly
The microbial colonies responsible for high-heat breakdown are strictly aerobic, meaning they depend on oxygen to survive and work. As a pile sits, gravity, moisture, and settling cause the materials to compact. This compaction forces air out of the interior, suffocating beneficial bacteria and causing temperatures to plunge as foul-smelling anaerobic bacteria take over.
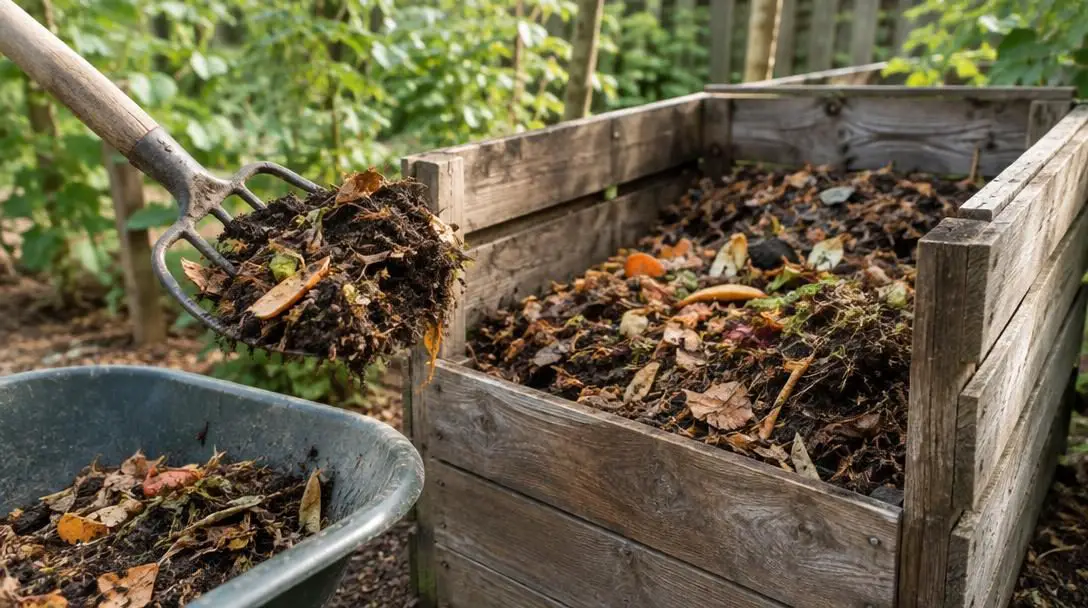
Physically turning the pile weekly re-establishes airflow, fluffing up the materials and exposing untouched scraps to the hottest biological zone at the core. At the same time, turning allows you to inspect moisture levels; if the pile has dried out, you must water it thoroughly, as microbes need moisture to move and metabolize. If you want to push decomposition to maximum speed, turn the pile every time the core thermometer shows that temperatures have cooled. For most growers, a strict once-per-week turning schedule is fully sufficient to deliver finished black gold in three to six months.
Balancing greens and browns at a glance
Achieving the right balance does not require clinical precision. Observing the visual volume of what you add and understanding the specific role of each input will keep your pile operating smoothly in the active thermal zone.
| Category | Nutrient role | Common homestead inputs | Primary function in the pile |
|---|---|---|---|
| Greens | Nitrogen-rich | Vegetable tops, roots, seeds, corn cobs, shells, coffee grounds, loose tea, compostable tea bags, spoiled food, grass clippings, weeds, chicken droppings, green prunings | Provides moisture and protein to feed microbial reproduction and ignite core heat |
| Browns | Carbon-rich | Torn cardboard, scrap paper, dry leaves, small sticks, untreated sawdust, wood shavings, dry straw | Supplies structural support, absorbs surplus liquid, maintains air pockets, and provides cellular energy |
| Inoculants | Biological starter | Finished compost (one gallon or more) | Supplies billions of ready-to-work bacteria and fungi to bypass the startup lag phase |
A practical workflow for faster batch composting
Executing a rapid composting schedule requires organizing your tools, sorting your inputs, and handling the pile with a consistent routine. Follow these sequential steps to establish a high-efficiency rotation on your homestead:
- Designate your composting zones. Set aside a dedicated location on your homestead large enough to accommodate at least two piles or bins side by side, leaving room to expand to three or four as your garden grows. Keeping heaps adjacent minimizes the physical effort required to flip materials between bays.
- Gather raw inputs into separate holding areas. Collect indoor kitchen waste in a designated countertop or under-sink caddy, saving vegetable peels, corn cobs, coffee grounds, tea bags, and crushed shells. Keep a dry storage container or covered pile nearby stocked with dry leaves, shredded cardboard, untreated wood shavings, or straw so you always have carbon ready when adding nitrogen.
- Assemble materials in balanced visual layers. When adding materials to your active bin, add your green kitchen scraps, weeds, grass clippings, or coop manure alongside an equal volume of dry carbon browns. Thoroughly blend in a gallon or more of finished compost to distribute active bacterial colonies throughout the fresh volume.
- Assess moisture and aroma. During assembly and each subsequent turn, evaluate the dampness of the heap. It should feel like a damp, wrung-out sponge; if it feels dry or dusty, water it gently with a hose. If you detect unpleasant rotting odors, the heap is overly wet or nitrogen-heavy, requiring an immediate addition of shredded cardboard, straw, or dry leaves.
- Monitor internal core temperatures. Insert a specialized long-stem compost thermometer or a dedicated outdoor-only meat thermometer into the deepest part of the pile. Look for temperatures to climb steadily into the optimum range of 50 to 70 degrees Celsius (125 to 160 degrees Fahrenheit).
- Turn the pile once every week. Use a shovel, a specialized compost aerator, or a mechanical auger to thoroughly loosen the pile every seven days. If using a shovel, move the uncomposted outer edges into the center and lift bottom layers upward. If you want maximum breakdown speed, turn the heap immediately whenever internal temperature readings drop.
- Close the batch and start the resting phase. Once you have filled the bin over roughly three months, stop adding all fresh food scraps and green garden waste. Continue turning and watering the sealed pile weekly for the next three months, letting it mature undisturbed into dark, crumbly dirt while opening your second bin for daily scraps.
Common mistakes that stall your pile
When an active compost pile grinds to a halt, the issue can almost always be traced back to an imbalance in air, moisture, temperature, or pile management. Recognizing these frequent pitfalls keeps your decomposition timeline on track:
- Continuous feeding: Tossing fresh kitchen trimmings into an active pile that is already several weeks old continually resets the breakdown timeline, leaving you with an uneven mixture of finished humus and raw vegetable rinds. Always lock off a full pile and start a fresh batch.
- Allowing the heap to desiccate: Aerobic bacteria require moisture to move, consume material, and reproduce. If a pile dries out during hot summer weather, microbial metabolism drops to near zero, cooling the core. Water the pile during weekly turnings whenever materials lose their sponge-like dampness.
- Imbalanced carbon-nitrogen proportions: Overloading a bin with wet food waste, fresh lawn clippings, and chicken manure causes the heap to become soggy and foul-smelling. Conversely, packing a heap with only dry straw, wood chips, and dry leaves without adequate nitrogen prevents biological heating entirely. Maintain an approximate 50/50 visual proportion.
- Skipping weekly aeration: Without physical aeration, piles compact under their own weight, squeezing out oxygen. The internal ecology quickly shifts from hot aerobic digestion to cool, sluggish, foul-smelling anaerobic rot. Regularly turning the pile with a shovel, hand aerator, or auger preserves oxygen flow.
- Using contaminated monitoring tools: Repurposing an indoor kitchen meat thermometer is an economical way to monitor heat, but forgetting to dedicate that tool exclusively to garden tasks presents a serious health risk. Clearly label your compost thermometer and store it with your outdoor tools.
Frequently asked questions
How hot should my compost pile get to ensure rapid decomposition?
An efficiently managed hot compost pile should maintain an internal core temperature between 50 and 70 degrees Celsius, which is equivalent to 125 to 160 degrees Fahrenheit. This intense thermal range accelerates the breakdown of tough organic bonds and is hot enough to produce visible steam on cold mornings.
Can I repurpose a kitchen meat thermometer to test my compost?
Yes, a standard kitchen meat thermometer can be used to monitor compost core temperatures if you do not have a dedicated compost thermometer. However, you must keep it exclusively for outdoor gardening use and never bring it back into the kitchen for cooking, as garden compost contains wild bacteria and manure pathogens.
Why is it a mistake to keep adding fresh scraps to an active compost pile?
Adding fresh scraps to a partially decomposed heap continually restarts the breakdown clock for those new inputs. This leaves you with an unusable, uneven mixture of finished dirt and fresh food waste. Managing distinct batches over three-month filling and three-month curing cycles ensures a completely uniform harvest.
What should I do if my compost pile starts to rot and smell bad?
A foul, rotting odor indicates that your pile has too much wet nitrogen or has run out of oxygen and turned anaerobic. You should immediately turn the pile to introduce fresh air and mix in dry, carbon-rich browns such as shredded cardboard, dried leaves, straw, or sawdust to restore a roughly 1:1 balance.
How much finished compost do I need to jumpstart a brand-new pile?
Adding a gallon or more of finished compost into a newly built pile is sufficient to inoculate the entire mass with active microorganisms. These beneficial bacteria and fungi will quickly spread across the fresh scraps, significantly shortening the initial startup lag phase.
How often do I need to turn my compost to keep it hot?
Turning your compost once a week is generally sufficient to maintain steady oxygen levels and high heat. If you want to accelerate the timeline even further, you can turn the pile every time your thermometer indicates that the core temperature has begun to cool down.
The bottom line
Managing an accelerated compost system transforms how you run your homestead, replacing years of passive waiting with a steady harvest of nutrient-rich soil amendment every three to six months. By monitoring core temperatures between 50 and 70 degrees Celsius (125 to 160 degrees Fahrenheit), establishing a multi-bin batch rotation, inoculating raw materials with finished compost, keeping a balanced 1:1 visual ratio of greens to browns, and aerating weekly, you create the ultimate environment for biological heat.
This steady supply of black gold closes the nutrient loop on your homestead. Instead of relying on store-bought fertilizers, you can confidently nourish vegetable beds, top-dress fruit trees, and expand your permaculture ecosystem using organic waste that was once destined for a landfill. With a few deliberate adjustments to your routine, hot composting will become one of the most reliable and rewarding engines of your self-sufficient lifestyle.