How to Install Your Own Irrigation Drip System in Four Steps
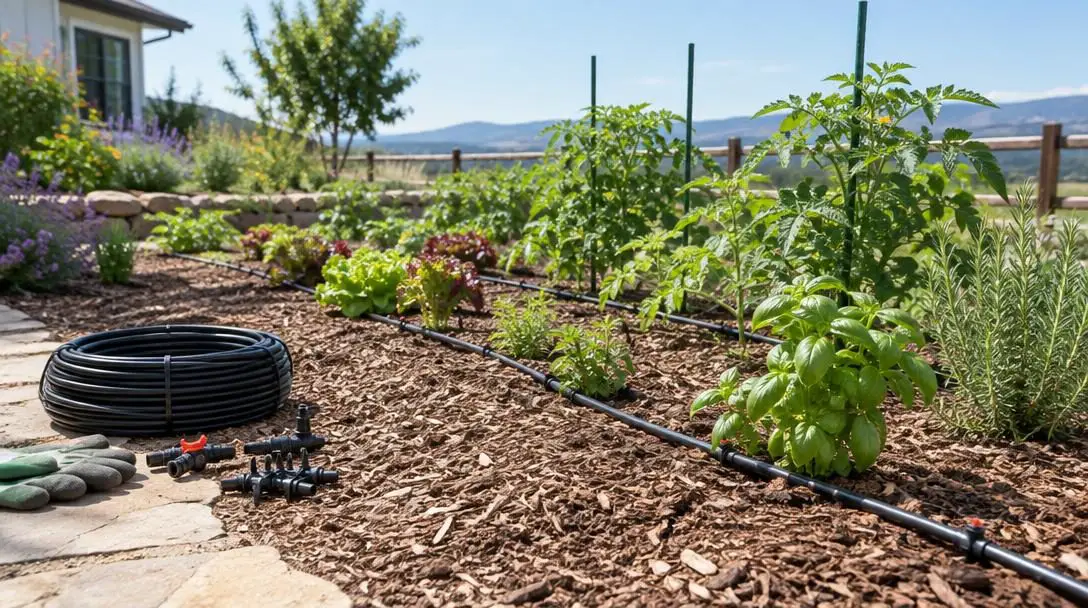
Caring for an outdoor space can be immensely rewarding, but manual watering quickly turns into an exhausting chore. Hauling heavy hoses across the yard, repositioning sprinklers, and standing with a spray nozzle consumes hours of valuable free time every week. Worse still, overhead spraying and open hose watering are inherently inefficient. Water delivered at high volume frequently runs off compacted soil, pools in areas where root systems cannot reach it, or evaporates into thin air under the midday sun before soaking into the earth.
Whether you manage a casual weekend flower bed or cultivate vegetable rows as part of a deliberate homesteading lifestyle, shifting to an automated approach transforms your garden routine. Installing a home drip irrigation system eliminates repetitive physical labor, conserves water, and directs moisture exactly where plants need it most. While designing a custom plumbing network may sound intimidating, assembling a functional, durable drip setup requires only basic supplies and four manageable steps.
Key takeaways
- Drip irrigation applies water directly to the base of each plant, dramatically reducing water waste caused by evaporation and soil runoff.
- The foundational system uses a sturdy one-inch main distribution line paired with quarter-inch branch lines feeding individual plants.
- Main line tubing is sold in 50-foot increments, meaning yard measurements only need to be rounded to the nearest coil length.
- Warming coiled tubing in the sun makes it significantly more pliable and prevents kinks during installation.
- Most leaks can be solved immediately by reseating loose fittings or sealing punched junctions with silicone adhesive.
The Mechanics of a Simple Drip Irrigation Network
To assemble an effective irrigation layout, it helps to understand how water moves through the system. Traditional sprinklers cast droplets across broad swathes of ground, dampening paths, walkways, and empty soil between rows where moisture simply feeds weeds. In contrast, drip irrigation delivers moisture directly to plant roots through a controlled, closed network of distribution tubes.
The system relies on a two-tier hierarchy to balance water volume and localized delivery:
- The Primary Main Line: A heavy-duty, one-inch tube connects directly to your outdoor faucet or timer. This line serves as the high-volume central conduit, carrying water across the overall footprint of your garden beds or homestead plot.
- Secondary Branch Lines: Narrow one-quarter-inch tubes branch off the main line at targeted intervals. These smaller runs transport water from the main pipeline directly to the soil surface at the base of each individual plant.
By keeping the design stripped-down and minimal—avoiding delicate micro-sprayers, complex underground trenches, or weeping soaker pipes—you dramatically reduce maintenance headaches and mechanical failures. If you choose to integrate specialized emitters later, this core structure remains entirely compatible.
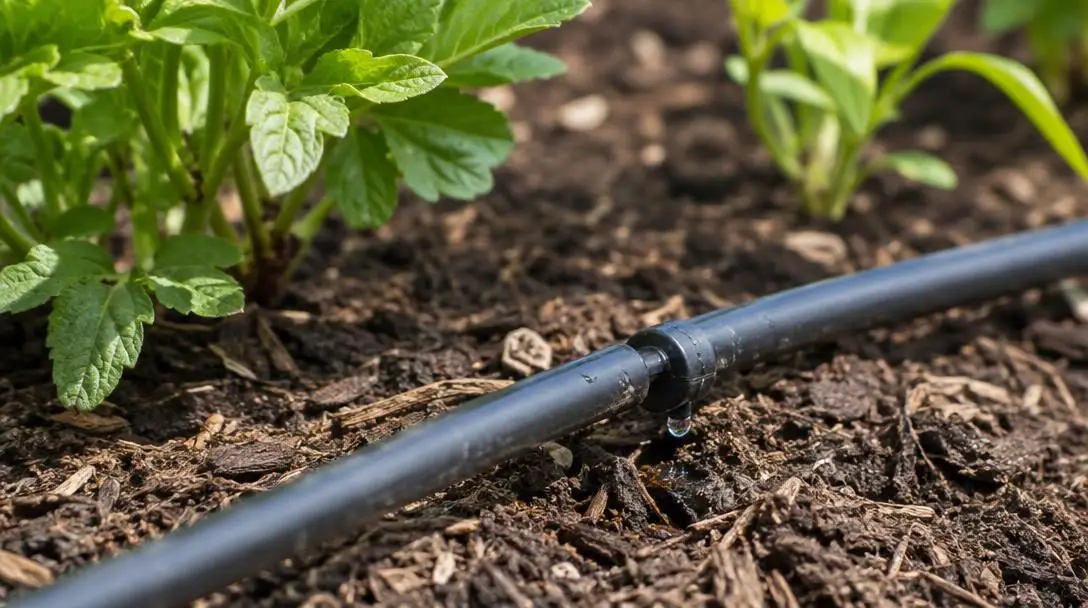
A targeted drip network bypasses the waste of open spraying by funneling moisture directly to the soil where roots absorb it.
Gathering Your Materials and Sizing the Layout
Before purchasing hardware, you must map out the path of your garden beds to determine the required tubing length. Precision to the exact inch is unnecessary. Because home centers and hardware retailers stock one-inch distribution tubing in 50-foot coils, your primary measurement only needs to be accurate within a 50-foot window. For example, if your planting beds span a walking route of roughly 80 feet, purchasing two 50-foot coils provides 100 feet of material, giving you ample slack to navigate corners.
For the secondary runs, estimate a few feet of quarter-inch line for each plant you plan to water. Keeping the main line positioned close to your planting rows minimizes the length of quarter-inch tubing each branch requires.
| Component | Primary Function | Optional or Required |
|---|---|---|
| Faucet connection | Couples the one-inch main distribution tubing to the spigot | Required |
| Timing system | Automates watering schedules on a set routine | Optional |
| 1-inch tubing | Acts as the central water highway across the yard | Required |
| 1-inch connectors | Splices separate 50-foot coils together for long runs | Required (for runs over 50 ft) |
| 1/4-inch tubing | Transports water from the main line to plant bases | Required |
| 1/4-inch connectors | Barbed fittings that tap branch lines into the main line | Required |
| Hole punch tool | Pierces clean, circular insertion points in the main tube | Required |
| Line-cutting tool | Provides clean, square cuts across tubing | Required |
| Ground stakes | Pins tubing securely against the soil surface | Optional |
| End cap | Plugs the terminal end of the main line to pressurize the system | Required |
| Silicone adhesive | Seals stubborn joint leaks around punched fittings | Required |
Step-by-Step Installation Guide
Once your supplies are on hand, installation proceeds through four logical phases. Assemble your system systematically, working from the water source outward to ensure proper fit and pressure throughout the network.
- Select and finalize your system layout: Confirm the path of your primary conduit. Choose a path that weaves through your garden so the main line passes within a couple of feet of every plant needing irrigation.
- Gather tools and prep parts: Lay out your punch tool, cutters, connectors, and end cap. Ensure coils are warmed in the sun to eliminate factory coiling tension.
- Run and secure the main line: Thread the faucet connection onto your outdoor spigot. If you are using an automatic timer, attach the timer unit directly to the faucet first, then connect the one-inch tubing adapter to the timer's outlet valve. Route the one-inch tube down your garden path. Splice coils together using one-inch hose connectors if your run exceeds 50 feet. Anchor the tubing along the route using ground stakes, then push the end cap firmly onto the final terminus of the tube to seal the line.
- Connect the branch drips to each plant: Near each target plant, use the specialized punching tool to pierce the side wall of the one-inch line. Immediately insert a quarter-inch barbed connector into the hole, pressing firmly until it clicks into place. Push a length of quarter-inch tubing onto the exposed barb, route the open end to the root crown of the plant, and slice the tube to length with your cutting tool. Anchor the end using soil, mulch, or a small stake. Repeat this process for every plant along the bed.
Testing for Leaks and Troubleshooting
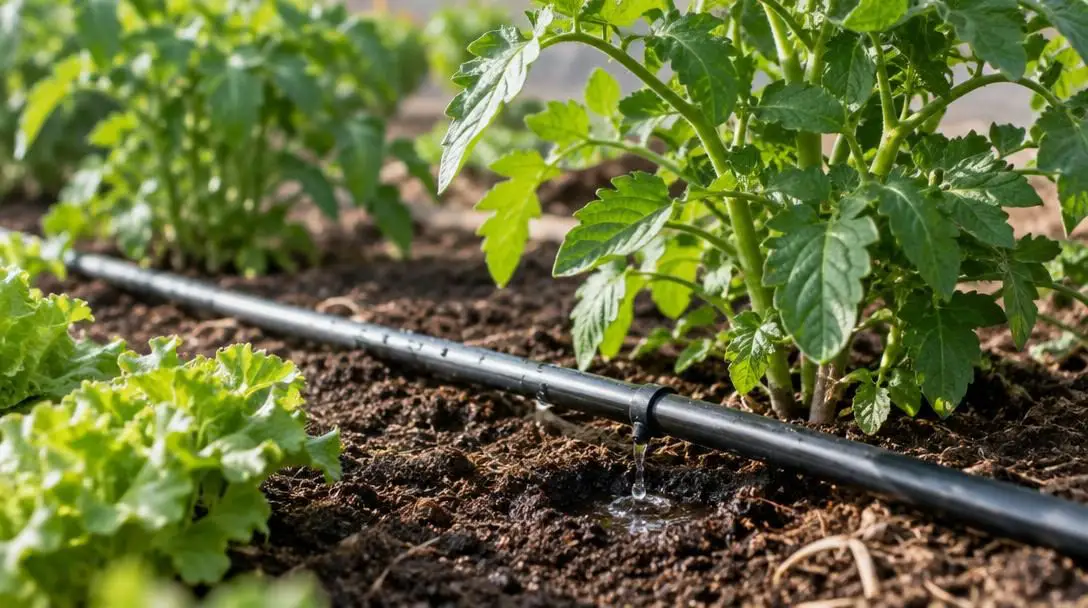
After all quarter-inch branch runs are in place, turn on your outdoor spigot to pressurize the network. Walk the perimeter of your garden to perform a thorough visual inspection. System leaks typically appear at three specific weak points: the initial faucet attachment, intermediate one-inch splicing couplers, and the punched insertion holes along the main tube.
When you discover escaping water, follow these standard corrective actions:
- Loose Faucet Connections: Check that the threaded adapter is seated squarely on the outdoor spigot threads. Hand-tighten the collar or replace worn internal rubber washers if water sprays from the junction.
- Splicing Leaks: Ensure both ends of the one-inch tubing are pushed fully over the barbed shoulders of the connector. Cutting tubing at an angle can cause gaps; recut the pipe ends square if necessary.
- Punched Hole Gaps: If water seeps from around a quarter-inch fitting, the barb may not be fully seated. Push the fitting until it clicks deep into the tube wall. If the hole has stretched or torn, apply a small dab of waterproof silicone adhesive around the collar of the connector to create a watertight seal.
Common Mistakes to Avoid
Setting up your own drip lines is straightforward, but avoiding a few standard pitfalls will save you time, replacement parts, and frustration:
- Rushing Connector Insertion: Barbed quarter-inch connectors must penetrate the main tube wall completely. Failing to press them in until they click allows internal line pressure to pop the fittings loose over time.
- Making Angled or Ragged Cuts: Dull blades or hasty diagonal cuts prevent tubing from seating squarely inside fittings. Always use a dedicated line-cutting tool to make clean, 90-degree cuts.
- Forgetting the Terminal End Cap: Leaving the end of the one-inch pipe open will simply dump a high-volume stream of water into the back of your yard, preventing the system from building enough pressure to feed the quarter-inch branches.
- Allowing Dirt Into the Punch Tool: Keep your punching device clear of garden debris. Dirt forced into the puncture wound compromises the seal and can clog downstream drip openings.
- Ignoring Early Seepage: Small drips at connection points might seem harmless, but over days of automated operation, minor leaks waste significant amounts of water and erode surrounding root beds. Seal them during initial testing.
System Maintenance and Future Expansion
Once your drip irrigation system is installed and running, routine maintenance is minimal. Periodically inspect the soil around your plants to ensure loose mulch or settled dirt has not buried or shifted the quarter-inch tube ends away from the root zones. Clear away any debris that threatens to pinch or obstruct water flow.
Because the network is fully modular, it adapts easily to your changing homestead or garden needs. If you add new vegetable rows or expand your planting beds next season, simply remove the end cap, attach a one-inch connector, and add another 50-foot coil of main line to extend the run. When adding new plants to existing beds, punch additional holes for new branch lines; if you harvest or relocate plants, remove the branch tube and cap the hole using a standard plug or a drop of silicone adhesive.
Frequently asked questions
Can I install a drip irrigation system without an automatic timer?
Yes. An automatic timer is entirely optional. Without a timer, you simply connect the one-inch main line directly to your outdoor faucet and turn the valve on and off manually whenever your garden needs watering.
How do I know how much tubing to purchase?
Measure the general path your line will follow through your beds and round up to the nearest 50-foot increment, as one-inch tubing is sold in 50-foot coils. For the quarter-inch branch lines, calculate a few feet of tubing per plant to cover the distance from the main line to the root base.
What should I do if a punched hole leaks around the fitting?
First, push the quarter-inch connector firmly to ensure it has clicked completely into the wall of the main line. If it continues to seep, turn off the water and apply a dab of silicone adhesive around the joint to seal the perimeter.
Why is my main tubing stiff and difficult to unroll?
Thick distribution tubing retains the coiled shape of its packaging. Leaving your coils out in the direct sunlight on a warm driveway, patio, or lawn will soften the material, making it pliable, easy to straighten, and less prone to kinking.
Can I expand the system later if I add more plants?
Yes. The modular design allows you to extend the main line at any time using one-inch hose connectors, or tap additional quarter-inch branch lines into the main tube wherever new plants are placed.
The bottom line
Setting up your own drip irrigation system removes the daily strain of manual watering while dramatically cutting down on outdoor water waste. By establishing a solid one-inch main distribution line and branching off quarter-inch tubes to individual root zones, you construct a resilient, low-maintenance network that keeps plants healthy all season long. With minimal upfront cost and simple assembly, this weekend DIY project pays lasting dividends in saved labor, lower utility bills, and a thriving garden.