The Art of Paper Mache: A Guide to Crafting with Recycled Materials
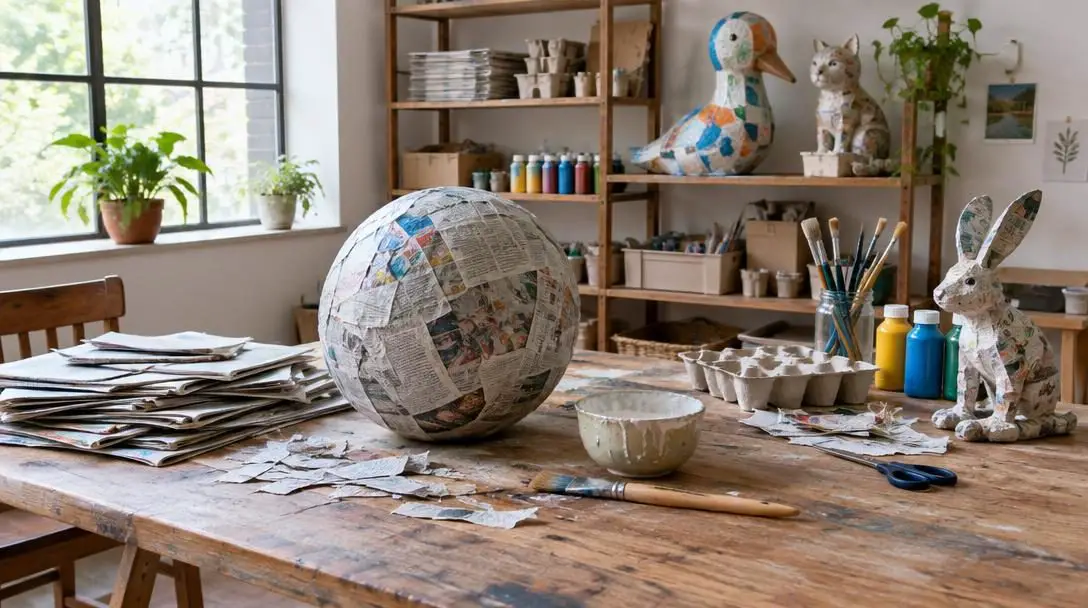
The art of paper mache, historically known as papier-mâché, represents one of the most resourceful and expressive traditions in craft history. Rooted in centuries of global artisan practice, this accessible craft binds common paper fibers with simple adhesive solutions to produce remarkably rigid, three-dimensional forms. Today, paper mache is celebrated not only for its versatile sculptural qualities but also as an exceptional vehicle for sustainable crafting.
By diverting clean waste from municipal waste streams, crafters can transform humble household scraps into durable home decor, functional vessels, and expressive decorative art. Because the medium requires no expensive equipment or hazardous chemicals, it welcomes makers of all skill levels to discover the sculptural potential hidden within ordinary discarded paper.
Key takeaways
- Paper mache turns household paper waste into sturdy, lightweight sculptures using a simple binder of flour, water, and glue.
- Adjusting the glue ratio in the paste recipe allows crafters to tailor the finished surface from sleek and smooth to raw and textured.
- Matching the right paper scrap to the construction phase—such as cardboard for skeletons and newspaper for skinning—ensures structural integrity.
- Complete drying between successive layers is mandatory to prevent warping, trapped moisture, and internal mold.
- Sealing the cured piece with a clear topcoat protects the water-soluble paste composite from ambient humidity and dust.
The Mechanics and Chemistry of Paper Mache
The fundamental mechanism behind paper mache is the physical cohesion established between pliable paper fibers and an adhesive paste. When raw paper strips or broken-down fibers are thoroughly saturated with a liquid adhesive, the cellulose relaxes, softening enough to wrap tightly around complex curves or pack together into clay-like forms. As the liquid water gradually evaporates, the starch molecules in the flour and the synthetic polymers in the glue crystallize and lock around the intertwined cellulose strands. This curing cycle transforms flexible paper scraps into a resilient, self-supporting composite structure.
The binding agent is traditionally made using straightforward pantry supplies: flour, water, and glue. PVA glue is widely favored, though any glue that dries clear works effectively. The recipe begins by combining one part flour with two parts water in a large mixing bowl, whisking thoroughly to create a completely smooth, lump-free mixture. Once smooth, clear-drying glue is introduced to the blend.
The volume of glue added directly controls the physical texture of the cured piece:
- For a smoother surface: Add a higher proportion of glue. The additional adhesive flattens the fibers down tight, producing a uniform, sleek exterior.
- For a textured surface: Reduce the quantity of glue. Using less adhesive leaves the raw paper tooth and organic grain visible and raised.
Selecting Your Recycled Materials
Every type of recycled paper product offers specific weights, absorption rates, and load-bearing capacities. Selecting the correct scrap material for each phase of construction ensures that your build remains stable without buckling under its own weight. Mixing heavy and light stocks indiscriminately can cause uneven drying, structural weak spots, and lumpy finishes.
| Material | Primary Role | Absorbency | Structural Rigidity |
|---|---|---|---|
| Newspaper | Surface layering and skinning | High | Low |
| Junk Mail | Reinforcement and shredded pulp | Moderate | Moderate |
| Magazines | Tensile reinforcement | Low | Moderate to High |
| Tissue Paper | Final exterior smoothing and textures | High | Very Low |
| Cardboard | Armatures and internal skeletons | Moderate | Very High |
| Egg Cartons | Dense modeling pulp | Very High | High (when cured) |
| Paper Plates and Cups | Pre-shaped cores and bases | Low to Moderate | High |
Newspaper
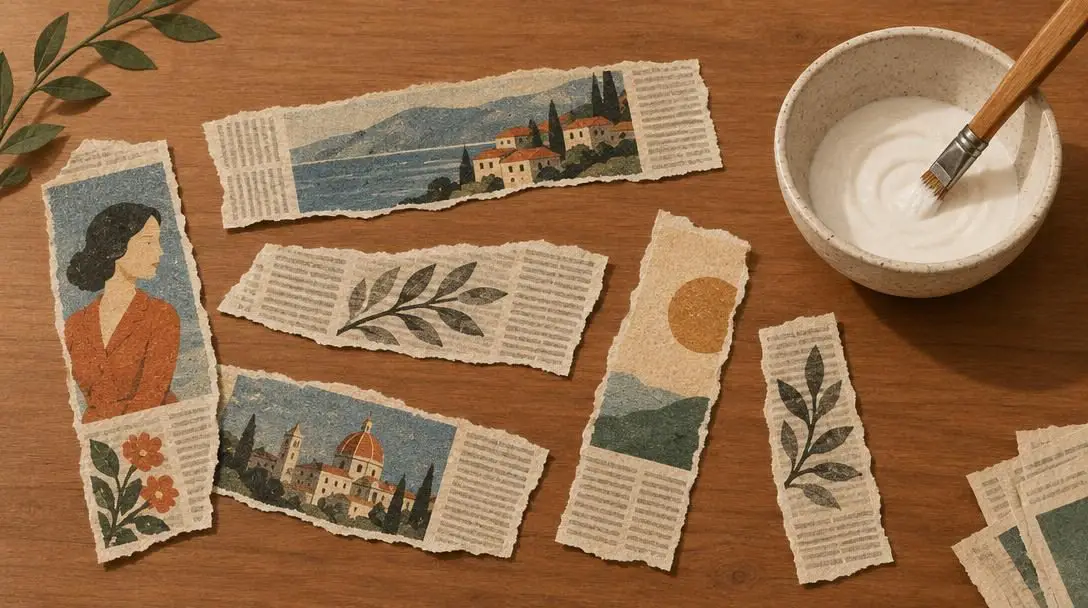
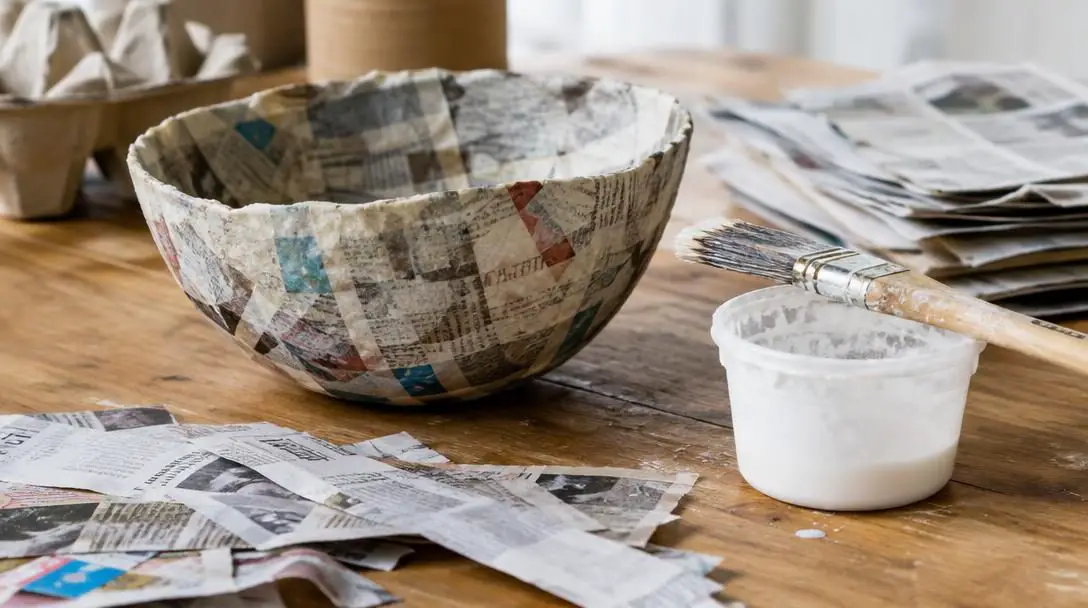
Lightweight, porous, and remarkably easy to tear, newspaper is the classic medium for laying flat, uniform skins over underlying armatures. Its fast absorption rate ensures thorough bonding with minimal weight buildup, allowing strips to conform effortlessly across intricate contours.
Junk Mail
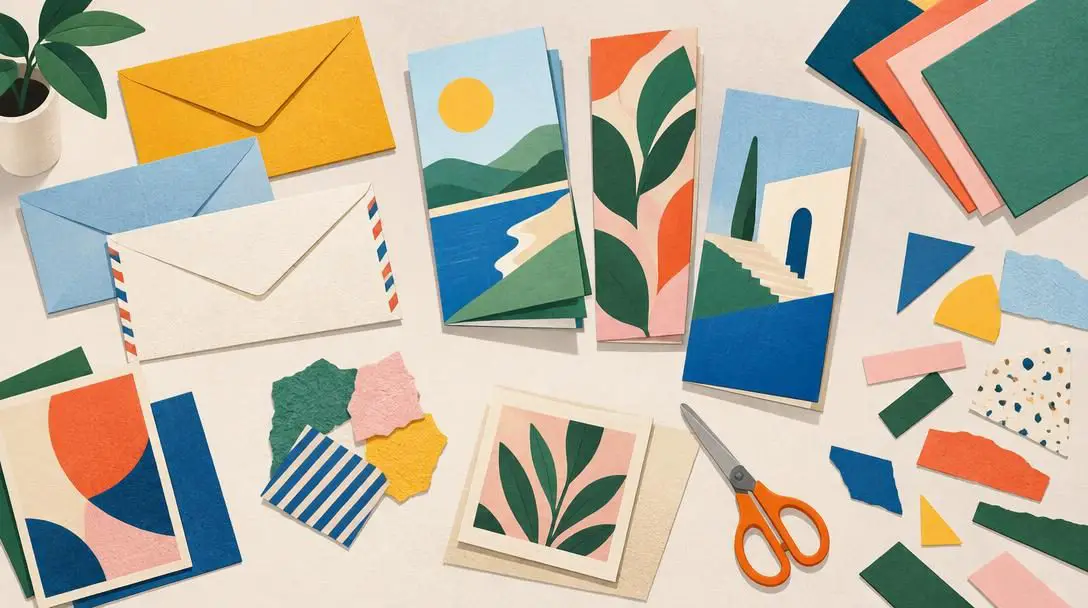
Junk mail provides an assortment of paper weights and sheet thicknesses. Sturdier cardstock sections work nicely for structural reinforcement, while uncoated sheets can easily be shredded down for pulp mixtures, making every unsolicited delivery useful.
Magazines
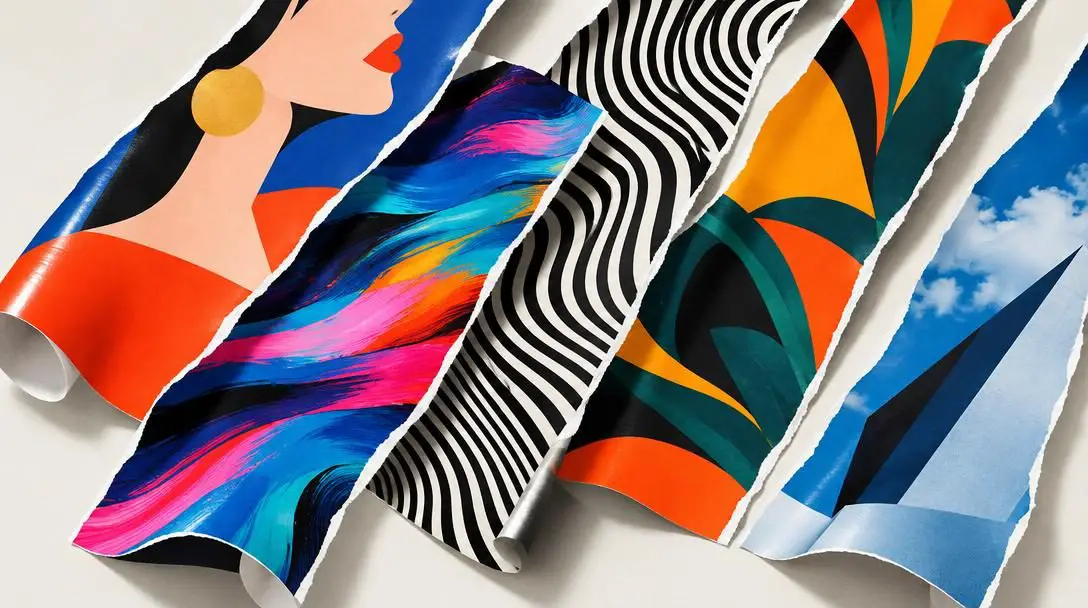
Magazine paper features strong, slick pages. While these glossy surfaces add substantial tensile strength to a piece, they are less absorbent and may require extra soaking or an adhesive mixture richer in glue to bond securely without peeling.
Tissue Paper
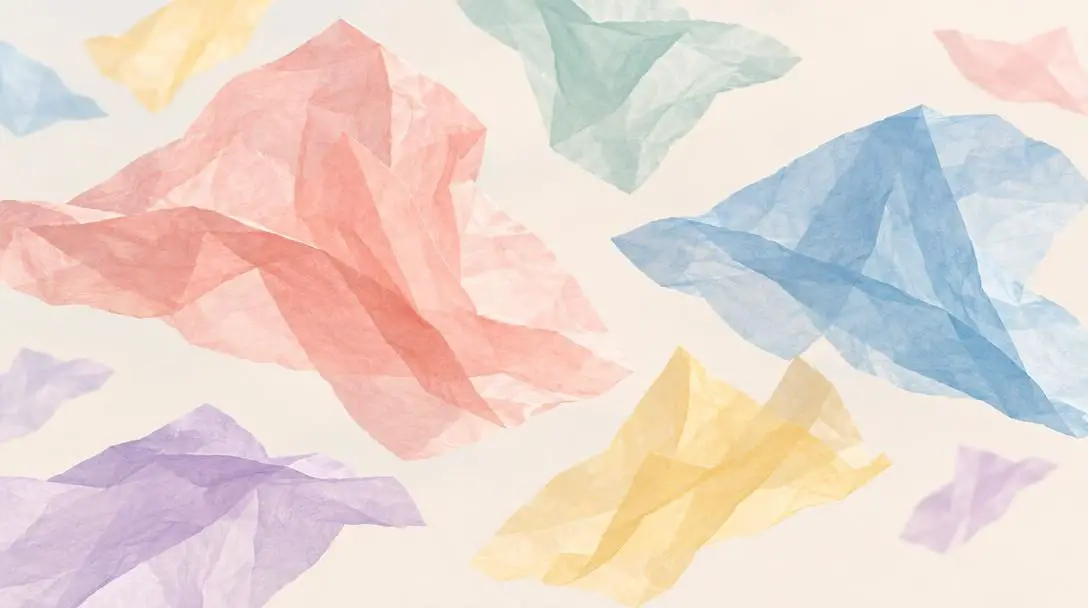
Delicate, soft, and remarkably pliable, tissue paper is ideal for delicate exterior work. It settles gently across subtle contours without bunching, making it ideal for the final smoothing layer or for deliberately crafting rippled surface effects.
Cardboard
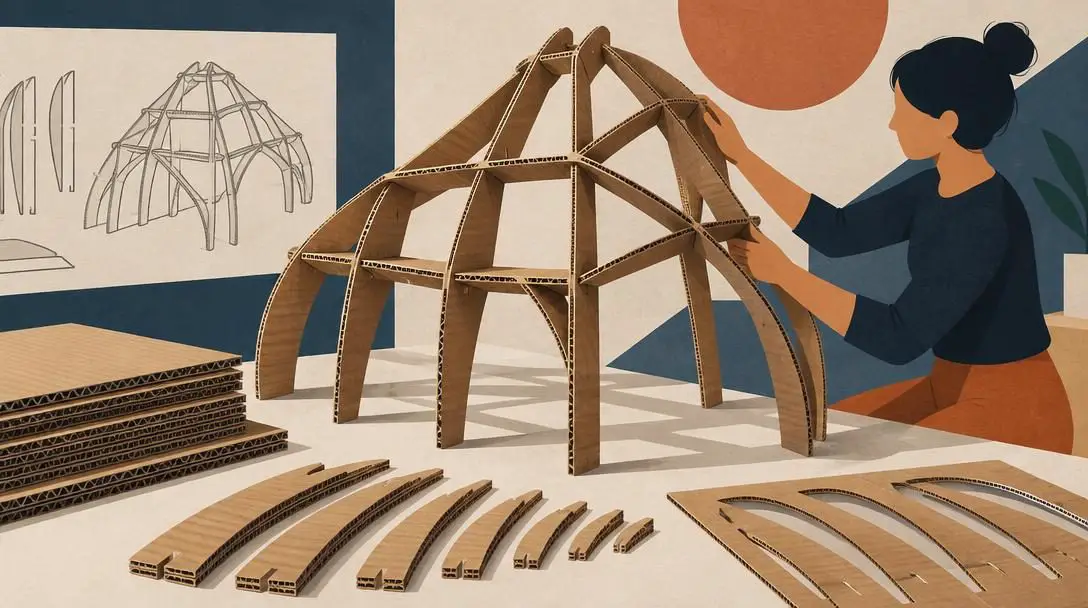
Rigid, tough, and thick, cardboard is the premier choice for internal skeletons, structural armatures, and flat stabilizing planes. It forms the backbone of standing sculptures, preventing drooping as moist layers cure over several days.
Egg Cartons
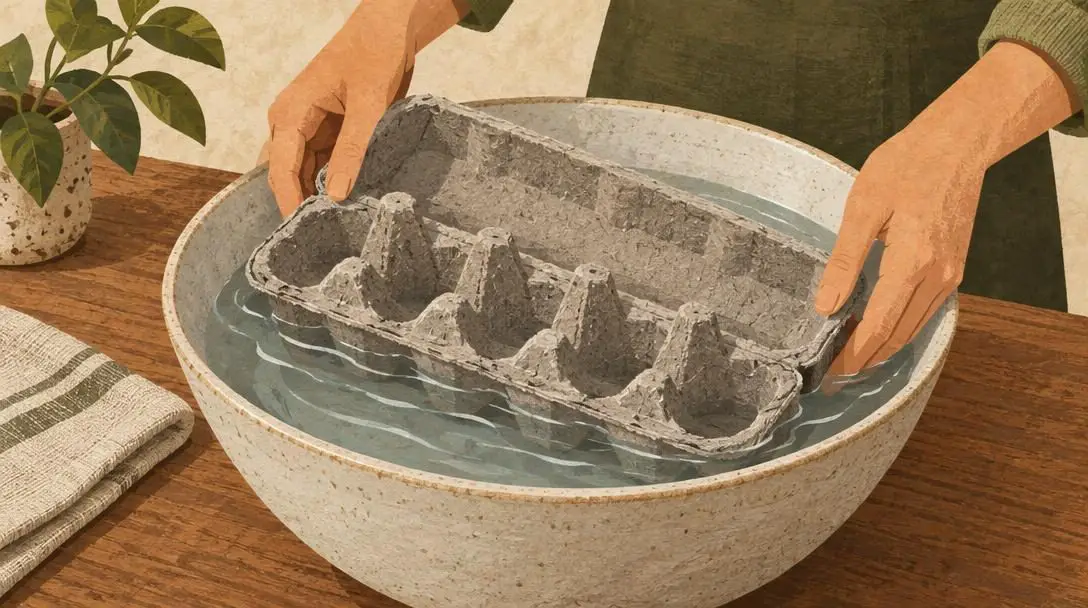
Composed of coarse, pre-pulped paper fibers, egg cartons break down swiftly when soaked in water. This rapid disintegration makes them the premier raw ingredient for dense, clay-like paper pulp mixtures that can be molded into heavy dimensional details.
Paper Plates and Cups
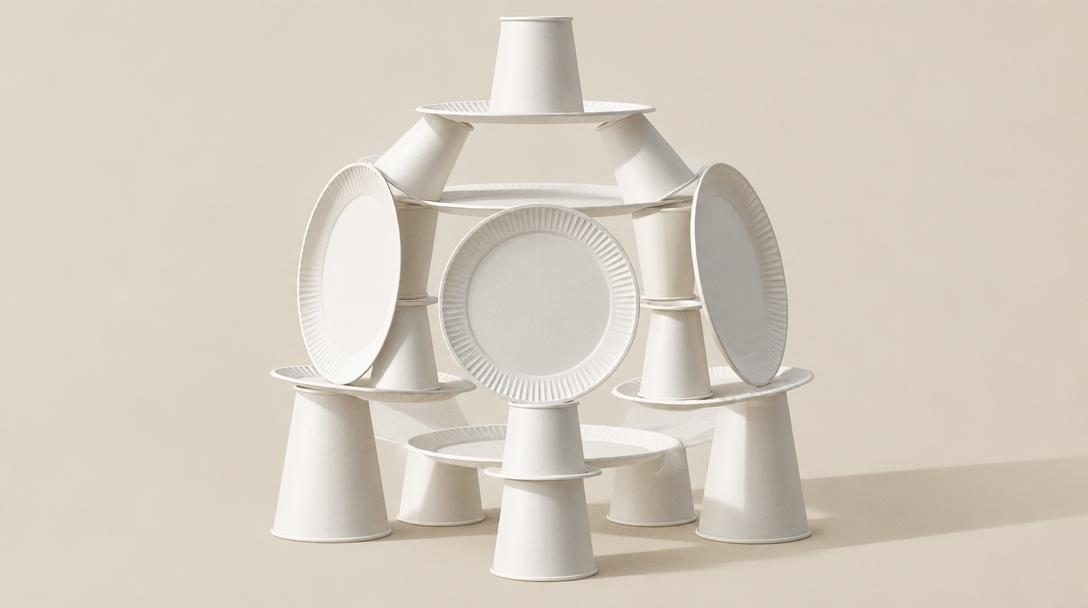
Disposable plates and cups offer pre-molded contours, rounded lips, and rigid cylindrical shapes. They serve as convenient pre-built cores and structural molds that speed up the armature-assembly process, eliminating the need to build complex shapes from scratch.
Core Paper Mache Techniques
The construction approach you select depends directly on the project's intended geometry, desired durability, and surface style. Crafters rely on three foundational construction methods, frequently combining them within a single sculpture to achieve both strength and fine detail.
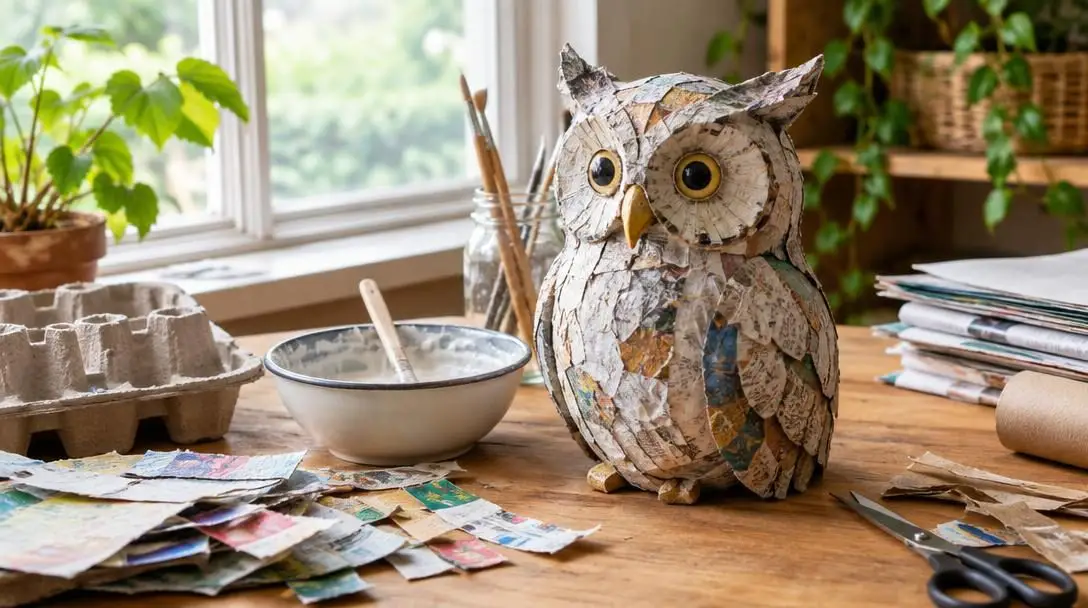
This age-old crafting technique turns everyday household waste into expressive, durable works of art, uniting environmental sustainability with boundless creative design.
The Layering Technique
The layering method involves smoothing individual paste-coated paper strips over a base armature or temporary mold until a sturdy shell is formed. As consecutive layers cure and fuse, they dry into a rigid, hollow skin. This classic process is the standard technique for building hollow items such as piñatas, deep bowls, and decorative masks. Thin stocks, particularly newspaper, are best suited for layering because they lay flat over complex curves without unsightly puckering.
The Sculpting Technique
Sculpting is a tactile, direct process where saturated paper materials are bunched, folded, and shaped by hand into three-dimensional shapes. Rather than relying solely on a smooth hollow mold, the artist builds up volume directly using paste-soaked materials. This direct modeling technique excels for figurative sculptures, animals, and decorative ornaments, providing fine control over organic contours and expressive details.
The Pulp Technique
The pulp technique relies on reducing thick paper waste into a pliable, fibrous mass using warm water and a blender or food processor. When mixed with paste, the resulting pulp acts like modeling clay, granting total control over dimensional volume and textured relief. Dense materials like cardboard and egg cartons are the ideal choices for pulp because their coarse fibers form a moldable, structural dough. Crafters should always test their recycled items first to ensure they break down into a smooth pulp and hold together when mixed with adhesive.
Step-by-Step Guide to Crafting with Recycled Materials
Building a successful recycled paper mache project requires methodical assembly and adequate drying time between stages. Skipping foundational preparation or rushing the curing cycle can ruin an otherwise brilliant sculpture.
- Prepare your recycled paper: Tear your chosen materials by hand into practical sizes. For layering, tear newspaper or junk mail along the grain into long strips; hand-torn edges feather together seamlessly, avoiding the blunt ridges left by scissors. If you are preparing pulp, tear egg cartons or cardboard into small squares.
- Mix the paper mache paste: In a wide bowl, combine one part flour with two parts water, whisking vigorously until all lumps dissolve into a uniform liquid. Blend in your clear-drying glue or PVA glue, adjusting the adhesive volume to achieve your desired smooth or textured finish.
- Assemble the core or mold: Assemble the interior form of your object. For hollow items, use an inflated balloon, a bowl, or a household dish. For free-standing figurines, construct a rigid skeleton using cardboard, paper cups, and masking tape.
- Apply the paper mache: If you are layering, submerge paper strips into the paste, slide them between two fingers to remove excess liquid, and smooth them across your mold. Overlap strip edges slightly, applying two to three layers while alternating the direction of the strips between coats. If using pulp, soak shredded egg cartons or cardboard, run them through a blender until finely pulped, squeeze out standing water, and blend the fibers into your paste before pressing and molding the pulp directly onto your framework.
- Allow thorough drying: Set your project in a warm, well-ventilated area to cure. Every set of layers must dry completely through before applying subsequent coats, as trapped water will weaken the sculpture from the inside.
- Refine the surface: Once the piece is hard and completely dry, inspect the exterior for rough bumps or paste drips. Sand these spots lightly with fine-grit sandpaper to prepare a smooth surface for painting and finishing.
Decorating and Finishing Your Creation
After the underlying composite cures completely, decorative treatments elevate the raw form into a finished showpiece. Applying intentional surface finishes seals the paper structure while introducing rich visual character and personalized artistry.
Painting
Painting allows makers to customize the colors and graphic motifs of their project. Fast-drying acrylic paint is the premier medium for paper mache because it cures quickly without reintroducing moisture into the cured paste underneath. Acrylics can be blended, dry-brushed, or layered in bold geometric patterns to accentuate the sculpture's dimensional shape.
Decoupage
Decoupage offers a clean way to apply intricate patterns, antique illustrations, or printed text onto your object. This technique uses a printable image, craft glue, and a decoupage medium. By affixing the imagery with glue and sealing it with decoupage medium, crafters can produce a layered collage aesthetic directly across the project's contours.
Adding Embellishments
Fastening accents such as sequins, beads, buttons, or decorative trims introduces tactile dimension and captures light. These accents are adhered directly to the painted or decoupaged exterior using craft adhesive to highlight specific sculptural focal points.
To conclude the process, smooth out any residual rough spots with fine sandpaper and apply a uniform coat of clear sealant over the entire object. A durable clear sealant protects the paper layers from household dust, light handling, and ambient moisture, keeping your finished piece intact for years to come.
Common Mistakes to Avoid
While paper mache is an exceptionally forgiving medium, minor oversights in technique can weaken structural stability or degrade your surface finish. Avoiding these common missteps will ensure your artwork remains sound and vibrant:
- Applying excessive paste to paper strips: Over-saturating paper strips creates standing pools of paste, weighs down the armature, and extends drying times. Always strip away excess paste between two fingers before applying paper to your project.
- Adding new layers over damp surfaces: Rushing the building process by placing wet strips over damp layers traps liquid inside. This causes structural softness, warps internal armatures, and invites mold. Always let each stage dry completely.
- Cutting paper instead of tearing it: Using scissors creates blunt, straight edges that dry into visible ridges across the surface. Hand-tearing leaves tapered, feathered fibers that blend invisibly into one another.
- Using the wrong paper for fine details: Wrapping thick, rigid cardboard strips around tight curves produces unsightly folds and stiff edges. Keep heavier cardstock confined to armatures, reserving lightweight newspaper and tissue paper for delicate details.
- Skipping the final sealant: Leaving paper mache unsealed leaves the water-soluble paste vulnerable to ambient humidity. Applying an exterior clear sealant shields the artwork from airborne moisture and protects painted surfaces.
Scaling Up and Finding Materials
Once you understand the basic balance between scrap paper, starch-and-glue paste, and patient drying cycles, you can tackle larger and more ambitious builds. Start by auditing your household waste stream to see what materials you generate most often. Clean delivery boxes, corrugated packing liners, and molded pulp containers offer a steady stream of free crafting supplies.
By sorting your recycled materials by rigidity and absorbency, you will always have the ideal paper on hand for armatures, pulping, or outer finishing. From there, try experimenting with scale and function. While small figurines and simple bowls are great for learning the craft, paper mache can easily scale up to produce sturdy lampshades, large wall relief sculptures, and durable holiday decor. When scaling up your pieces, reinforce the internal frameworks with heavier cardboard struts, apply your layers in thin, patient steps, and allow plenty of ventilation between coats.
Frequently asked questions
Can I use magazine paper for the layering technique?
Yes, but because magazine paper has a glossy, slick coating, it absorbs paste more slowly than newspaper. You may need to soak the strips slightly longer or incorporate a higher proportion of glue into your paste mixture to ensure secure adhesion.
How do I know when a layer is dry enough for the next coat?
A fully cured layer will feel completely rigid, dry to the touch, and room temperature. If the surface feels cold, damp, or spongy when pressed gently, moisture remains trapped within the paper fibers, and it must dry longer before you apply more strips.
Why should I tear paper strips instead of cutting them with scissors?
Tearing paper separates the cellulose along its natural grain, creating thin, feathered edges. These soft edges blend seamlessly into adjacent layers without leaving raised seams, whereas scissors create hard, blunt ridges that remain visible after drying.
What is the best way to waterproof or protect a finished sculpture?
While paper mache cannot be made fully submergible in water due to its paper and flour base, applying a uniform coat of clear acrylic sealant or polyurethane varnish will protect the exterior against household dust, handling, and ambient room humidity.
How can I make paper mache pulp without specialized equipment?
You can shred absorbent paper scraps such as egg cartons or soft cardboard into small bits, soak them in hot water until saturated, and break them down using a kitchen blender or food processor. Squeeze out the standing water, then mix the pulp with paste until it forms a pliable modeling dough.
The Bottom Line
Paper mache bridges the gap between everyday sustainability and sculptural craftsmanship. By transforming discarded packaging, egg cartons, and old newsprint into robust works of art, makers can divert clean waste from landfills while creating custom vessels, masks, and decorative figures. Mastering this craft requires little monetary investment, relying instead on simple ratios of pantry ingredients, thoughtful material selection, and patient drying habits. With proper reinforcement and a protective clear sealant, your recycled paper mache projects will retain their strength, detail, and charm for years to come.