The Art of Quilting: How to Create Heirloom Pieces for Your Home
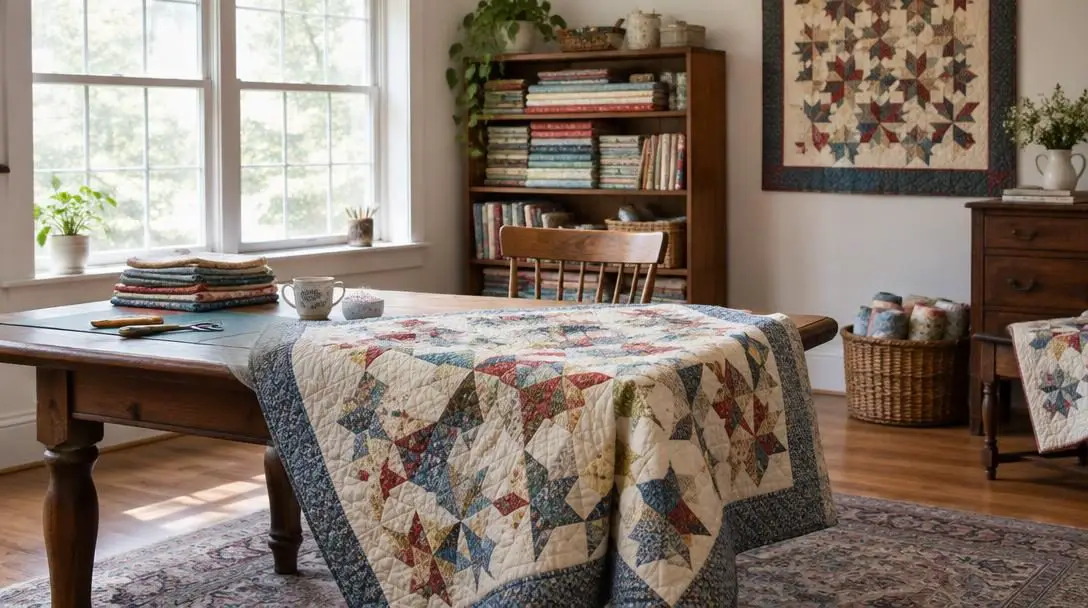
The art of quilting has been practiced for centuries, originating as a domestic necessity before evolving into a deeply cherished form of creative expression. In historical households, quiltmaking served the practical purpose of repurposing worn textiles and worn clothing scraps into warm bedcovers. These functional assemblages shielded families from the cold while transforming remnants of fabric into visually captivating, patterned tapestries. Over generations, what began as utilitarian thrift became a respected craft that united aesthetic design with household warmth.
Today, contemporary quilters continue to honor these domestic traditions while adapting techniques to modern lifestyles and home décor. Unlike mass-produced bedding, a handmade quilt bridges the gap between everyday functional utility and fine fiber craft. Every handmade blanket represents dozens of hours of careful measuring, cutting, stitching, and finishing. This investment of personal care turns everyday blankets into lasting family heirlooms that survive through decades of use. Approaching the craft step-by-step makes quilting accessible to anyone eager to learn.
Key takeaways
- A finished quilt relies on a three-part quilt sandwich consisting of a decorative top, insulating batting, and a sturdy backing fabric.
- Accurate cutting and consistent seam allowances are essential to prevent warped blocks, uneven corners, and puckered seams.
- Basting securely with pins or hand-tacking stitches keeps the internal batting smooth and prevents bunching during the quilting stage.
- Incorporating sentimental clothing remnants, embroidered dates, or family milestone markers transforms standard patchwork into an irreplaceable family heirloom.
- Proper preservation requires keeping finished quilts in cool, dry environments away from direct sunlight and avoiding permanent fold creases.
Anatomy of the Quilt Sandwich: Three Essential Layers
To understand the structural mechanics of making a quilt, beginners must first understand its three-dimensional structure. In quilting terminology, the assembled layers are known as the quilt sandwich. Each layer fulfills a distinct functional and visual purpose, working together to deliver insulation, durability, and graphic appeal.
| Layer | Position | Primary Function | Key Material Considerations |
|---|---|---|---|
| Quilt Top | Top surface | Showcases decorative patchwork design and color layout | Requires precise seam allowances and accurate geometric cuts |
| Batting | Middle core | Provides thermal warmth, loft, and stitch definition | Determines quilt weight and influences overall drape |
| Backing Fabric | Bottom underside | Protects batting and rests against skin or furniture | Typically made from wide, continuous yardage or broad blocks |
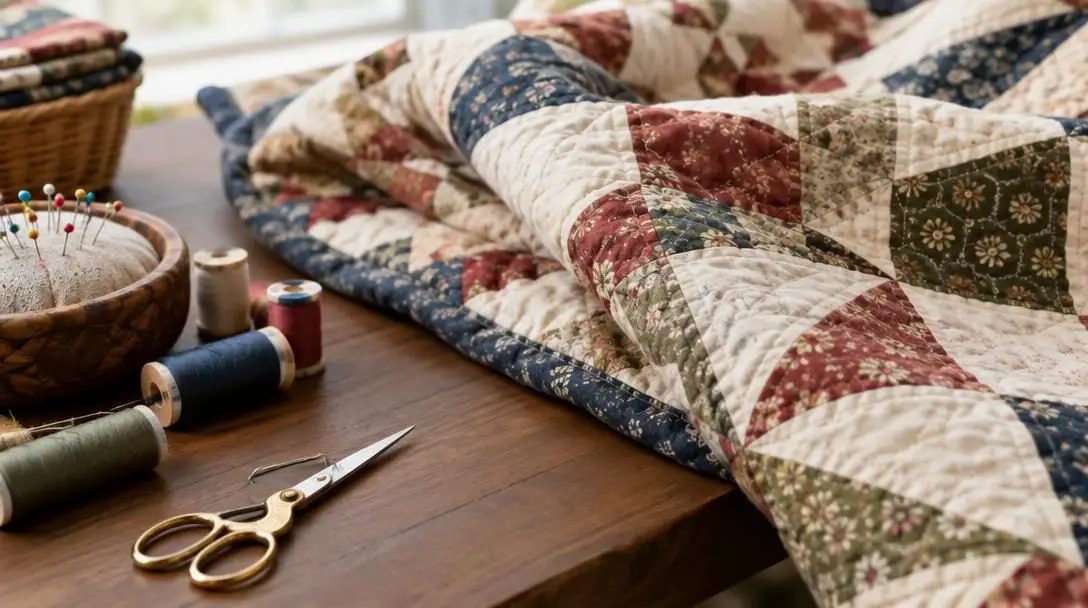
The quilt top provides the visual centerpiece of the blanket. It can be constructed from a single uncut length of textile, but it is traditionally made through patchwork piecing, where geometric fabric shapes are cut and sewn together. The batting sits concealed inside, establishing the thickness, softness, and insulating capability of the finished blanket. The backing fabric lines the underside, providing a smooth, continuous surface. These three components remain separate until they are basted and stitched permanently together during the quilting process.
Unlike mass-produced textiles, a handmade quilt carries personal effort, time, and care, making the finished product a treasured heirloom that can be passed down for generations.
Essential Materials and Tools for Beginners
Having the appropriate equipment simplifies the construction process, protects work surfaces, and ensures crisp geometric shapes. While historic quilters worked primarily with simple scissors and hand needles, modern tools offer superior accuracy and streamline repetitive tasks.
Rotary Cutter
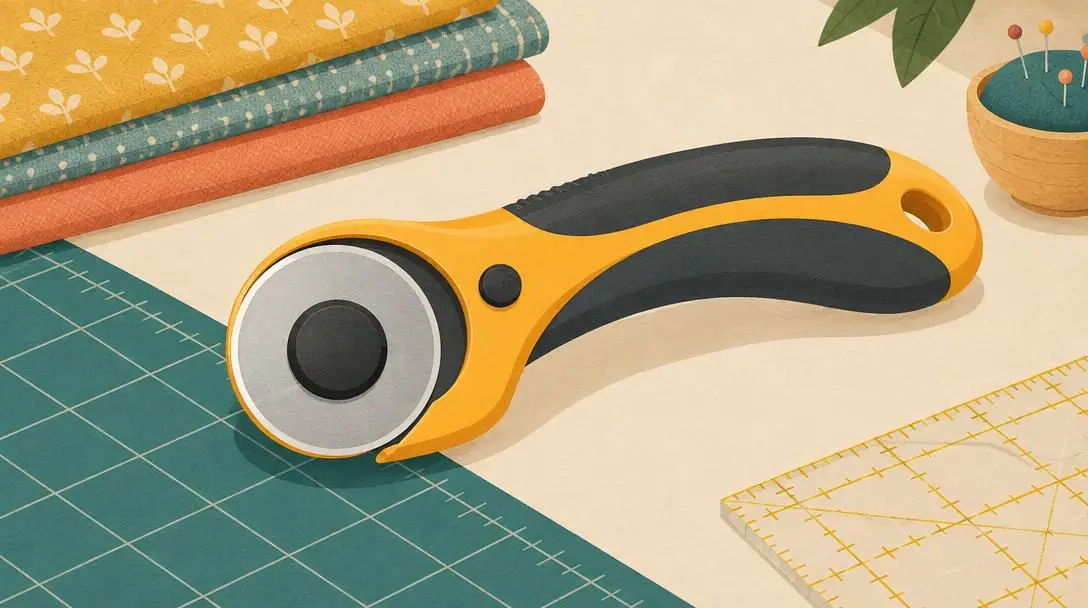
A rotary cutter utilizes a sharp, circular wheel blade mounted on an ergonomic handle. Rather than lifting fabric as traditional scissors do, a rotary blade glides smoothly along the surface of cutting mats while holding fabric completely flat. This continuous rolling motion enables quilters to slice through multiple layers of fabric simultaneously without fraying the edges or warping straight lines.
Cutting Mat
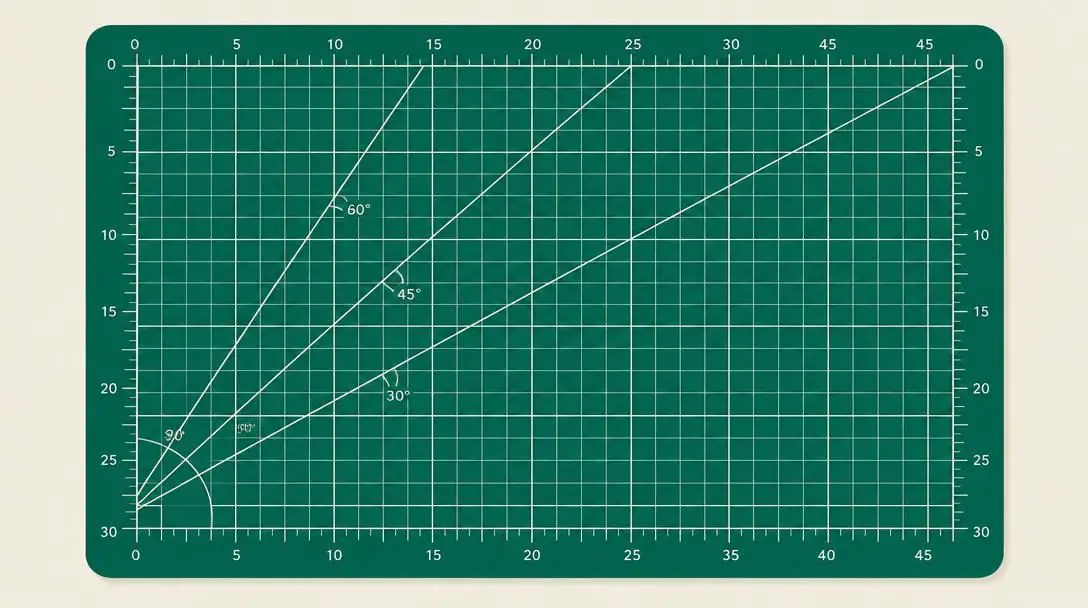
A self-healing cutting mat is designed to absorb the pressure of the rotary blade without dulling the edge of the tool or scoring the worktable beneath it. Most cutting mats feature integrated grid lines, angle markings, and measurement increments printed directly across the surface. These markings assist quilters in aligning grainlines, squaring block corners, and executing repeatable cuts.
Acrylic Ruler
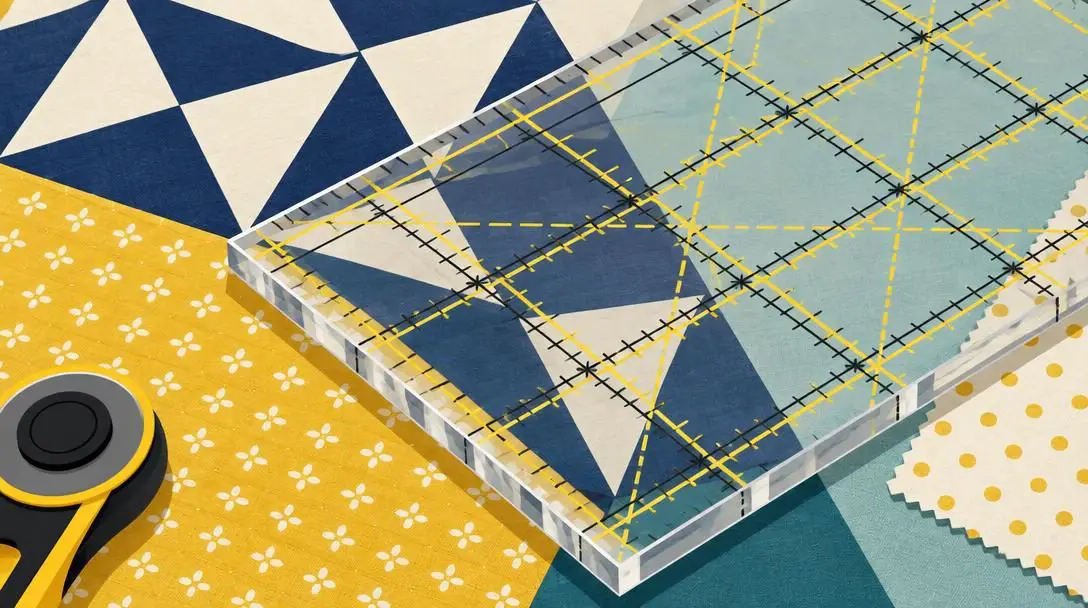
A clear acrylic ruler works as the rigid straightedge guide for the rotary cutter. Because the heavy-gauge plastic is transparent, quilters can see fabric patterns and alignment grids through the ruler body. The ruler prevents the cutting blade from slipping off track, keeping long strip cuts, quarter-inch seams, and angled shapes uniform from block to block.
Sewing Machine
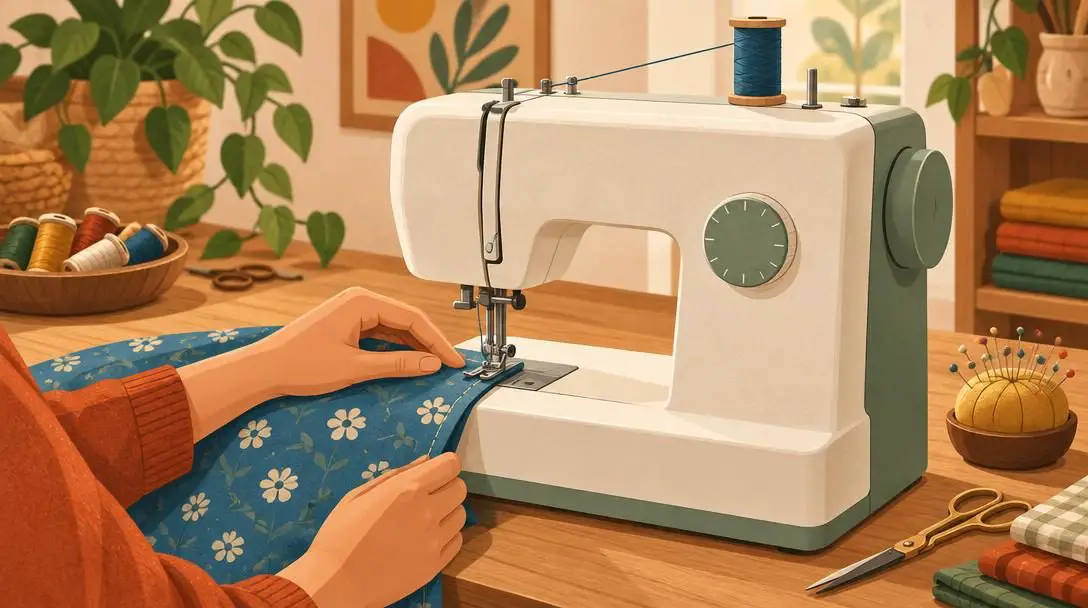
While piecing and quilting can both be executed entirely by hand, a dependable sewing machine drastically accelerates construction. A standard mechanical or electronic machine capable of maintaining a consistent straight stitch provides the structural strength required for patchwork seams. Consistent motor speed and even feed dogs ensure uniform tension, preventing fabric layers from pulling unevenly during piecing.
Selecting Fabric and Choosing Your First Pattern
Fabric selection defines the visual mood and physical lifespan of your project. Beginners achieve the most cohesive results by selecting a focused color scheme, such as a cool palette of blues and greens, an energetic warm palette, or neutral background fabrics offset by bold accent prints. Pairing large-scale graphic motifs with understated, small-scale prints creates visual harmony without overwhelming the pattern design.
Material durability is equally critical when designing an heirloom piece. Quilts experience regular friction, body warmth, machine washing, and folding throughout their functional life. Selecting high-quality, tightly woven fabrics ensures that individual seam lines will not pull apart or thin out prematurely under stress. Loosely woven or fragile novelty textiles should be avoided in utilitarian quilts, as they wear down unevenly compared to sturdy cottons.
For a first project, selecting an accessible beginner pattern prevents frustration. Foundational designs based on repeating squares, such as a simple grid patchwork, provide an ideal training ground. Working with simple squares allows novice quilters to concentrate on mastering steady rotary cutting, precise seam alignment, and flat iron pressing before advancing to complex angles, curves, or star blocks.
Step-by-Step Practical Guide to Assembling a Quilt
Constructing a quilt is a methodical sequence of dedicated stages. Rushing through early preparation creates dimensional inaccuracies that become harder to correct as the project grows. Following a structured order guarantees a square, flat, and structurally sound finished piece.
- Prepare and cut the fabric: Lay your pressed fabric flat on the cutting mat, smoothing away wrinkles. Align the acrylic ruler against the straight grain of the textile and use the rotary cutter to cut strips and squares according to your pattern dimensions. Take time to verify that every cut piece matches the required measurements exactly.
- Piece the quilt top: Place your cut fabric patches with their right sides facing together. Feed the aligned edges through the sewing machine using a strict, consistent seam allowance across every joint. Press all stitched seams flat with an iron after finishing each row, directing the seam allowances open or toward the darker fabric to prevent bulk.
- Baste the quilt sandwich: Spread your backing fabric wrong-side up across a large, flat surface and smooth out all folds. Center the batting over the backing, then arrange the pressed quilt top right-side up over the batting. Secure all three layers together using curved quilting safety pins placed every few inches or by basting loose hand-tacking stitches across the surface.
- Quilt the layers together: Stitch through all three layers to permanently lock the sandwich together. Beginners can perform straight-line quilting by using a sewing machine to stitch parallel tracks across the quilt top, or employ free-motion quilting to guide the fabric manually under the needle in loops and organic curves. Alternatively, hand quilting with a needle and thread provides a traditional, tactile finish.
- Bind the outer edges: Trim away excess batting and backing so the quilt sandwich forms square, neat borders. Prepare long strips of binding fabric or bias tape, fold them lengthwise, and stitch the raw edge of the binding to the raw edge of the quilt top. Fold the finished edge over to the back of the quilt and stitch it securely down to encase all exposed margins.
Common Quilting Mistakes and How to Avoid Them
Because quilt blocks rely on interconnected geometric alignments, small inaccuracies compound quickly across a large surface. Staying mindful of common pitfalls ensures your pieced top remains flat and rectangular rather than wavy or distorted.
- Inconsistent seam allowances: Varying seam widths from one seam to the next alters finished block dimensions, preventing corners from aligning cleanly and creating rippled quilt tops.
- Skipping the iron: Omitting regular seam pressing results in rounded, puffy seam allowances that create thick fabric junctions and make quilting difficult.
- Imprecise rotary cutting: Allowing the acrylic ruler to slip while cutting distorts individual patches, making edges misalign during assembly.
- Mixing incompatible fabric weights: Combining delicate, loosely woven fabrics with heavy materials leads to uneven wear, localized puckering, and seam fraying after laundering.
- Rushing the layering phase: Failing to smooth and secure the quilt sandwich before stitching allows the backing fabric to shift, resulting in unsightly fabric puckers caught in the quilt stitches.
Infusing Heirloom Value and Sentimental Meaning
A handmade quilt functions as a tangible archive of personal memories, design preferences, and familial connections. While standard commercial textiles are easily discarded, a quilt pieced with intention can carry profound emotional significance across generations.
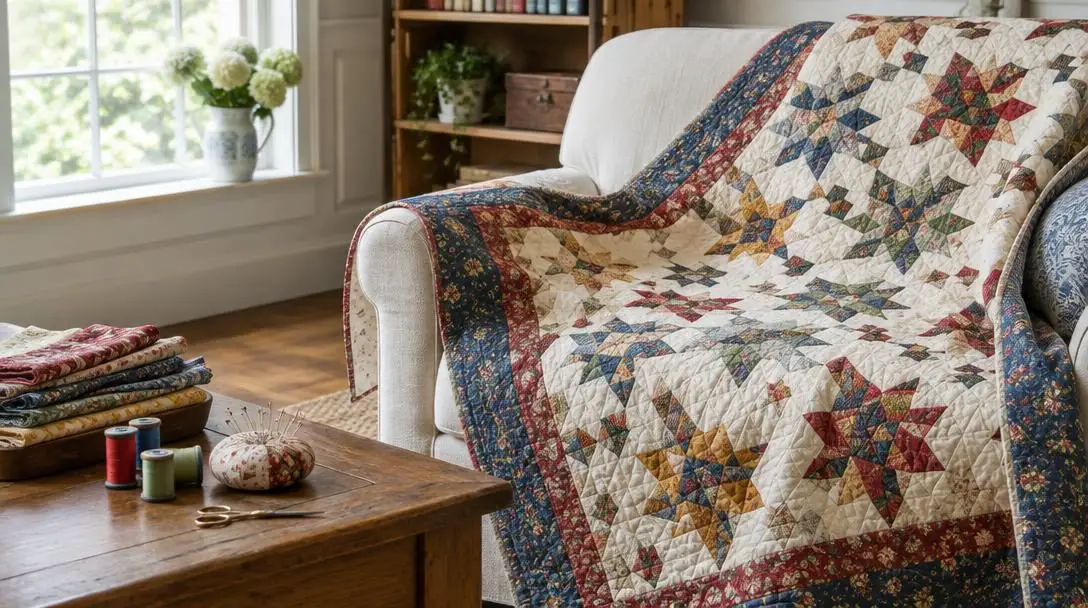
One meaningful approach is incorporating sentimental fabrics directly into the patchwork blocks. Remnants cut from baby clothes, vintage dresses, retired work shirts, or ancestral household linens can be sewn alongside new quilting cottons. These repurposed fabrics preserve tactile memories of significant individuals or life phases. Quilters can also use embroidery floss to stitch names, birthdates, marriage anniversaries, or short dedications onto corner blocks or quilt labels, providing future generations with a clear historical provenance for the heirloom.
Proper Care, Cleaning, and Long-Term Display
Preserving the vibrancy and structural integrity of a finished quilt requires thoughtful handling and storage habits. Showing off your finished work should never come at the expense of its long-term fiber health.
When displaying a quilt in your home, drape it gently over the back of a sofa, a wooden rocking chair, or across the foot of a bed to add warmth to the living space. If hanging the piece on a wall, sew an unobtrusive fabric sleeve onto the upper backing edge to distribute the hanging weight evenly across a display rod. Avoid hanging quilts in areas that receive harsh, direct sunlight, which degrades cotton fibers and bleaches dyed pigments over time.
For long-term storage, choose a cool, clean, and dry environment that remains free from humidity fluctuations and dust accumulation. Quilts should not remain folded in the same configuration indefinitely, as continuous pressure along fold lines causes permanent creasing and fiber fatigue. Periodically unfold stored quilts, refold them along different lines, or roll them gently around an acid-free archival storage tube to preserve fiber elasticity.
Advancing Your Skills and Next Steps
Once you have successfully constructed, quilted, and bound a simple beginner project, you can begin expanding your creative and technical repertoire. Quilting offers an endless continuum of design challenges and technical refinements.
Beginners ready for more complex work can experiment with patterns featuring half-square triangles, flying geese units, diamond lattices, curved seam construction, or intricate geometric star blocks. Each shape requires distinct pinning and pressing methods that enhance your accuracy. On the machine, you can progress from basic straight-line quilting to free-motion patterns, exploring varying thread weights to change stitch texture. Many quilters also expand their craft by connecting with local quilting guilds, participating in scrap swaps, or making charity quilts for community shelters, turning their creative hobby into a source of community support.
Frequently asked questions
What is the easiest quilt pattern for an absolute beginner to make?
A simple patchwork grid made entirely of squares is the most accessible starter pattern. It requires only straight-line cuts and simple seams, allowing beginners to master measuring, rotary cutting, and uniform seam allowances without the challenge of matching angled corners or curved edges.
Can you make a complete quilt without an expensive sewing machine?
Yes. A basic, dependable sewing machine with an accurate straight stitch is fully capable of piecing and quilting. Furthermore, quilts can be assembled and quilted entirely by hand using traditional needles, thread, and hand-piecing techniques.
Why is consistent seam allowance so crucial in patchwork?
Inconsistent seam allowances alter the final dimensions of individual blocks. When blocks are sewn together, mismatched sizes prevent corners from aligning cleanly and can cause the quilt top to buckle, twist, or wave instead of lying flat.
What is the difference between straight-line quilting and free-motion quilting?
Straight-line quilting uses the sewing machine's feed dogs to guide the fabric forward in straight, parallel lines. Free-motion quilting lowers or covers the feed dogs, allowing the quilter to move the fabric freely by hand under the needle to draw organic curves, loops, and custom decorative motifs.
How should an heirloom quilt be stored to prevent fabric damage?
Store quilts in a cool, dry area away from direct sunlight, dust, and dampness. Avoid leaving a quilt folded along the same creases for long periods; instead, periodically refold it along different angles or roll it around an archival storage tube to prevent permanent fiber breakage.
The bottom line
Quilting bridges historical tradition and modern creativity, transforming fabric pieces into durable, functional heirlooms. By mastering the core anatomy of the quilt sandwich, acquiring dependable cutting and stitching tools, and maintaining consistent technique through every seam, any beginner can create stunning fiber art. With intentional fabric choices and proper maintenance, your handmade quilts will provide comfort, warmth, and cherished memories for generations to come.