The Basics of Soil Testing: Understanding Your Garden’s Needs
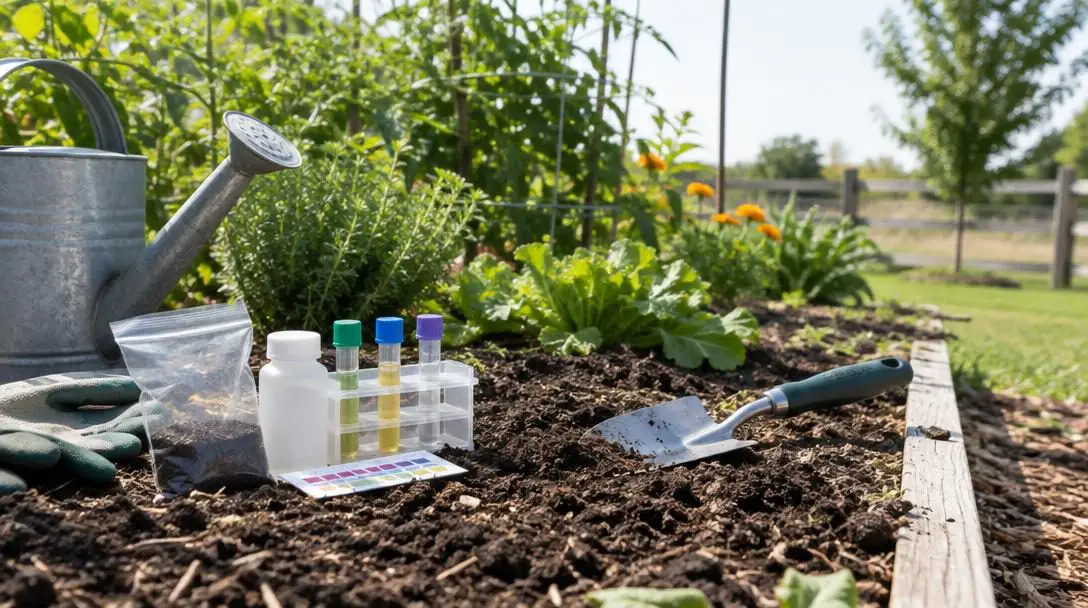
Gardening is widely celebrated as one of the most rewarding outdoor pursuits, offering crisp homegrown produce, colorful floral displays, and the quiet satisfaction of nurturing living plants. Yet behind every productive vegetable plot and thriving perennial border lies an underground ecosystem that dictates everything happening above the surface: the soil. While many home growers dedicate the bulk of their time to surface-level chores such as browsing seed catalogs, pulling weeds, and managing irrigation timers, real cultivation success starts beneath our boots.
Soil is far more than inert dirt; it is a complex, living matrix composed of weathered rock minerals, decomposing organic matter, microscopic life, air, and water. When these physical and biochemical ingredients remain in harmony, root systems easily access the moisture and essential compounds required for vigorous growth. Conversely, when soil balance deteriorates, plants languish regardless of how much sun or water they receive. Soil testing bridges the gap between uncertain guesswork and targeted, science-backed cultivation, empowering gardeners to make precise, sustainable decisions for the long haul.
Key takeaways
- A comprehensive soil test eliminates costly guesswork by analyzing both chemical nutrient profiles and physical earth characteristics.
- Maintaining a target soil pH between 6.0 and 7.0 ensures that essential macronutrients remain chemically available for plant root absorption.
- Reliable laboratory data requires gathering ten to fifteen clean soil cores sampled to specific depths of six or twelve inches across distinct garden zones.
- Over-fertilizing can cause severe plant tissue damage and water pollution, making targeted remediation based on lab recommendations essential.
- Long-term soil health relies on a continuous stewardship cycle of periodic re-testing, organic matter additions, and structural management.
The dual foundations of soil testing: Chemical and physical analysis
A complete assessment of garden soil inspects two distinct yet deeply intertwined dimensions: the chemical profile and the physical properties. Together, these two categories form the foundation of subterranean plant health. Evaluating one while ignoring the other provides only an incomplete snapshot of what roots encounter beneath the surface.
Chemical analysis measures the invisible chemical compounds, reserves, and reactions that supply plant nutrition. It identifies the presence and concentration of elemental compounds, quantifies the volume of biological organic material, and determines the soil's electrochemical acidity or alkalinity. Physical analysis, on the other hand, deals with the tangible architecture of the ground. It assesses how individual mineral particles assemble, how easily water moves through the matrix, and whether mechanical barriers impede root penetration.
| Assessment category | Primary attributes measured | Key garden implications | Corrective management tools |
|---|---|---|---|
| Chemical testing | Soil pH, macronutrients (N-P-K), and decomposed organic matter volume | Dictates nutrient bioavailability, cellular energy transfer, and foliage development | Targeted fertilizers, agricultural lime, elemental sulfur, and finished compost |
| Physical testing | Particle texture (sand, silt, clay), compaction levels, and water-holding capacity | Controls root expansion, oxygen transfer, drainage efficiency, and irrigation schedules | Mechanical aeration, structural tilling, cover cropping, and organic mulch additions |
Decoding soil chemistry: pH, primary nutrients, and organic reserves
The biochemical environment of the soil determines whether roots can actively absorb nourishment. The centerpiece of any chemical soil evaluation is soil pH, a logarithmic measurement of hydrogen ion concentration that indicates whether the ground is acidic, neutral, or alkaline. The vast majority of common garden vegetables, ornamental annuals, and landscape shrubs thrive within a slightly acidic pH window of 6.0 to 7.0.
When soil chemistry shifts outside this optimal range, chemical lockout occurs. In soils that are either excessively acidic or overly alkaline, essential mineral ions bind tightly to surrounding soil particles, locking them away from plant roots even if the soil contains an abundance of those elements. Testing gives gardeners the clarity needed to adjust this balance. Acidic ground can be sweetened with applications of agricultural lime to gently elevate the pH, whereas overly alkaline soils can be acidified using targeted amounts of elemental sulfur.
Testing transforms blind fertilization into precision care, protecting delicate plant roots from toxic chemical excesses while restoring natural biological balance.
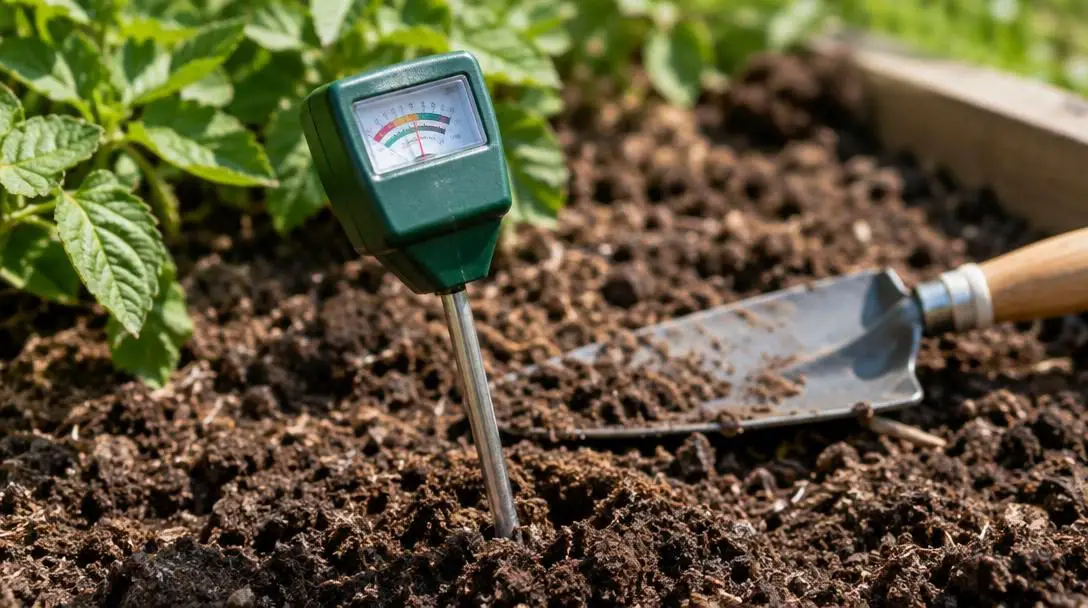
Beyond soil reaction, chemical assays analyze the three primary macronutrients, often denoted collectively as N-P-K:
- Nitrogen (N): The central engine of vegetative growth, nitrogen drives chlorophyll production, vigorous leafy foliage, and structural stem development.
- Phosphorus (P): Crucial for cellular energy transfer and division, phosphorus supports robust early root establishment and triggers abundant flowering and fruit production.
- Potassium (K): Essential for overall plant stamina, potassium regulates internal water balance, strengthens cell walls, and builds tolerance against environmental stress and disease.
Finally, chemical testing measures the concentration of decomposed organic matter. Derived from decaying plant tissues and biological residues, organic matter acts as a living sponge within the earth. It creates a stable, slow-release reservoir of micronutrients, buffers soil pH fluctuations, and dramatically improves the ground's internal cation exchange dynamics.
Evaluating physical soil structure: Texture, compaction, and water retention
While chemical elements fuel plant metabolism, physical properties provide the physical framework required to sustain life underground. Soil texture reflects the relative proportion of three primary mineral components: sand, silt, and clay. Sandy soils consist of large, coarse particles with expansive pore spaces; they drain quickly and resist waterlogging, but they leach soluble nutrients rapidly. Clay soils consist of microscopic, tightly packed plate-like particles that hold moisture and chemical nutrients exceptionally well, though they are prone to poor drainage and severe waterlogging during wet seasons. Silt occupies the middle ground, offering balanced moisture retention and smooth handling.
Physical testing also identifies soil compaction, a condition where internal pore spaces are compressed by heavy equipment, foot traffic, or continuous cultivation. In compacted ground, soil density rises to levels that physically resist root elongation. Without open pore networks, roots cannot access atmospheric oxygen, and water cannot percolate downward, leading to standing surface puddles and suffocating conditions.
Closely tied to texture and structure is the soil's water-holding capacity. This metric defines the maximum volume of water a specific soil profile can retain against gravity before reaching absolute saturation. Establishing this baseline allows home gardeners to construct responsible, realistic irrigation schedules that supply adequate moisture without drowning delicate root hairs.
Step-by-step guide to gathering an accurate soil sample
A testing laboratory works with only a tiny fraction of your garden soil, often evaluating just a few tablespoons of material at a time. Consequently, the quality of your lab report depends directly on how meticulously you collect and prepare your sample. Careless collection techniques will yield skewed numbers that do not reflect the actual state of your garden beds.
- Define distinct sampling zones: Divide your property into functional growing areas based on plant usage and historical management. Always test vegetable plots, perennial flowerbeds, turf lawns, and woody shrub borders separately rather than combining them into one homogeneous batch.
- Assemble clean, non-reactive tools: Gather a clean garden trowel, stainless steel spade, or dedicated soil core probe, paired with a clean plastic bucket. Never use rusty metal implements or buckets that previously held synthetic fertilizers, lime, compost, or household cleaners.
- Scrape away surface debris: Move aside all organic mulch layers, fallen leaves, grass thatch, wood chips, and surface gravel from each collection spot so you expose bare mineral soil.
- Extract vertical cores at the correct depths: Dig down to the depth where feeding roots actively congregate. For vegetable gardens, annual flowerbeds, and turf grass, take samples at least six inches deep. For areas supporting established shrubs and trees, collect soil from a depth of twelve inches. Slice a uniform vertical profile from top to bottom.
- Collect ten to fifteen sub-samples per zone: Walk a zigzag pattern across your chosen zone, pulling ten to fifteen individual cores to ensure the combined sample accurately captures natural spatial variability.
- Mix and clean the combined sample: Place all sub-samples from a single zone into your clean plastic bucket. Thoroughly blend the soil cores together, breaking up hard dirt clods and removing any visible stones, twigs, roots, or earthworms.
- Air-dry the mixed soil if damp: If your soil is wet or muddy, spread the mixed batch across clean sheets of untreated craft paper or plain cardboard to dry naturally at room temperature. Never bake the soil in an oven or microwave, as excessive heat alters delicate biological and chemical bonds.
- Package, label, and mail: Transfer the required volume of dry, mixed soil into the laboratory sample container. Clearly mark the package with your specific zone identifier and submit it promptly to your chosen testing laboratory.
Interpreting laboratory reports and applying soil amendments
After a testing facility completes its analytical work—a process that normally takes a few weeks—you will receive a comprehensive soil report. Alongside baseline data for pH, nutrient reserves, and texture, professional laboratories provide customized amendment recommendations. Reading these guidelines carefully prevents costly, harmful mistakes in the garden.
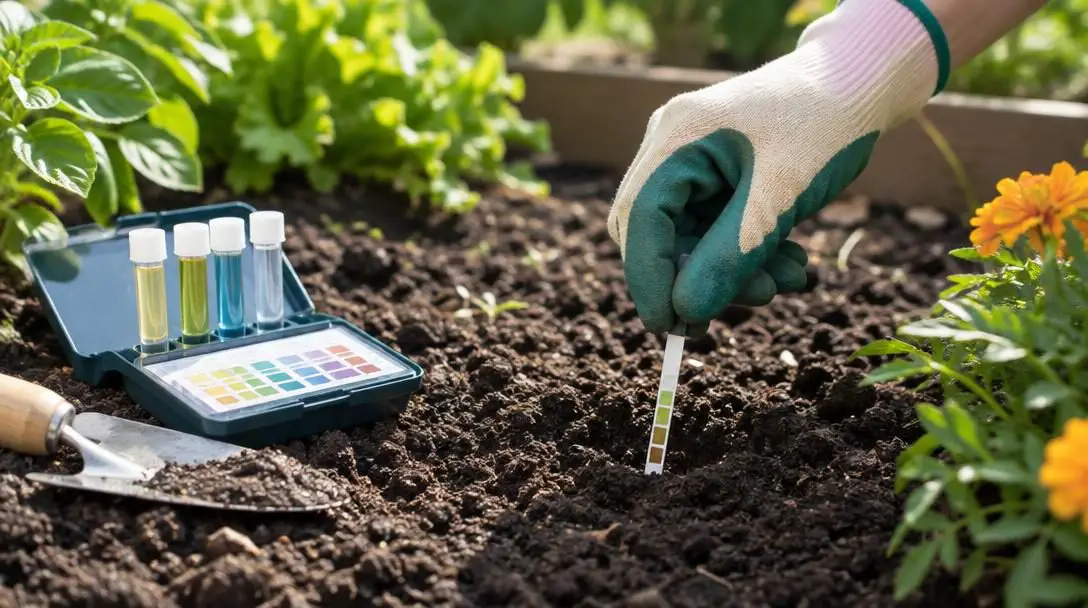
The report will classify primary nutrients into categories such as deficient, optimal, or excessive. If a deficiency is identified, focus on supplying only the missing compound. For example, if your soil shows a severe nitrogen deficit alongside optimal phosphorus and potassium, apply a targeted nitrogen-heavy organic amendment such as blood meal or liquid fish emulsion rather than a balanced synthetic blend that introduces unneeded elements. Shortages of soil organic matter should be addressed by spreading well-decomposed finished compost across the surface and gently incorporating it into the root zone.
Understanding nutrient excesses is just as vital as resolving deficiencies. Applying fertilizers to soils that already hold excessive nutrient reserves creates toxic salt accumulations that burn root tips, disrupt the natural uptake of neighboring minerals, and stunt growth. Furthermore, surplus phosphorus and nitrogen easily wash away during rainstorms, contributing to severe agricultural runoff that pollutes local streams, ponds, and municipal watersheds.
Frequent soil testing mistakes to avoid
Even well-intentioned gardeners can stumble into basic procedural traps that distort their data or compromise plant health. Staying vigilant against these common oversights preserves the integrity of your garden stewardship:
- Sampling freshly amended ground: Gathering samples shortly after applying compost, granular fertilizers, agricultural lime, or sulfur produces false readings that reflect the amendments rather than true baseline fertility.
- Using dirty or contaminated collection gear: Trace residues of old fertilizer salts or lime left on spades and buckets will contaminate the sample and invalidate laboratory findings.
- Sampling at shallow depths: Scraping dirt only from the top two inches captures surface dust rather than the active six- to twelve-inch rhizosphere where plant roots absorb nourishment.
- Lumping the entire landscape into one composite sample: Mixing lawn turf plugs with vegetable soil and landscape bedding creates an artificial mathematical average that fits none of those planting areas.
- Amending based on blind assumptions: Scattering lime or high-analysis fertilizers without verified test results frequently leads to dangerous pH spikes and nutrient toxicities.
- Expecting overnight transformations: Soil chemistry and mineral equilibrium shift slowly over months; dumping massive quantities of amendments at once shocks plants and destabilizes soil biology.
- Treating a single test as a lifelong assessment: Soil is an active, fluctuating ecosystem; relying on a single test performed years ago leaves you blind to ongoing nutrient depletion and natural mineral leaching.
Frequently asked questions
How often should I have my garden soil tested?
Garden soils should generally be tested every two to three years under normal growing conditions. However, intensively managed areas such as high-yield vegetable gardens benefit from testing every year or two, as heavy-feeding annual crops rapidly deplete primary nutrients like nitrogen, phosphorus, and potassium.
Can I use an over-the-counter home testing kit instead of a professional lab?
While rapid home testing kits provide rough estimates of pH and elemental nutrients, they lack the precision, calibration, and depth of a certified testing laboratory. Professional facilities provide calibrated quantitative data, trace element analysis, and customized amendment instructions tailored specifically to your soil type and target crops.
Why does the test require digging twelve inches deep for trees and shrubs?
Trees and established woody shrubs develop extensive, deep root architectures that extend well beyond the topsoil layer. Collecting samples from a twelve-inch depth ensures the laboratory evaluates the lower soil profile where major structural and feeder roots actively gather water and minerals.
How does soil pH affect fertilizer effectiveness?
Soil pH directly controls the chemical solubility of nutrient ions in soil water. If soil pH climbs above 7.0 or drops below 6.0, primary nutrients physically lock onto mineral surfaces and organic particles, meaning plants cannot absorb them even if you apply generous amounts of commercial fertilizer.
What should I do if my test shows heavy soil compaction?
Severe compaction must be addressed physically by breaking up dense crusts through targeted mechanical aeration, broadforking, or light tilling. Following mechanical intervention, incorporate generous quantities of mature compost and plant deep-rooted cover crops to re-establish open, stable pore networks for air and water movement.
The bottom line
Achieving a flourishing garden does not require good luck or secretive green thumbs; it requires an objective understanding of the dynamic living ecosystem beneath the surface. Soil testing strips away guesswork and superstition, replacing them with verifiable biochemical data and practical physical insights. By mapping out your testing zones, gathering clean, evenly distributed samples at proper depths, and adhering strictly to laboratory recommendations, you protect your garden from damaging chemical imbalances and unnecessary amendment expenses.
Remember that building healthy, resilient earth is an ongoing stewardship commitment rather than a quick, one-time fix. Over consecutive growing seasons, natural rainfall leaches soluble minerals downward, active plant roots harvest macronutrients, and organic materials decompose. By establishing a consistent rhythm of regular testing, structural monitoring, and measured remediation, you create an underground environment where roots thrive, plants flourish, and your garden reaches its fullest potential year after year.