Tips On Getting Started With Papercraft
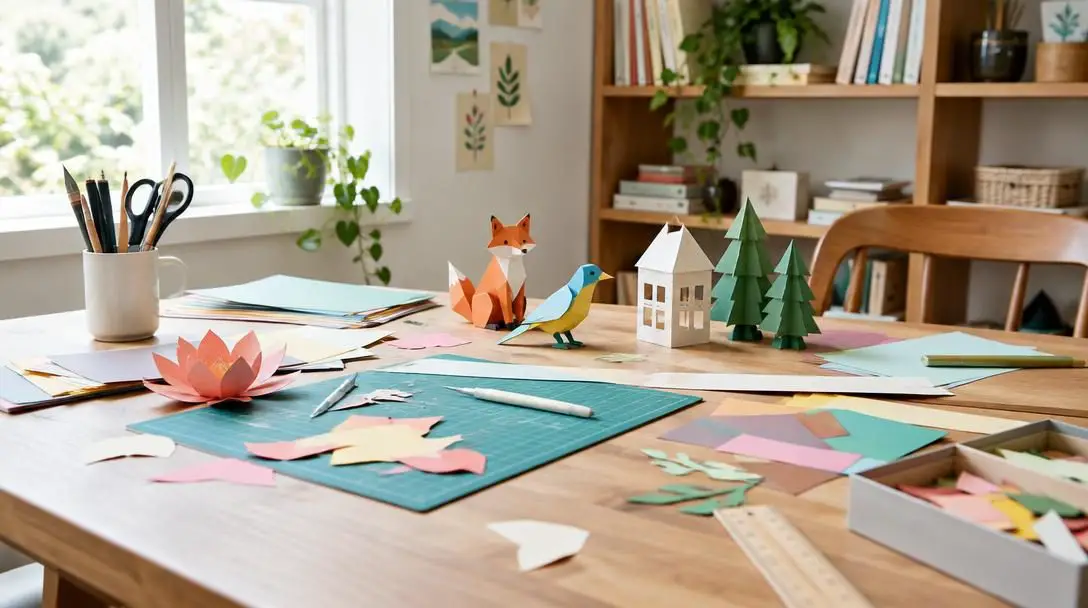
Papercraft is an engaging, tactile hobby centered on transforming flat sheets of paper into sturdy three-dimensional objects. As an artistic medium, working with paper allows makers to explore structural design, geometry, and spatial reasoning using accessible, affordable materials. Beyond building technical skill, manipulating paper by hand serves as an effective way to relieve stress, express personal creativity, and produce thoughtful, customized gifts for friends and family.
From ancient decorative traditions to contemporary paper engineering, the practice bridges the gap between everyday craft and fine art. With modern conveniences like downloadable templates and precision cutting tools, beginners can easily learn how to manipulate basic paper fibers into freestanding models, layered paper sculptures, and intricate miniature displays.
Key takeaways
- Scoring paper before bending establishes a precise path of least resistance and prevents fibers from buckling or cracking.
- Medium-weight, acid-free, and lignin-free cardstock provides the ideal structural durability while preventing long-term discoloration.
- Foundational tools like a bone folder, craft knife, steel ruler, and self-healing cutting mat dramatically improve precision.
- Mastering basic cutting and assembly on simple projects builds the necessary manual dexterity to tackle intricate three-dimensional models later.
The history and evolution of papercraft
The roots of paper-based art stretch back centuries, intimately linked with the invention and global spread of papermaking technology. In early traditions, skilled artisans placed high value on the careful manipulation of paper sheets through deliberate cutting, creasing, and folding. Many cultures developed their own specialized techniques, ranging from ceremonial decorative figures and folk art paper cutting to three-dimensional folded ornaments that celebrated geometry and balance.
Over generations, what originated as a regional decorative art evolved into a worldwide hobby. The craft has continuously balanced simplicity with extraordinary detail. In the modern era, the widespread availability of specialized papers, digital design software, and printable templates has democratized the discipline. Hobbyists no longer need to draft intricate three-dimensional patterns entirely by hand; instead, they can print precise schematics from their home computers and begin assembling complex physical structures right at their desks.
Today, papercraft covers a remarkably wide spectrum of creative outputs. It encompasses two-dimensional greeting cards featuring dimensional pop-up elements, freestanding origami animals, lifelike paper botanical displays, and scale architectural models. Because paper remains widely available and budget-friendly, the activity welcomes enthusiasts of all ages to cultivate their manual dexterity and design intuition.
The mechanics of turning two dimensions into three
At its core, papercraft relies on converting flat, two-dimensional surfaces into three-dimensional forms through cutting, scoring, creasing, and assembling. Understanding how a flat template translates into volume is the primary mechanical concept behind every paper structure. Every successful build depends on internal balance, mechanical tension, and structural integrity, all achieved through the deliberate manipulation of paper grain and fiber.
The construction process begins with a flat pattern, often called a net or template. This pattern clearly delineates where the sheet must be separated and where it must be folded to establish edges, contours, and planes. Straight cutting defines the outer silhouette and interior apertures, while scoring prepares the material to bend cleanly along designated lines. When heavy paper or cardstock is bent without preparation, the internal fibers crush unevenly, leading to unsightly wrinkles, torn surfaces, and warped seams.
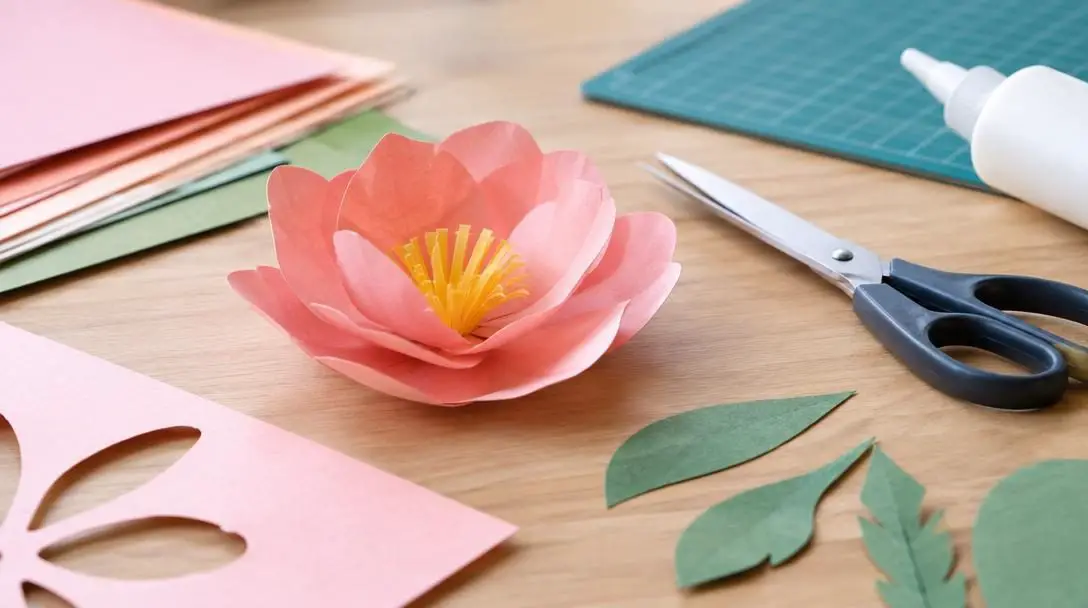
By scoring along a line prior to creasing, you establish a designated path of least resistance through the paper fibers, ensuring crisp edges without buckling or tearing.
Once individual components are prepared and creased, assembly unites them into a cohesive volume. Some designs rely on interlocking tabs and slots that friction-fit together, while others use liquid adhesives, glue sticks, or double-sided tape. Regardless of the fastening method, accuracy is vital. Minor misalignments during the initial cutting or scoring stages compound across multiple joints, altering the geometry and compromising the stability of the entire model.
Choosing the right materials and paper weights
The choice of paper dictates the outcome of any papercraft project. Selecting an inappropriate paper weight can lead to a project that sags under its own mass or cracks along every fold line. Evaluating paper requires balancing weight, composition, and surface texture.
tbody| Paper Type | Structural Strength | Ease of Folding | Best Use Case |
|---|---|---|---|
| Standard printer paper | Very low; prone to sagging and collapsing under weight | Folds easily without scoring, but tears and creases prematurely | Drafting initial test templates and rough practice layouts |
| Medium-weight cardstock | Optimal balance; holds rigid three-dimensional shapes firmly | Folds sharply and cleanly when scored properly | General papercraft, miniature buildings, and geometric models |
| Heavy cardboard | High rigidity; withstands significant mechanical force | Difficult to fold cleanly; prone to cracking and splitting | Reinforced internal armatures, heavy bases, and display mounts |
Beyond weight, the chemical composition of the paper plays a fundamental role in how well your finished model endures over time. Crafters should look for paper labeled both acid-free and lignin-free. Lignin is a naturally occurring plant compound that breaks down when exposed to ambient light and oxygen, causing standard papers to turn yellow, brittle, and structurally weak. Archival-quality papers retain their color, flexibility, and structural cohesion for years.
Visual texture and finish also shape the final presentation. Smooth, untextured cardstock produces sharp, geometric edges that suit modern polygonal sculptures and architectural replicas. Conversely, textured, fibrous, or metallic papers introduce organic depth, making them ideal for replicating biological subjects like flower petals, foliage, or animal feathers.
Essential foundational tools for beginners
While papercraft requires a relatively modest financial investment compared to other physical arts, having the proper hand tools is essential for safety, comfort, and clean craftsmanship. Equipping your workspace with a few dedicated implements immediately elevates the quality of your finished builds.
- Cutting implements: A sharp pair of craft scissors handles broad, sweeping outer contours and curved edges. For interior cutouts, tight corners, and straight lines, a precision craft knife fitted with fresh, sharp blades provides superior control and prevents paper from dragging or tearing.
- Measurement and guidance: A rigid metal ruler, preferably with a non-slip backing, serves a dual purpose. It guides the craft knife along straight paths without the risk of shaving off plastic or wood shavings, and it acts as a firm straightedge during the scoring process.
- Creasing tools: A bone folder or dedicated scoring stylus allows you to compress paper fibers evenly. The pointed tip indents fold lines without penetrating the sheet, while the smooth, flat edge rubs down folds to create razor-sharp creases without leaving finger oils or burnish marks on the paper.
- Protective surfaces: A self-healing cutting mat is vital for protecting your work surface from gouges. These mats feature specialized polymer surfaces that close up after being cut, ensuring that future knife passes remain smooth rather than catching in older grooves.
- Advanced automation: While hand tools build fundamental manual discipline, crafters who eventually produce high volumes of intricate cuts can explore automated digital cutting machines. These plotters read vector templates to execute hundreds of minute cuts in minutes.
Step-by-step practical guide to your first build
Embarking on your first papercraft project requires a disciplined, methodical workflow. Rushing through the setup or assembly phases often results in twisted joints and misaligned panels. Following a systematic sequence ensures that each piece meets the next with geometric precision.
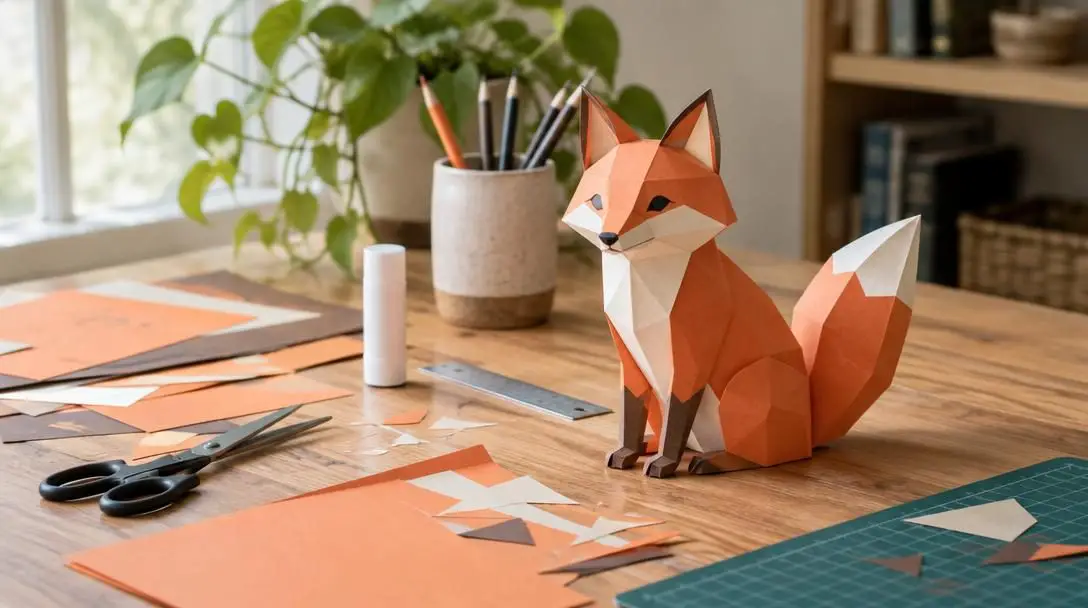
- Select a simple beginner project: Choose a straightforward template that requires only a handful of pieces and minimal complex angles. Cubes, low-polygon crystals, or basic decorative boxes are ideal for mastering the relationships between cut lines, mountain folds, and valley folds.
- Prepare the workspace and materials: Clear a flat, level desk in an area with bright, even lighting. Place your self-healing cutting mat in the center and arrange your cardstock, metal ruler, craft knife, bone folder, and scissors within comfortable reach.
- Trace or transfer the design: Print the template lines directly onto your chosen medium-weight cardstock, or use graphite transfer techniques to copy the pattern onto the back of the sheet. Verify that all solid cut lines and dashed fold lines remain sharp and legible.
- Cut the outlines: Separate the parts from the main sheet. Use scissors for long, continuous exterior curves. For straight lines and interior details, clamp the metal ruler down firmly on the line and execute smooth, moderate-pressure cuts with your craft knife against the cutting mat.
- Score every fold line: Before separating individual tabs or creasing any panels, lay your metal ruler along every indicated fold line. Draw the tip of your bone folder or scoring stylus firmly down the line to compress the paper fibers without cutting through the paper.
- Execute crisp folds: Gently bend each panel along the scored indentation. Run the flat edge of your bone folder over the folded edge to lock in a sharp, crisp crease. Pre-fold all mountain folds (pointing upward) and valley folds (pointing downward) before introducing any adhesives.
- Assemble the final object: Bring the panels together methodically. Apply a thin, uniform layer of adhesive to the connecting tabs or align interlocking slots. Hold each joint firmly for several seconds to allow the bond to set, checking continuously that the overall structure remains square and unwarped.
Common mistakes to avoid
Because paper is sensitive to moisture, pressure, and tension, novice crafters frequently encounter hurdles that can disrupt their builds. Recognizing these common pitfalls early saves materials and prevents unnecessary frustration.
- Skipping the scoring step: Attempting to bend cardstock with fingers alone creates irregular, wavy folds and breaks the surface fibers of the paper. Always score along a straightedge before folding.
- Starting with overly ambitious designs: Complex templates containing dozens of tiny, highly faceted parts can quickly overwhelm a beginner. Build confidence on simple models before moving on to intricate anatomical or architectural builds.
- Using the wrong paper thickness: Lightweight standard copy paper collapses when built into three-dimensional shapes, while thick structural cardboard cracks when forced into tight folds. Stick to medium-weight cardstock for the best structural balance.
- Rushing through the cutting phase: Rushing with dull blades leads to jagged, burred edges, torn corners, and cut lines that overrun their marks. Take deliberate, measured passes and replace craft knife blades as soon as they begin to pull on the paper.
- Applying excessive adhesive: Liquid glues contain water, which quickly saturates paper fibers, causing warping, wrinkling, and messy squeeze-out. Use glue sparingly and spread it into a micro-thin layer, or opt for narrow double-sided craft tape.
- Striving for immediate perfection: Minor misalignments are a natural part of developing fine motor skills. Rather than discarding a project over a slight imperfection, finish the build to analyze where adjustments can be made on the next attempt.
Expanding your skills and exploring new disciplines
Once you are comfortable with basic cutting, creasing, and joining, the papercraft medium opens up into numerous artistic avenues. Because paper is remarkably adaptable, you can steer your crafting journey toward whatever aesthetic appeals to you most.
Some makers gravitate toward the mathematical precision of low-poly 3D models and architectural scale modeling, building exact miniature replicas of famous landmarks or fantasy environments. Others focus on botanical craft, shaping, curling, and tinting flexible papers to create lifelike flowers and floral arrangements that never wilt. You can also explore dynamic paper engineering, such as complex kinetic sculptures, layered shadowboxes, or interactive pop-up greeting cards.
Connecting with the wider creative community can dramatically accelerate your growth. Joining online papercraft forums and social groups allows you to discover unique community-designed templates, troubleshoot difficult assemblies, and exchange construction tips with experienced artisans. In-person craft fairs, makerspaces, and regional workshops also provide opportunities to observe advanced scoring and shaping techniques firsthand. As your spatial awareness grows, you can even begin drafting your own custom templates, moving from assembling other people's patterns to engineering your own standalone paper sculptures.
Frequently asked questions
What is the difference between origami and general papercraft?
Origami is a specialized discipline that traditionally creates three-dimensional forms using only strategic geometric folds on a single, uncut sheet of paper, without glue. General papercraft encompasses a broader set of techniques that routinely incorporate cutting, scoring, interlocking tabs, multiple paper components, and adhesives.
Can I use regular copy paper for papercraft projects?
Standard printer paper can be used for drafting templates or practicing basic folds, but it is generally too thin and flexible to support its own weight in finished three-dimensional models. Medium-weight cardstock is recommended for most builds because it provides the structural rigidity needed to maintain geometric shapes.
Why is scoring necessary before folding paper?
Scoring compresses the internal cellulose fibers along a specific line without cutting through the sheet. This creates a designated path of least resistance, allowing the paper to fold cleanly and crisply without surface tearing, wrinkling, or uneven bends.
What does acid-free and lignin-free paper mean for my crafts?
Lignin and acid are naturally occurring substances in wood pulp that break down over time when exposed to oxygen and light. Using paper that is acid-free and lignin-free prevents your finished models from turning yellow, becoming brittle, or degrading structurally over the years.
What is the best way to cut straight lines and fine details?
For straight lines and intricate interior cuts, place a metal ruler along the line on top of a self-healing cutting mat and cut using a sharp craft knife. Using light to moderate pressure with a fresh blade prevents the paper from dragging or tearing.
The bottom line
Papercraft is a remarkably rewarding creative pursuit that turns an everyday, modest material into striking, structured art. By investing in a few foundational hand tools, selecting suitable medium-weight paper, and honoring the fundamental mechanics of scoring and folding, beginners can quickly produce clean, stable models. As your dexterity and spatial understanding develop through practice, the medium offers virtually limitless possibilities for artistic exploration, functional design, and creative fulfillment.