Transforming Paper into Art: The Thrill of Creating Your Own Paper Figures
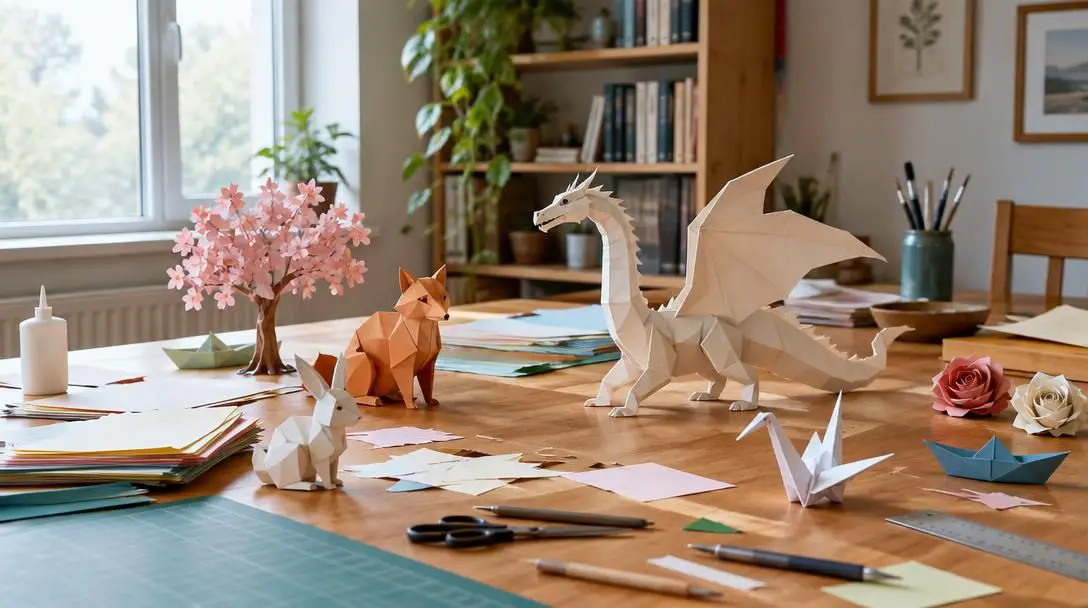
Transforming a modest, flat sheet of paper into an expressive work of art stands as one of the most accessible and rewarding creative pursuits available today. Whether undertaken as a soothing evening pastime to unwind after a demanding workday or explored as a rigorous artistic discipline, paper crafting allows makers to breathe dimensional life into ordinary fibers. Through simple mechanical actions like creasing, cutting, and rolling, artists can produce everything from delicate floral motifs and architectural shadow boxes to wearable jewelry and geometric figures.
While the craft draws deep historical inspiration from centuries-old traditions, modern enthusiasts benefit from an unprecedented array of specialized tools, refined paper stocks, and vibrant global communities. Navigating the diverse methods of paper manipulation reveals not only how mechanical forces reshape cellulose fibers, but also how deliberate, tactile creation fosters mental clarity and creative confidence.
Key takeaways
- Paper crafting manipulates paper fibers through folding, subtractive cutting, or coiling to establish structural stability without complex machinery.
- The three primary foundational disciplines are traditional folding, intricate papercutting, and strip-based quilling.
- Investing in baseline quality supplies, particularly sharp blades and self-healing mats, prevents jagged cuts, hand fatigue, and ruined workspaces.
- Deliberate, tactile hand movements provide proven mental health benefits by quieting busy thoughts and delivering tangible accomplishment.
- Beginners build long-term skill by mastering simple geometric shapes before advancing to layered compositions, shadow boxes, or jewelry.
The Evolution and Mental Benefits of Working with Paper
The practice of reshaping paper traces its lineage across cultures and centuries, most visibly through the enduring legacy of traditional paper folding. Originating as a demonstration of precision, geometric balance, and quiet patience, folding proved that a delicate two-dimensional plane could support its own weight and mimic recognizable natural forms. In recent decades, however, contemporary makers have expanded well beyond strict folding conventions. The availability of precision craft knives, engineered cutting surfaces, and diverse paper weights has transformed the craft into an expansive multimedia discipline encompassing paper sculpture, layered illustration, and wearable art.
Alongside its aesthetic adaptability, paper crafting serves as a potent vehicle for personal wellness. In a digital environment dominated by screens, tapping, and abstract digital outputs, manipulating physical paper supplies a grounding, sensory experience. The deliberate focus required to guide a blade along a drawn curve, maintain uniform tension across a crease, or roll a paper strip into a tight coil redirects a distracted mind away from everyday stressors.
Focusing on physical cuts, rolls, and folds offers a tactile break from daily routines while turning humble materials into lasting art.
This immersive concentration encourages a meditative state where daily anxieties recede. Moreover, witnessing humble raw materials transform into intricate animals, symmetrical mandalas, or heartfelt handmade gifts imparts a profound sense of self-efficacy and accomplishment. The tangible nature of the finished artifact provides lasting proof of time, care, and creative patience well spent.
The Physics of Paper: How Manual Manipulation Creates Form
To produce stable paper figures, an artist must understand the fundamental physical characteristics of paper sheets. Paper is composed of intertwined cellulose fibers that respond dynamically to external forces such as compression, tension, and shear stress. Depending on the technique employed, an artisan works with or against these fibers to achieve structural integrity, dimensional depth, and long-term durability.
In traditional folding, three-dimensional geometry is attained entirely through creasing. When a sheet is sharply creased, the fibers along the interior of the fold are compressed, while the fibers on the exterior are stretched. This physical deformation creates a rigid structural ridge. These ridges redistribute weight across the plane of the paper, allowing an otherwise flimsy sheet to stand erect, support secondary folds, and preserve intricate geometric shapes without a single drop of adhesive.
Subtractive papercutting operates on the delicate interplay of positive and negative space. As an artist removes segments of the paper with a fine blade, the open spaces define the subject just as strongly as the preserved paper. The central engineering challenge lies in structural continuity: the artisan must preserve continuous bridges of uncut fibers throughout the design. Without these connecting pathways, the overall composition loses internal cohesion, resulting in a design that droops or tears under its own weight.
Quilling relies on coiling tension and spatial manipulation. By winding narrow paper strips tightly around a slotted or needle tool, the maker forces the fibers into concentric circles. When the coiled strip is released to a specific diameter, internal friction holds the shape while allowing the maker to pinch corners, creating teardrops, curved marquis shapes, and petals. When glued together along their thin vertical edges, these coiled ribbons exhibit remarkable load-bearing rigidity, allowing delicate-looking quilled structures to stand upright or withstand everyday wear as sealed jewelry.
Exploring the Core Disciplines of Paper Crafting
Contemporary paper art generally falls into three foundational branches, each demanding distinct motor skills, specific tools, and creative mindsets. Comparing these styles allows aspiring crafters to choose an entry point that matches their personal goals.
Origami
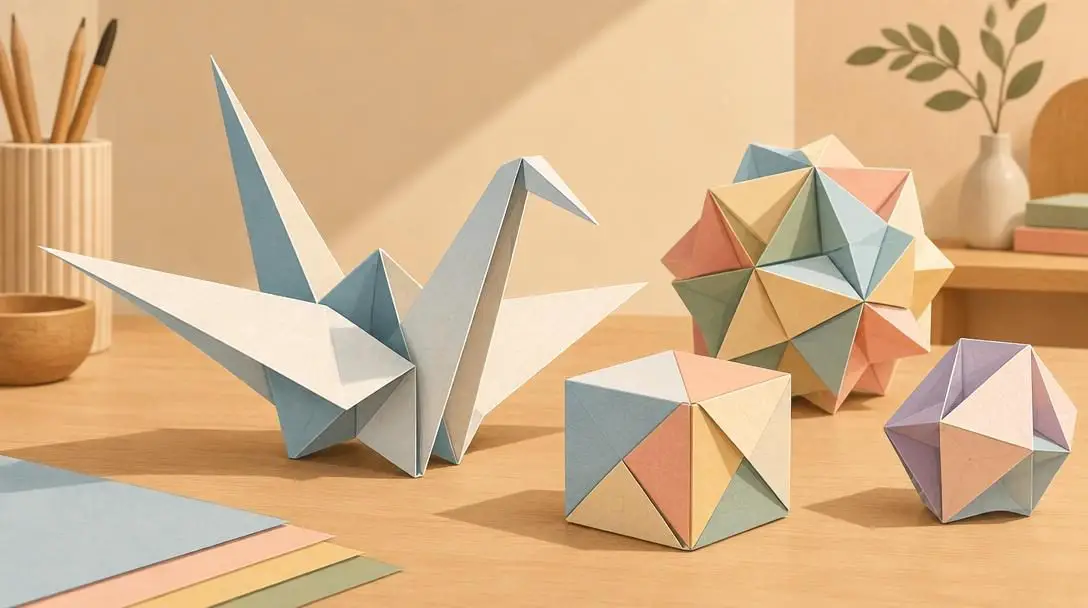
- Core Mechanism: Precision geometric folding and crease tension
- Primary Tool: Bone folder and hands
- Adhesive Required: None
- Common Applications: Modular geometric forms, animals, and architectural figures
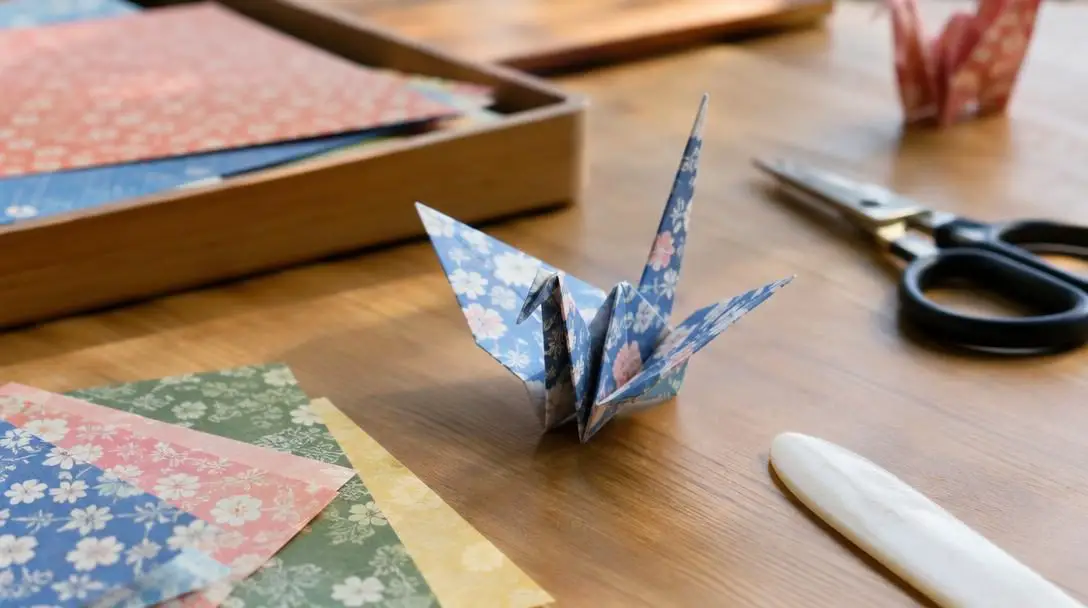
Origami relies entirely on the purity of the fold. Starting typically with a square sheet of paper, the practitioner introduces sequential mountain and valley folds to build dimensional complexity. Because it requires no cutting or gluing, success hinges on absolute mathematical accuracy. A deviation of a single millimeter in an early fold compounds across subsequent steps, distorting the final balance. Modern origami includes both representational figures, such as birds and botanical specimens, and modular constructions where dozens of identically folded units interlock to form complex mathematical polyhedra.
Papercutting
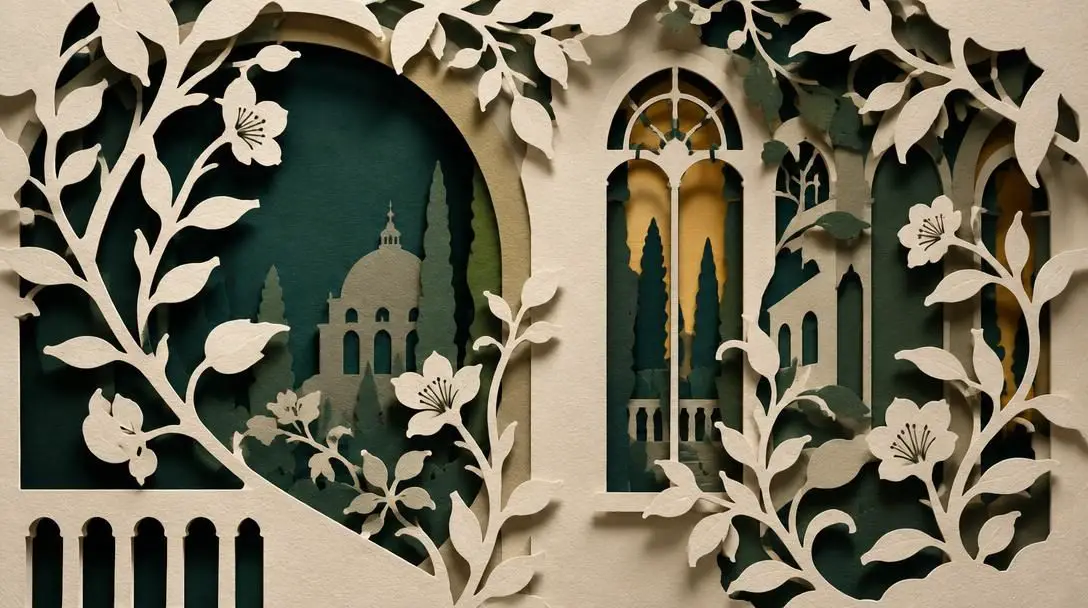
- Core Mechanism: Subtractive incision of positive and negative space
- Primary Tool: Precision craft knife and fine-point scissors
- Adhesive Required: Optional, used primarily for multi-layered framing
- Common Applications: High-contrast silhouettes, lace patterns, and layered shadow boxes
Papercutting transforms a continuous sheet into an airy silhouette or an intricate web of lace-like filigree. Working from the smallest interior voids outward to the main structural contours, the papercutter uses razor-sharp blades to excise paper fibers cleanly. High-contrast presentations, such as black paper mounted against a white backing, emphasize fine linework and delicate connective strands. When multiple cut sheets are separated by foam spacers inside a shadow box frame, papercutting produces dramatic multi-layered panoramas featuring deep atmospheric perspective.
Quilling
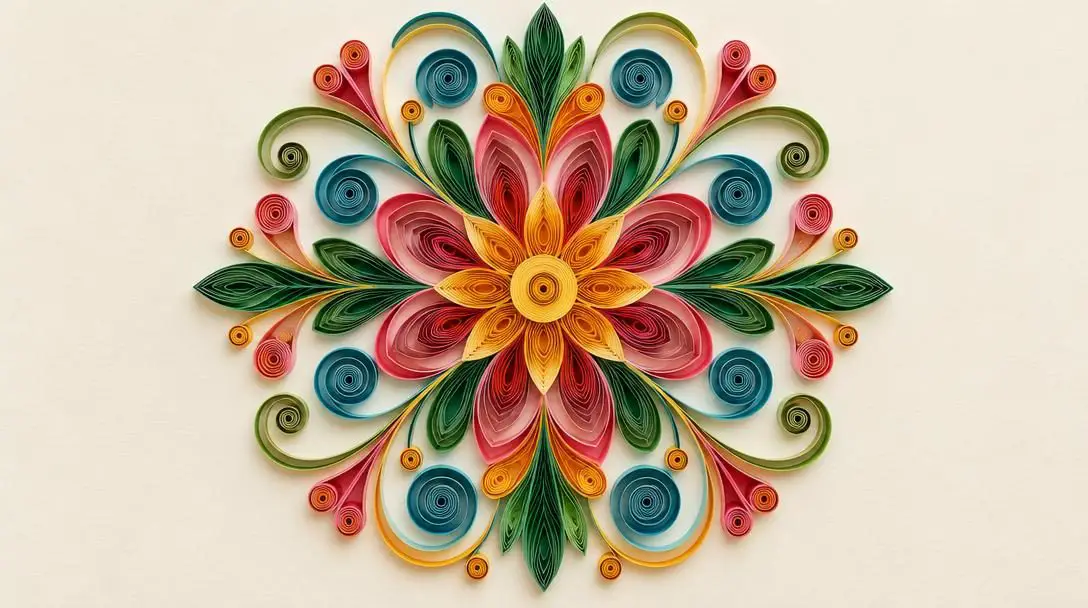
- Core Mechanism: Strip rolling, coil expansion, and edge shaping
- Primary Tool: Slotted quilling tool, needle tool, and tweezers
- Adhesive Required: Craft glue applied sparingly along edges
- Common Applications: Greeting cards, dimensional mandalas, and wearable jewelry
Quilling, also known as paper filigree, constructs larger compositions from hundreds of individually rolled and pinched paper ribbons. Crafters wind uniform strips of colored paper into tight discs, allow them to expand within sizing templates, and pinch them into standardized shapes like loose scrolls, diamonds, and crescents. Arranged edge-on against a backing board or assembled freeform into three-dimensional items, quilled designs showcase vibrant color gradations and rhythmic textural patterns. With the application of protective clear sealants, finished quilled pieces become rigid enough to serve as lightweight earrings and decorative pendants.
At a Glance: Comparing Paper Craft Disciplines
Understanding the unique requirements of each discipline helps you choose appropriate tools, match projects to your patience level, and select the right paper inventory.

| Discipline | Primary Technique | Essential Tools | Fiber Principle | Representative Outputs |
|---|---|---|---|---|
| Origami | Pure folding | Bone folder, scoring stylus | Fiber compression and ridge tension | Geometric figures, modular polyhedra, animals |
| Papercutting | Subtractive carving | Craft knife, fine scissors, cutting mat | Positive/negative space, bridge integrity | Silhouettes, lace motifs, shadow box scenes |
| Quilling | Coiling and edge assembly | Slotted tool, tweezers, precision glue | Coil friction and vertical edge rigidity | Card accents, mandalas, glazed jewelry |
A Step-by-Step Guide to Launching Your Paper Craft Practice
Embarking on a paper crafting journey is straightforward when organized into intentional, progressive steps. Approaching the craft methodically prevents early discouragement and establishes clean technical habits from day one.
- Assemble your foundational toolkit. While common utility scissors and ordinary office paper allow you to test your initial interest, upgrading to quality instruments dramatically improves accuracy. Acquire a dedicated craft knife with extra replacement blades, a pair of sharp fine-point detail scissors, a self-healing cutting mat, and acid-free crafting paper of suitable weight.
- Choose a single initial discipline. Avoid attempting folding, multi-layer cutting, and quilling all at once. Selecting one primary method allows you to master the unique handling properties, tension dynamics, and tool motions specific to that style.
- Master simple foundational shapes. Resist the urge to begin with complex multi-layered landscapes or 50-step modular models. Practice cutting clean parallel lines and smooth circles, folding crisp right angles, or rolling uniform loose coils to develop foundational fine motor control.
- Consult structured learning resources. Seek out instructional video demonstrations and template repositories. Digital video platforms like YouTube offer essential visual breakdowns of physical hand positioning and blade angles, while platforms like Pinterest provide endless project templates, color palettes, and structural diagrams.
- Practice foundational mechanics through regular drills. Dedicate brief, focused sessions to practicing repetitive cuts and creases. Repetition trains your hands to apply the correct amount of downward pressure and reveals how various paper stocks respond to tooling.
- Engage with crafter communities. Join local maker meetups or participate in online forums and social groups. Interacting with other hobbyists provides encouragement, troubleshooting tips for stubborn designs, and exposure to fresh artistic perspectives.
- Embrace the handmade learning process. Accept that miscuts, torn paper edges, and uneven coils are natural milestones in developing manual dexterity. Focus on enjoying the tactile creative process rather than demanding commercial perfection on early projects.
Five Pitfalls to Avoid as a Beginner Crafter
Novice paper artists often stumble into common traps that lead to ragged results, ruined supplies, or unnecessary hand strain. Keeping these common errors in mind will streamline your progress.
- Continuing to cut with dull blades: A blade that has lost its razor edge drags through delicate paper fibers instead of severing them cleanly, causing frayed borders, jagged tears, and blade slips. Swap out craft knife blades frequently, and reserve fine papercraft scissors solely for paper fibers to prevent rapid dulling.
- Working on inappropriate cutting surfaces: Cutting directly on bare wood, kitchen tables, or glass surfaces permanently damages furniture and immediately chips delicate knife tips. A resilient, self-healing cutting mat protects your furniture, prolongs blade life, and provides a slightly grippy surface that stops paper from sliding during critical cuts.
- Selecting overly intricate project patterns: Diving straight into dense mandalas or intricate multi-layered compositions often leads to frustration. Large, complex designs require substantial finger stamina and blade discipline; build up to them systematically through smaller, manageable exercises.
- Rushing delicate hand movements: Paper crafting rewards deliberate, rhythmic pacing. Forcing a blade quickly around tight radii or rolling paper ribbons hurriedly produces warped shapes and accidental cuts through critical connective bridges. Slow down and take deliberate breaks during detailed work.
- Using standard multi-purpose printer paper: Inexpensive office copy paper has a loose fiber structure, low density, and minimal surface sizing. It bends unpredictably, absorbs adhesives unevenly, and frays under craft blades. Invest in quality text-weight sheets or dedicated cardstock designed specifically to hold sharp cuts and dimensional creases.
Expanding Your Skills: Advanced Projects and Everyday Applications
Once you develop steady hands and confident control over basic shapes, you can expand your creative repertoire into advanced dimensional assemblies and functional everyday items. Moving from flat, single-sheet designs to complex structural pieces opens up dynamic artistic possibilities.
A natural next step involves transitioning from flat surfaces to three-dimensional installations. Intricate papercut scenes can be assembled in graduated layers inside deep shadow box frames. By separating each intricately cut layer with small foam spacers, you introduce natural shadows and physical depth, transforming flat illustrations into dramatic architectural facades, forest landscapes, or whimsical storybook scenes. Similarly, basic quilled teardrops and scrolls can be assembled three-dimensionally into self-supporting tabletop sculptures, intricate seasonal ornaments, or ornate floral wreaths.
Paper art also offers practical applications for personalized gifting and decor. Custom handmade greeting cards featuring cut-out filigree windows, dimensional pop-up mechanisms, or quilled botanical crests turn ordinary correspondence into cherished keepsakes. Crafters with an affinity for wearable art can advance into paper jewelry: tightly rolled, sealed quilling motifs make surprisingly resilient, featherweight earrings, brooches, and pendants when coated with water-resistant varnishes or craft glazes.
Frequently asked questions
What kind of paper is best for beginner papercutters?
Beginner papercutters achieve the best results using medium-weight, high-density paper stocks ranging between 120 and 160 grams per square meter (gsm). This weight provides enough structural stiffness to hold delicate bridge connections without requiring excessive blade pressure that quickly exhausts your hand.
Do I need to buy expensive equipment to start quilling?
No. You can start quilling with very modest supplies: pre-cut paper strips or hand-cut paper ribbons, a slotted quilling tool, standard craft glue, and a pair of tweezers. If a slotted tool is unavailable, beginners can even wind paper around a slotted toothpick, needle, or fine wire.
How can I prevent my craft knife from slipping on curved cuts?
To cut smooth curves safely, maintain steady, light downward pressure and rotate the paper sheet into the blade with your non-dominant hand, rather than twisting your wrist at awkward angles. Ensure your blade is fresh, as a dull edge requires extra force that causes sudden slippage.
Can quilled paper jewelry actually survive everyday wear?
Yes, provided the finished piece is treated with multiple light coats of a clear protective sealant, clear-drying craft glaze, or acrylic varnish. The sealant penetrates the fibers and dries hard, making the paper water-resistant, rigid, and durable enough for regular wear as earrings or pendants.
Why do paper folds sometimes crack along the crease line?
Cracking occurs when paper fibers are folded against their natural grain direction or when working with thick, dry cardstock without prior scoring. Using a scoring stylus or bone folder to compress an intended line before folding gently guides the fibers and prevents surface cracking.
The bottom line
Paper crafting proves that remarkable, museum-worthy artistic expression does not demand expensive studios, hazardous chemicals, or complex machinery. With little more than a cutting mat, a sharp blade, and a few sheets of well-chosen paper, you possess everything necessary to explore rich physical geometry and delicate dimensional illustration. By honoring the physical characteristics of paper fibers, establishing solid technical habits, and cultivating patient hand movements, anyone can master the rewarding thrill of turning humble flat paper into extraordinary art.