5 Easy To Learn Arts And Crafts
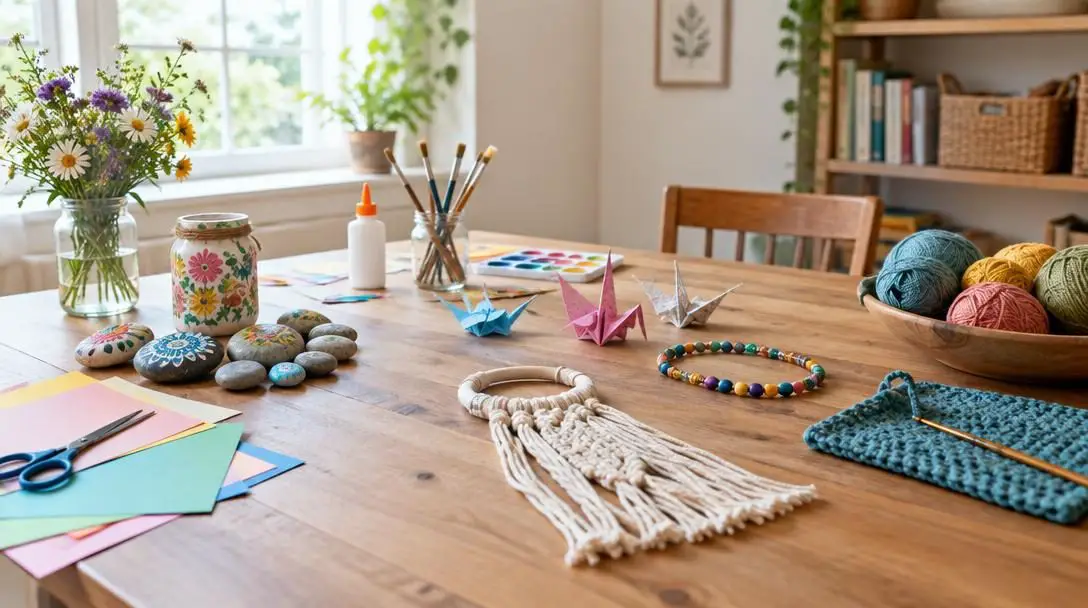
Making something with your own two hands is deeply rewarding, and many mental health professionals consider creative crafting to be an effective form of therapeutic meditation. Engaging in a craft allows your mind to focus on a tactile, constructive activity, offering a calming mental break from the pressures of daily life. Whether you are an experienced hobbyist or an absolute beginner looking for an inviting entry point, you do not need years of formal training to make beautiful, functional objects.
Certain arts and crafts are remarkably accessible, requiring only basic supplies and simple physical motions to master. By starting with straightforward projects—such as folding geometric paper figures, creating custom tie-dyed patterns with household supplies, painting outdoor stones, assembling botanical picture frames, or learning single-hook fiber arts—you can explore personal creativity without an overwhelming investment of time or money.
Key takeaways
- Engaging in hands-on crafting acts as an active, therapeutic form of mindfulness that relieves daily stress.
- Beginner-friendly crafts rely on basic household items, simple hand tools, and foundational techniques rather than expensive studio gear.
- Mastering simple rules—such as maintaining consistent tension or testing dry layouts—prevents the most common crafting pitfalls.
- Every introductory craft provides clear pathways for skill expansion, from miniature displays to seasonal home decor.
At a glance: Five accessible entry-level crafts
Each craft offers a distinct balance of materials, physical techniques, and functional outputs. Comparing their core requirements helps you choose the project that best fits your available time, workspace, and creative goals.
| Craft | Primary Materials | Core Technique | Ideal Workspace | Output Type |
|---|---|---|---|---|
| Creating Origami | Sturdy paper, scissors (optional) | Geometric folding and tucking | Flat, smooth, hard table | Tabletop sculptural figures |
| Sharpie Tie-Dying | Permanent markers, rubbing alcohol, fabric/paper | Solvent pigment dispersion | Well-ventilated room or outdoors | Custom textiles and stationery |
| Painting Landscape Rocks | Smooth stones, acrylic paint, clear enamel sealer | Layered surface painting and sealing | Covered outdoor or indoor work table | Weatherproof garden and patio decor |
| Making Flower-Rimmed Frames | Picture frames, faux florals, hot glue gun | Staged layout and hot-melt bonding | Standard crafting table | Textured indoor photo displays |
| Crocheting | Yarn, single crochet hook | Loop manipulation and knotting | Comfortable chair or on-the-go seating | Wearables and home textiles |
Five simple crafts you can learn today
These five creative activities represent some of the most approachable artistic mediums. They require minimal upfront purchases, rely on repeatable mechanics, and yield satisfying, tactile results on your very first attempt.
Creating Origami
- Origin: Ancient Japanese papercraft
- Core mechanic: Geometric folding without glue or carving
- Primary material: Sturdy paper trimmed to a square
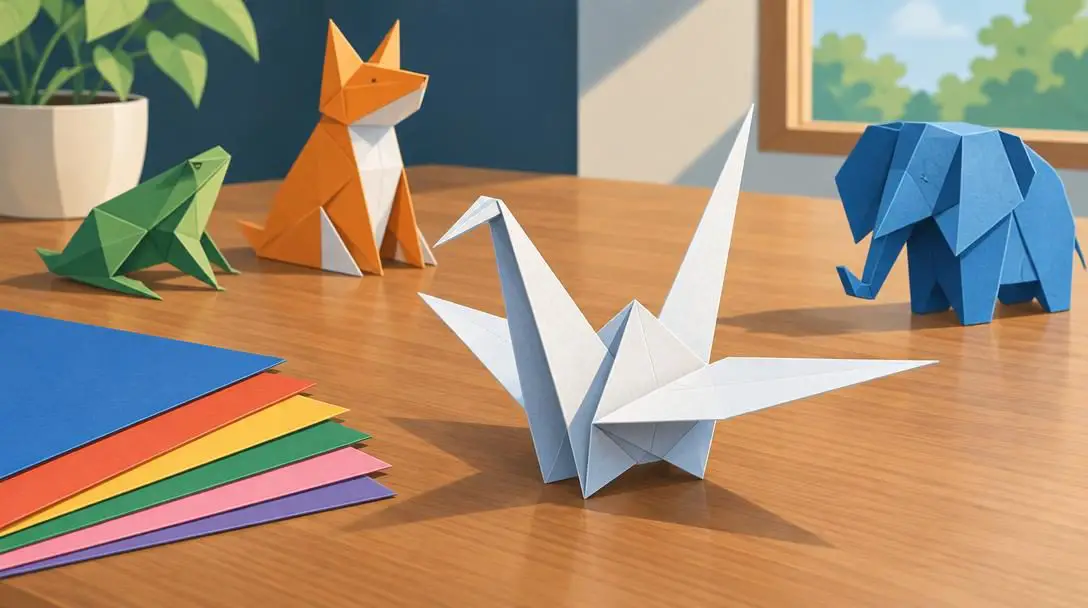
Origami is the ancient Japanese papercraft of transforming a flat sheet of paper into a three-dimensional sculpture purely through deliberate folding. Traditional origami avoids carving, cutting into the final shape, or gluing components together. Instead, the craft relies on the inherent geometry and physical tension of the paper itself. Creasing alters the paper's structural integrity, allowing flat planes to stand upright, produce layered details, and lock into firm geometric shapes through standard folds and tucks.
To begin folding your own paper figures, follow these practical steps:
- Gather a piece of sturdy paper, a pair of scissors to trim the sheet into an exact square if needed, and a set of simple instructions found online.
- Clear a flat, hard, and smooth surface so your creases remain crisp and accurate throughout the process.
- Follow your chosen pattern step by step, taking time to line up edges and corners precisely before flattening the folds down.
- Execute each tuck carefully to lock the structure together as your three-dimensional figure takes shape.
Common mistakes in origami usually stem from rushing or selecting improper paper stock. Using paper that is too thick creates bulky, uncooperative corners that resist crisp folding, while flimsy paper tears under tension. Another standard issue is failing to align corners precisely in the earliest steps; minor misalignments at the start compound quickly, causing the entire figure to warp or tilt by the end. Once you feel comfortable with basic figures, you can experiment with varying paper weights or assemble miniature collections of paper animals and flowers to display on shelves or give away as handmade gifts.
Sharpie Tie-Dying
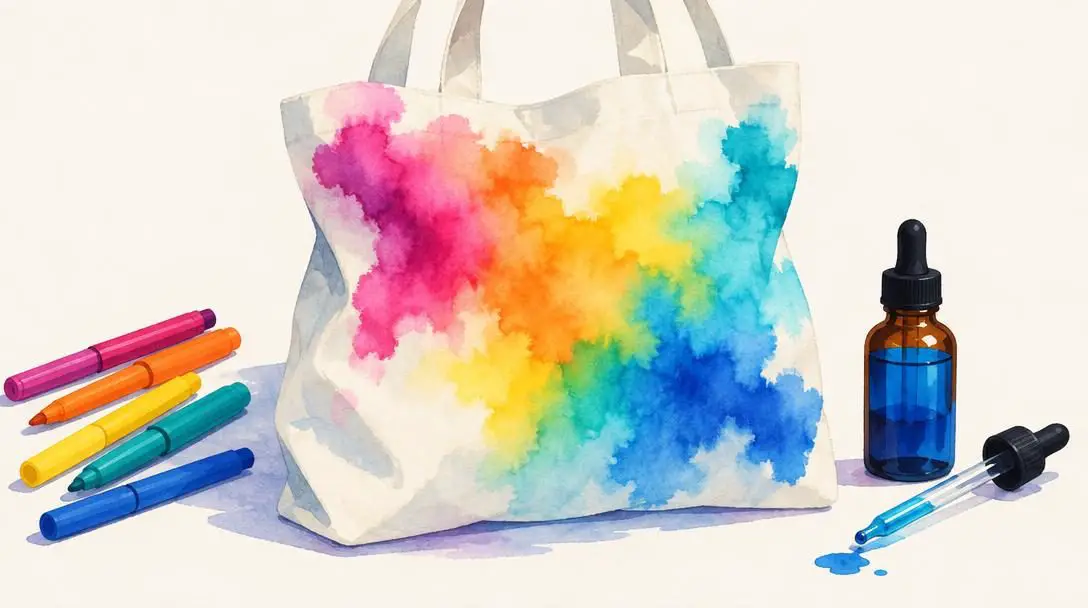
- Medium: Permanent marker ink and rubbing alcohol
- Canvas: Plain shirts or paper sheets
- Safety requirement: High ventilation or outdoor airflow
Traditional fabric dyeing often requires large buckets of water, messy dye packets, and prolonged curing cycles. Sharpie tie-dying bypasses this complexity by taking advantage of simple chemistry. Permanent marker ink is alcohol-soluble. When rubbing alcohol touches dry marker pigments, it dissolves them and draws them outward across the surface of a shirt or sheet of paper. As the solvent spreads, it produces soft, atmospheric color gradients and organic patterns that closely mimic traditional liquid tie-dye without the complicated setup.
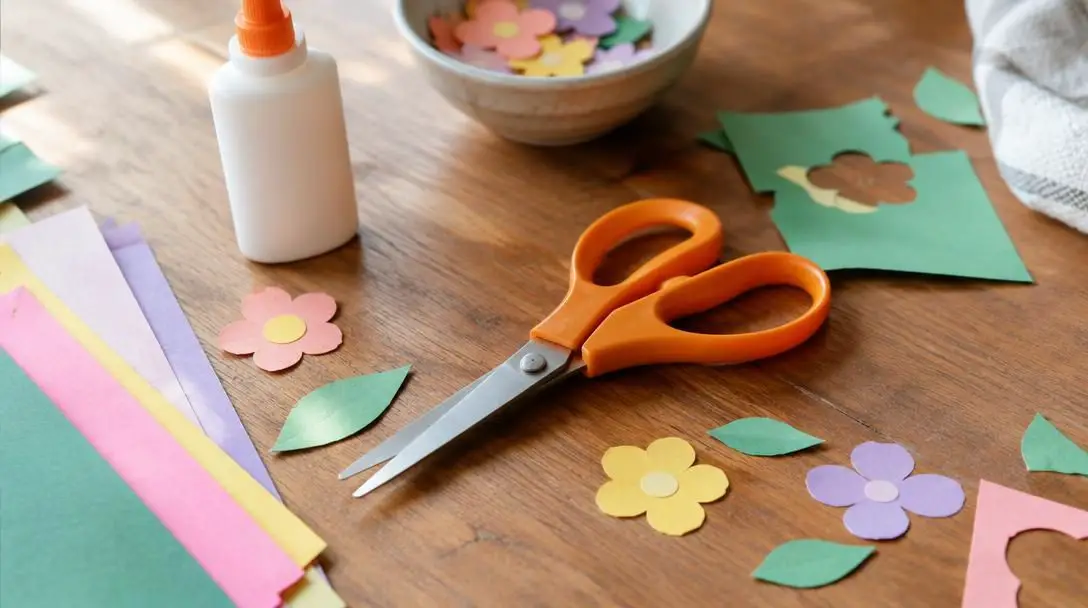
To produce clean, colorful gradients with permanent markers, work through these steps:
- Select your favorite marker colors, a bottle of rubbing alcohol, a small dropper or spray bottle, and a plain item such as a shirt or sheet of paper.
- Set up your workspace outdoors or in an area with active air circulation.
- Draw colorful shapes, lines, or concentric rings directly across the surface of your material.
- Apply rubbing alcohol over the ink using your dropper or spray bottle, watching as the pigments bleed and blend into bright gradients.
- Allow the piece to dry completely in your ventilated workspace before handling or wearing it.
A frequent error is saturating the fabric with excessive rubbing alcohol too quickly. Flooding the canvas washes out the pigment, causing distinct shapes to run together into a dull, muddy puddle. As you develop better control over your alcohol application, you can experiment with complementary and contrasting color pairings to see how different pigment combinations react and blend across the fibers.
Engaging in a craft allows your mind to focus on a tactile, constructive activity, offering a calming mental break from daily routines.
Creating Hand-Painted Landscape Rocks
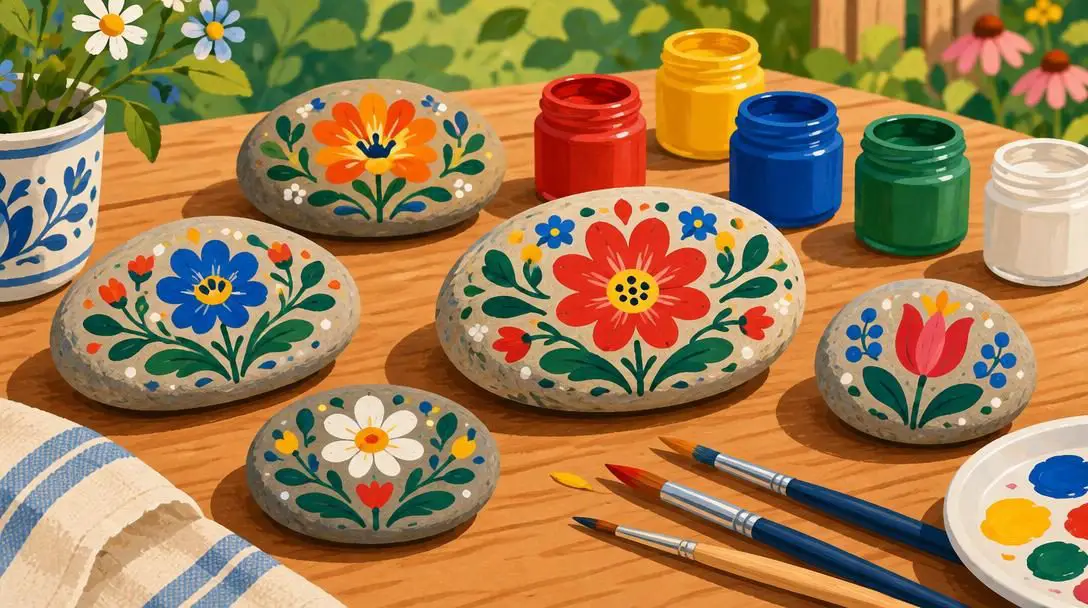
- Base material: Smooth, clean natural stones
- Color medium: Multi-surface acrylic paint
- Protective finish: Clear enamel sealer spray
Hand-painted landscape rocks offer an approachable way to produce permanent outdoor decor from natural objects. Smooth stones collected from outdoor spaces provide a rigid, tactile canvas that holds up well in outdoor environments. Crafters can adorn them with floral arrangements, animal figures, or designs inspired by their favorite books to add visual interest to garden borders, patio edges, and walkway plantings.
The craft works because acrylic paint adheres firmly to porous mineral surfaces, while an exterior coat of clear enamel sealer forms a waterproof, UV-resistant shield over the artwork. This topcoat keeps moisture, sunlight, and garden dirt from fading or peeling the design. Follow these practical steps to paint garden stones:
- Find stones that feature naturally smooth, flat surfaces suited for brushwork.
- Clean the stones thoroughly with plain water to remove dirt, algae, and grime, then allow them to dry completely so the paint can bond.
- Gather acrylic paints, brushes of varying widths, and a can of clear enamel sealer spray.
- Apply your custom artwork, whether it is an animal likeness, a garden bloom, or an illustration from a book.
- Let the acrylic paint cure entirely, then apply an even coat of clear enamel sealer spray before placing the rock in your garden or patio.
Avoid painting stones that are deeply pitted, coarse, or heavily textured. Rough stone textures make clean linework difficult and cause paint to collect in thick, uneven pockets that take longer to dry. Another common misstep is spraying the clear enamel sealer while the underlying acrylic layers are still tacky, which can smear fine lines or leave a cloudy, milky haze over your colors. Once mastered, painted stones can be placed in themed groupings across garden beds or used as decorative boundary markers along pathways.
Making Flower-Rimmed Picture Frames
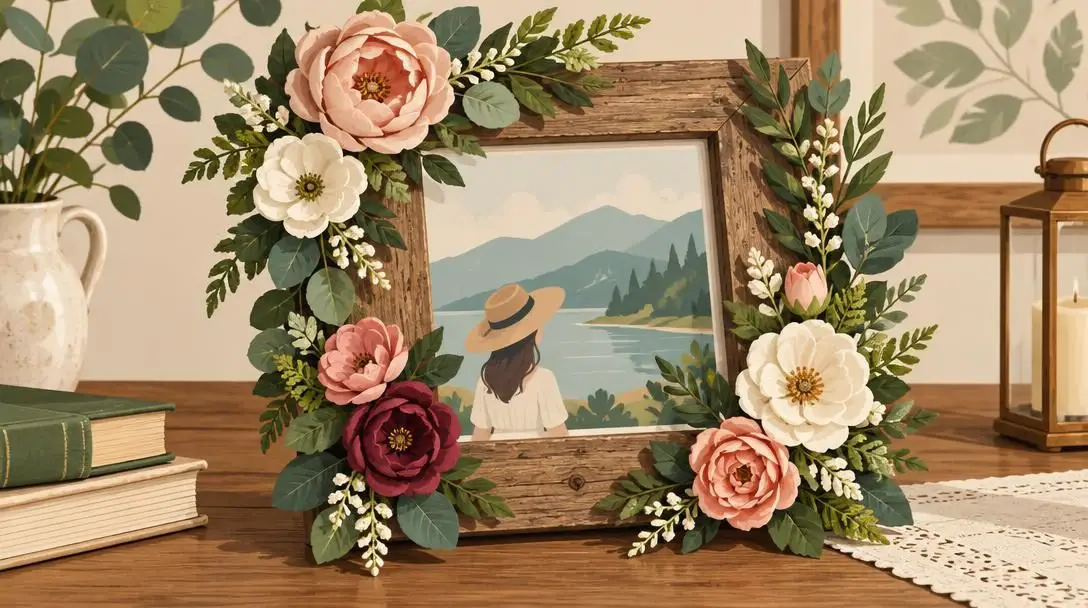
- Base: Inexpensive wooden or composite picture frames
- Accents: Artificial floral blooms and faux greenery
- Adhesive: High-temperature hot glue
Making flower-rimmed picture frames is a simple decorative technique that turns plain, budget-friendly frames into dimensional home accents. By utilizing artificial flowers and faux foliage instead of real botanicals, crafters create lasting displays that will never wilt, dry out, or drop petals across the furniture. The technique relies on hot glue, which hardens within seconds to form an immediate, rigid bond between plastic or fabric stems and the flat border of a picture frame.
To assemble your floral picture frame cleanly, execute the following steps:
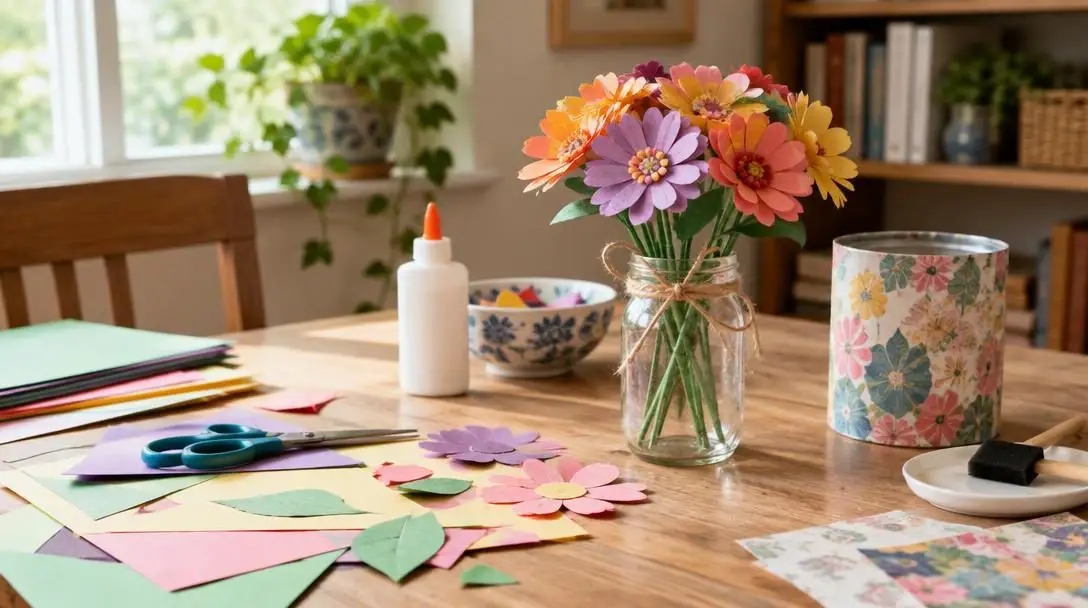
- Collect an inexpensive picture frame, an assortment of artificial flowers and foliage, and a hot glue gun with extra glue sticks.
- Pluck the blossoms and individual leaves off their plastic or wire stems so the underside sits as flat as possible.
- Arrange the loose components along the frame perimeter without adhesive, testing different compositions until you are happy with the balance.
- Apply small dots of hot glue to the base of each flower and leaf, pressing them firmly onto the frame's perimeter.
- Let the adhesive cool and solidify, check for loose petals, and place your favorite photo inside the frame.
The most common beginner error is gluing blooms impulsively without testing the visual balance first. Once hot glue cures, pulling stuck items away can tear delicate fabric petals or strip the paint and laminate from cheap frames. Additionally, failing to trim down the hard plastic nub at the base of the flower prevents the bloom from sitting flush against the frame surface, leading to weak glue bonds. After mastering flat frames, you can apply this exact bonding method to circular straw wreath bases to make coordinated floral decor for entry doors and interior walls.
Crocheting
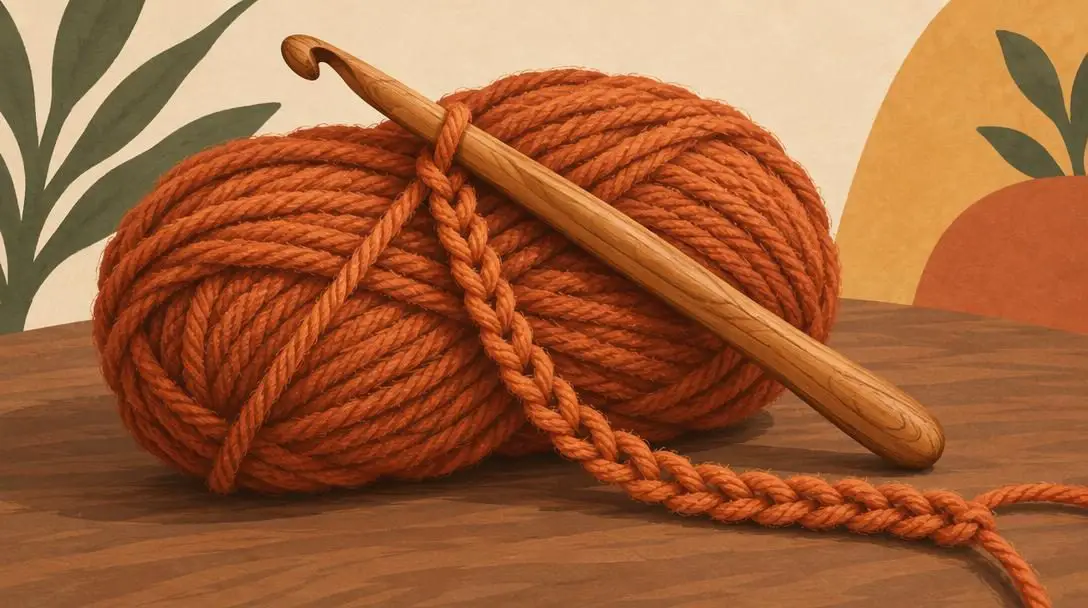
- Tool: Single crochet hook
- Raw material: Skein of standard yarn
- Structural unit: Interlocking loops and knots
Crocheting is widely recognized as one of the most accessible needlework techniques for beginners. While traditional knitting requires balancing dozens of open, active stitches across two pointed needles, crocheting uses a single hook to control only one live stitch at a time. The crafter draws working yarn through existing loops to build interconnected rows of knots and chains. Because there is only one open loop on your tool at any moment, stopping to take a break or pulling back work to fix an error is simple and stress-free.
To start your first crochet project from scratch, follow these basic steps:
- Acquire a skein of yarn, a crochet hook that matches the yarn's recommended size, and find beginner video instructions online.
- Form a slipknot around the shaft of the hook and practice working a simple foundation chain by pulling the yarn through the loop repeatedly.
- Learn a foundational stitch from a tutorial, inserting the hook into the chain loops to establish your first working row.
- Add subsequent rows of loops or knots, monitoring your edge stitches so your row count remains completely steady.
- Cut your yarn and pull the tail through your final loop to tie off and secure the finished fabric.
Maintaining consistent yarn tension is the single biggest challenge for novice crocheters. Pulling the working yarn too tightly creates rigid, microscopic loops that make it nearly impossible to insert the hook on the next pass. Conversely, holding the yarn too loosely creates messy, uneven holes throughout the fabric. Beginners also tend to miss the final loop at the outer edge of a row, which unintentionally reduces the stitch count and causes rectangular projects to taper into a triangle. Once muscle memory sets in, crocheting becomes a soothing, rhythmic hobby capable of producing everything from tiny baby booties to large, cozy throw blankets.
Choosing the right craft for your lifestyle and space
Selecting the best craft to explore comes down to your personal living space, how much cleanup you want to manage, and where you prefer to do your creative work. Every craft listed here accommodates different environments and physical constraints:
- Minimal space and zero cleanup: Origami requires nothing more than a few sheets of paper and a flat table or desk. It produces no toxic fumes, uses no sticky adhesives, and can be packed away in a folder within seconds.
- Well-ventilated areas: Sharpie tie-dying is ideal if you have a patio, garage, or porch where alcohol fumes can dissipate naturally into the open air while you experiment with bold color mixtures.
- Nature and garden enthusiasts: Painting landscape rocks allows you to blend an outdoor walk with painting, resulting in durable, weatherproof stones you can display outdoors in your garden beds.
- Home staging and interior accents: Assembling flower-rimmed frames lets you build custom, three-dimensional home decor in an afternoon using basic store-bought frames and faux greenery.
- Portable, tactile relaxation: Crocheting is completely self-contained. A skein of yarn and a single hook can fit inside a small tote bag, letting you practice stitches while watching television, sitting in a park, or traveling.
Frequently asked questions
Why does rubbing alcohol make permanent markers spread across fabric?
Permanent marker ink contains alcohol-soluble pigments that do not wash away with water alone. When you apply rubbing alcohol, the solvent dissolves the binding agent in the ink, carrying the freed pigments outward across the fibers to create blended, tie-dyed gradients.
What type of paper works best when learning origami?
A medium-weight, sturdy paper cut into a precise square works best. Paper that is too thick creates bulky, difficult folds that resist staying closed, while fragile or flimsy paper easily rips when creased repeatedly.
Why do you need clear enamel spray on painted landscape rocks?
Clear enamel spray forms a durable, transparent seal over the acrylic paint. This outer barrier keeps outdoor moisture, dirt, and sun exposure from degrading the pigment, ensuring your stone designs remain bright and intact in your yard or garden.
Why is crocheting generally easier for beginners than knitting?
Crocheting uses only a single hook and manages just one active loop at a time. Knitting requires crafters to hold two needles simultaneously while balancing dozens of vulnerable, open stitches across them, making dropped stitches much harder to recover.
How can you keep a crochet project from shrinking as you work?
Projects shrink or taper when beginners accidentally skip the final stitch at the end of a row. Counting your stitches regularly at the end of every row ensures your edge count stays uniform and your sides remain straight.
The bottom line
Creative crafting does not require an innate artistic gift or a dedicated studio packed with expensive machinery. Accessible activities like origami, Sharpie tie-dying, rock painting, faux floral framing, and crocheting offer a direct path into hands-on making. Each project relies on simple supplies, forgiving techniques, and repeatable actions that calm the mind while building tangible skills. By picking a project that fits your living space and working steadily through the foundational steps, you can enjoy the therapeutic benefits of handmade art and create distinctive items you are proud to display.