Expert Tips for Resizing Your Photos to Achieve the Perfect Image Size
In our visually saturated digital landscape, photographs serve as our primary currency for communication, storytelling, professional branding, and personal archiving. Modern digital cameras and smartphones capture photographs with extraordinary detail, producing raw image files that contain millions of individual data points. While high-resolution capture preserves stunning fidelity, working with these hefty files in everyday environments often creates significant friction, ranging from clogged storage drives and sluggish web pages to rejected email attachments.
Mastering the art of image resizing solves these logistical headaches without sacrificing the crisp details of your photography. Resizing is far more nuanced than merely scaling dimensions up or down; it requires balancing physical pixel counts, file compression, aspect ratios, and the visual demands of the target display medium. Whether preparing high-impact visual assets for an online portfolio, formatting images for digital communication, or prepping fine art for a gallery print run, knowing how to calibrate your images ensures every photo looks deliberate, sharp, and professional.
Key takeaways
- Downscaling an image discards excess pixels while preserving density, whereas upscaling forces software to invent pixels and often introduces noticeable blur or visual artifacts.
- Maintaining an image's locked aspect ratio is essential to avoid unnatural stretching, distortion, or squishing of subjects.
- Digital screens depend strictly on absolute pixel dimensions, while physical print mediums require high pixel density per inch to reproduce clean, crisp lines.
- Always preserve an uncompressed master copy of your original photograph before applying resizing or cropping operations.
The Mechanics of Resizing: Pixels, Resampling, and Proportions
Every raster photograph is an intricate mosaic composed of thousands or millions of tiny colored squares known as pixels, aligned across a two-dimensional grid of fixed width and height. When you alter the size of an image, you are instructing your software to recalculate how those colored squares are distributed across a newly defined boundary. This mathematical recalculation, known as resampling, operates very differently depending on whether you are shrinking or enlarging your picture.
When you scale a picture down, the underlying software applies mathematical algorithms to eliminate surplus pixels while analyzing adjacent color values to retain sharp transitions, edges, and tonal gradations. Because the resulting frame holds a concentrated density of visual data, downsized photos typically appear exceptionally sharp and punchy. However, this process permanently strips away data: once those excess pixels are recalculated and discarded, they cannot be retrieved from that specific file.
Conversely, enlarging a photo beyond its native pixel dimensions presents a formidable technical challenge. Because editing software cannot conjure missing detail out of thin air, it must analyze neighboring pixels and approximate what the intervening space should look like. This computational guesswork frequently results in softened edges, visual noise, jagged artifacts, and a hazy or blocky aesthetic that compromises image quality.
Equally critical to this foundation is the concept of aspect ratio, which defines the proportional relationship between a photograph's width and height. Classic photographic ratios include square formats, panoramic landscape vistas, and standard frame proportions. If you adjust an image's horizontal measurement without proportionally synchronizing its vertical measurement, the pixel grid warps unevenly. This careless manipulation flattens human faces, distorts architecture, and immediately signals amateur production.
Achieving the perfect image size is not simply about making a file smaller or larger; it is about calibrating visual information so that the image looks intentional, sharp, and appropriately framed.
Essential Software for Resizing Images
Selecting the right digital editing tool provides the foundation for an efficient, non-destructive workflow. High-caliber image manipulation programs offer intuitive interfaces, expansive tool suites, flexible format support, robust layer management, non-destructive editing, responsive rendering, and smooth processing of high-resolution files.
Adobe Photoshop

- Software Type: Industry-standard professional image editor
- Workflow Style: Layer-based, non-destructive pixel manipulation
- Key Resizing Features: Resampling algorithms, canvas control, smart objects
Widely regarded as the premier benchmark for creative image manipulation, Adobe Photoshop offers total, granular authority over pixel grids, document metrics, resampling algorithms, and canvas framing. Through its integration of layers, clipping masks, and smart objects, users can resize, transform, and refine intricate compositions without permanently damaging the base pixel structure of their source imagery. It is especially suited for complex creative projects requiring absolute precision.
GIMP (GNU Image Manipulation Program)
- Software Type: Free, open-source raster graphics editor
- Workflow Style: Layer-supported desktop manipulation
- Key Resizing Features: Customizable scaling, robust selection tools
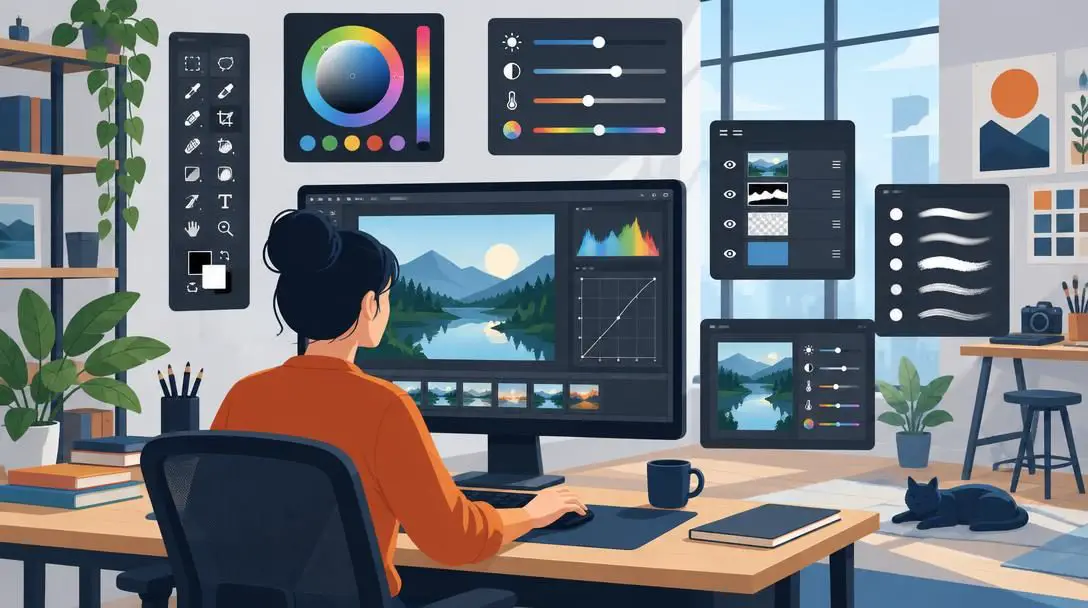
GIMP stands as a flexible, open-source alternative to proprietary subscription software. It features a customizable user workspace alongside advanced selection, scaling, and transformation engines. While it requires a steeper initial learning curve to master its distinct tool arrangements, GIMP processes large, high-resolution source files and diverse digital formats with dependable reliability, making advanced editing workflows accessible without ongoing software costs.
Adobe Lightroom
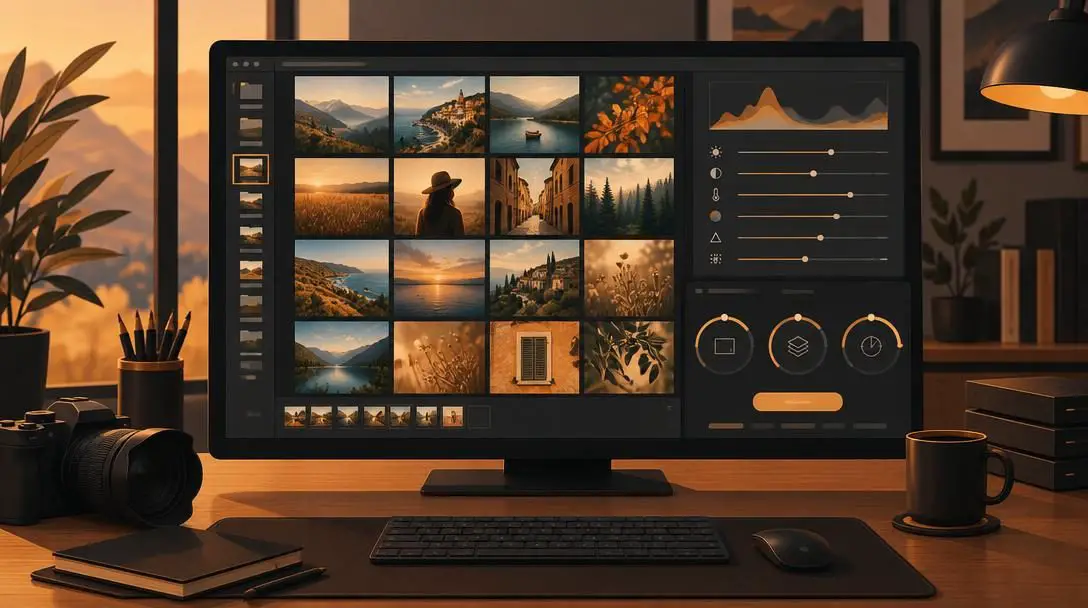
- Software Type: Photography cataloging and raw image processor
- Workflow Style: Non-destructive photographic batch workflow
- Key Resizing Features: Multi-image export presets, dimensional constraints
Developed specifically to streamline high-volume photographic management, Adobe Lightroom excels at cataloging, organizing, and non-destructively editing raw photo libraries. When resizing needs arise across an entire photo shoot, Lightroom allows creators to apply unified dimensional rules, export presets, and file constraints across hundreds of photos simultaneously, making it an indispensable platform for event, portrait, and commercial photographers.
| Software | Primary Use Case | Key Strength | Cost Model |
|---|---|---|---|
| Adobe Photoshop | Granular pixel editing and complex manipulation | Comprehensive resampling controls and layer masking | Paid subscription |
| GIMP | Open-source image manipulation and scaling | Deep tool customization without licensing barriers | Free / Open-source |
| Adobe Lightroom | High-volume photography workflow and raw processing | Fast batch resizing and streamlined export presets | Paid subscription |
Screen Displays vs. Print: Navigating Resolution Requirements
Understanding the interplay between resolution and visual output is essential when prepping photos for public consumption. Resolution refers to the density of pixel data arranged across a photograph. However, the physical meaning of resolution changes dramatically depending on whether your work will exist on an illuminated electronic display or on physical paper.
For online platforms, digital messaging, websites, and presentation decks, absolute pixel dimensions represent the only metric that truly dictates display sizing. Screens interpret an image by mapping the file's pixel grid directly to physical display pixels. In an online environment, uploading an unnecessarily gigantic file does not increase visual sharpness on a smartphone or computer monitor; instead, it overburdens network bandwidth, exhausts server capacity, and degrades user experience by slowing down page load speeds.
Physical print operates under vastly different technical requirements. Printing presses and photo printers translate digital data into ink droplets distributed across paper, where visual sharpness depends heavily on pixel density per inch. If an image file lacks sufficient underlying pixel data to sustain that density across the desired physical dimensions, the printed artifact will appear muddy, jagged, or visibly pixelated. Preparing an asset for fine printing demands a much denser concentration of pixel data than preparing that same asset for a digital screen.
How to Resize an Image Without Losing Quality
Executing a clean resize requires an orderly workflow to protect original data and avoid accidental distortion. Following this systematic process guarantees crisp, accurately proportioned results across any editing software:
- Preserve the master file: Create a duplicate working copy of your original photo before making any alterations. Never overwrite your base camera capture, as discarding pixels during a downscale cannot be undone once saved.
- Import into your editor: Open your duplicate working file in your preferred software application, verifying that the software has loaded the uncompressed, full-resolution source file.
- Access the dimension controls: Locate your editor's primary dimension management dialogue, typically situated under menu labels such as "Image Size," "Scale Image," or within an export configuration panel.
- Lock the aspect ratio: Ensure the proportion constraint link or padlock icon is active. This forces the height and width to scale concurrently, preventing accidental distortion or squishing.
- Select appropriate measurement units: Select pixels if your target destination is an electronic display, website, or social media channel. Select inches or centimeters if you are formatting an asset for physical print.
- Set target dimensions: Enter your intended measurement into either the width or height input field. With the aspect ratio locked, the software will automatically calculate the matching dimension.
- Select your resampling method: Choose an algorithm optimized for smooth photographic gradients or sharp edges depending on your editor's available options, then execute the resize.
- Inspect and export: Zoom to 100 percent to inspect edge clarity and fine details. Export the finished image under a descriptive new filename using a standard format like JPEG for standard photography or PNG for graphics requiring transparency.
Reframing the Shot: Smart Cropping and Aspect Ratios
Resizing often involves more than uniform scaling. In many publishing workflows, an image must conform to a completely different geometric container than the one captured by the camera sensor. A horizontal landscape capture may need to fill a square product showcase or a tall, vertical mobile display. When the target frame demands a new aspect ratio, standard scaling alone is insufficient—attempting to force the file into that box will ruin its proportions.
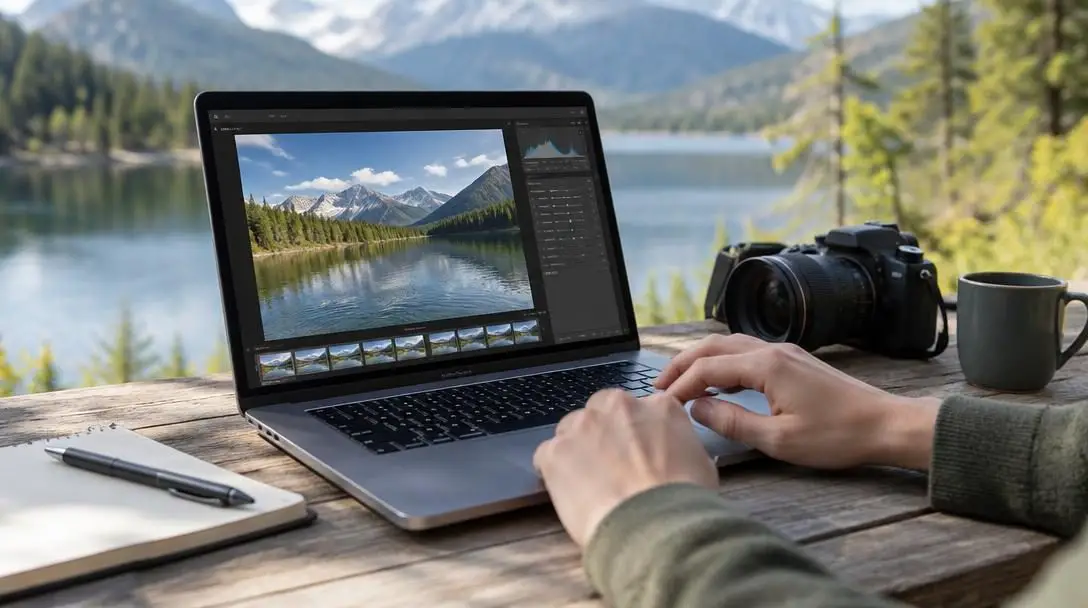
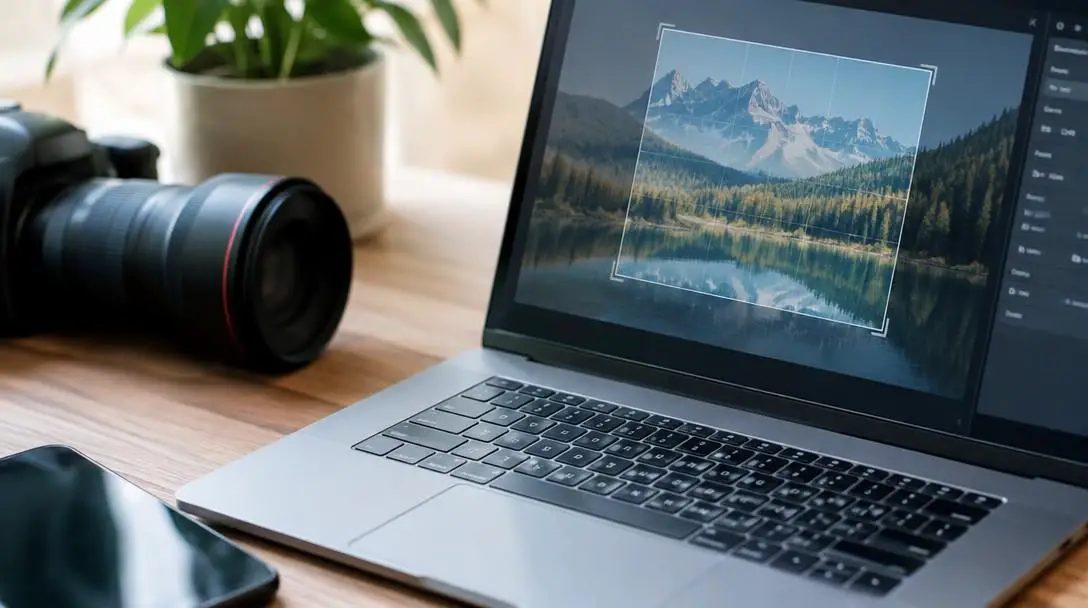
This is where smart cropping techniques prove invaluable. Many modern editing suites incorporate automated content-aware cropping utilities. These intelligent engines scan the pixel data within a photograph to detect primary focal points, such as human faces, subjects in motion, or high-contrast compositional elements. The software then centers the new boundary around those critical elements, automatically lopping off extraneous background space while preserving the visual narrative.
When executing manual crops without computational aids, applying classical compositional rules helps maintain visual harmony. By aligning your subject along rule-of-thirds balance lines, you can deliberately trim dead visual space around the perimeter of the frame. This technique produces an edited image that feels intentionally framed for its new dimensions rather than hastily cut down to fit a template.
Critical Resizing Mistakes to Avoid
Even seasoned creators occasionally compromise their visual assets by rushing through basic export procedures. Keeping these common errors in mind will safeguard the quality of your images across all publishing channels:
- Disabling the aspect ratio lock: Unlinking proportional constraints to force an image into arbitrary box dimensions stretches or flattens faces, objects, and horizons. Always maintain proportional links or use deliberate cropping to alter image geometry.
- Over-enlarging small source files: Forcing low-resolution web graphics, thumbnails, or heavily compressed files into large display sizes creates muddy, pixelated imagery that software resampling cannot resolve.
- Overwriting the original master file: Saving a downscaled, resampled image directly over the original camera capture permanently erases millions of pixels of raw visual data. Always export resized assets as separate files.
- Relying on a single universal size: Using identical dimensions across distinct platforms produces subpar presentation. An image sized specifically for a website banner rarely translates well to a compact profile icon or an email graphic.
- Successive resaving of compressed formats: Repeatedly opening, resizing, and saving lossy formats such as JPEG introduces generational loss, compounding compression artifacts and eroding fine details with each export. Always perform adjustments directly from your high-fidelity master file.
Compression, Optimization, and Final Testing
Once you achieve the proper pixel dimensions and compositional framing, the final phase of image preparation involves file compression. While resizing dictates the physical width and height of an image in pixels, compression governs its digital footprint on a storage drive in kilobytes or megabytes.
High-resolution images that have been resized to appropriate screen dimensions can still carry unnecessary digital bulk if exported without compression optimization. Applying balanced compression algorithms discards imperceptible color variations and redundant metadata, dramatically trimming the file's payload while leaving perceived visual sharpness intact. This optimization step ensures rapid load times on digital interfaces and minimizes storage consumption.
Before launching your visual assets publicly, adopt the disciplined habit of evaluating them within their intended production environments. Upload sample files to private test galleries, preview your graphics on diverse mobile and desktop monitors with varying brightness settings, and run physical proof sheets on your intended paper stock. Real-world testing reveals subtle color shifts, edge halos, or framing quirks, empowering you to fine-tune your work before final publication.
Frequently asked questions
Does resizing an image reduce its visual quality?
Downscaling an image to smaller pixel dimensions generally preserves or even enhances perceived sharpness because visual data is concentrated into a tighter space. However, dramatically enlarging an image beyond its native resolution degrades quality because editing software must invent new pixels, resulting in soft edges and digital noise.
What is the difference between resizing and cropping?
Resizing alters the overall pixel dimensions or physical scale of the entire image while keeping the whole composition intact. Cropping cuts away unwanted outer areas of the photograph to change its framing, composition, or aspect ratio.
Why do my resized photos look stretched or squished?
Stretching and squishing occur when an image's aspect ratio lock is disabled, allowing the width and height to change independently. To avoid visual distortion, always keep the proportional constraint lock active or crop the image to the correct proportions before entering target dimensions.
Can I recover the original quality of an image after downsizing it?
No. Once an image is downscaled and overwritten, the excess pixels are permanently discarded. To prevent irreversible quality loss, always work from a duplicate copy and keep your original master file intact.
The bottom line
Resizing digital photos is a fundamental creative skill that bridges raw photographic capture and polished presentation. By understanding how pixels behave during resampling, respecting aspect ratios, and choosing the right editing tools—whether utilizing the comprehensive controls of Adobe Photoshop, the open-source flexibility of GIMP, or the batch efficiency of Adobe Lightroom—you can reliably prepare images for any medium. Paired with deliberate cropping and thoughtful file compression, mastering these practices ensures your photographs consistently command attention with sharp details, balanced compositions, and fast, flawless delivery.