Photography 101: Capturing Memories One Click at a Time
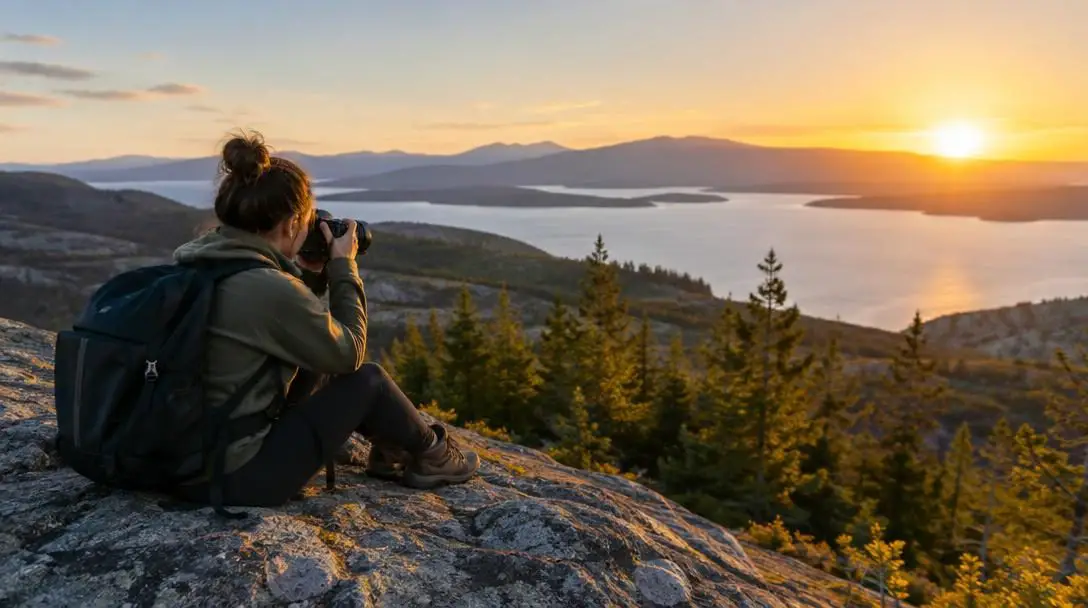
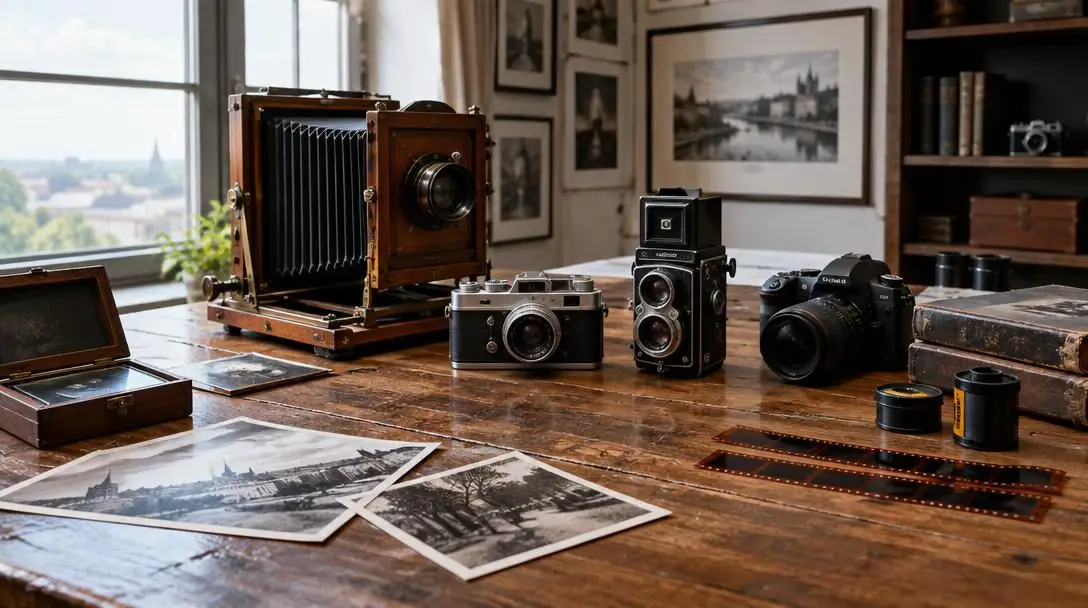
Photography is a powerful medium that allows us to capture and preserve memories across time. Whether you are documenting an intimate milestone with loved ones, framing a sweeping mountain range, or freezing a fleeting gesture in nature, holding a camera gives you the ability to turn a momentary occurrence into a lasting visual record. Long before modern digital technology existed, people searched for practical ways to document their lives, environment, and visual surroundings. The shift from historical techniques to modern cameras has made image-making universally accessible, yet creating striking, deliberate photographs remains a skill that requires practice and understanding.
That is where foundational knowledge bridges the gap between accidental snapshots and thoughtful photography. The desire to preserve milestones, natural beauty, and everyday human connections is shared across cultures and generations. By understanding how a camera operates, how light shapes a subject, and how compositional guidelines direct the human eye, you can approach any environment with creative confidence and build a meaningful visual archive of your life.
Key takeaways
- Photography is fundamentally the art of capturing light through the coordinated balance of the lens, shutter, aperture, and sensor.
- Intentional composition techniques like the rule of thirds, leading lines, and natural framing guide the viewer's eye and give an image narrative structure.
- Lighting direction determines mood and depth, with side lighting revealing texture, backlighting creating silhouettes, and front lighting producing a flatter look.
- Sharp portraits depend on focusing precisely on the subject's eyes and utilizing fast shutter speeds to preserve candid emotional expressions.
The Core Mechanics of a Camera
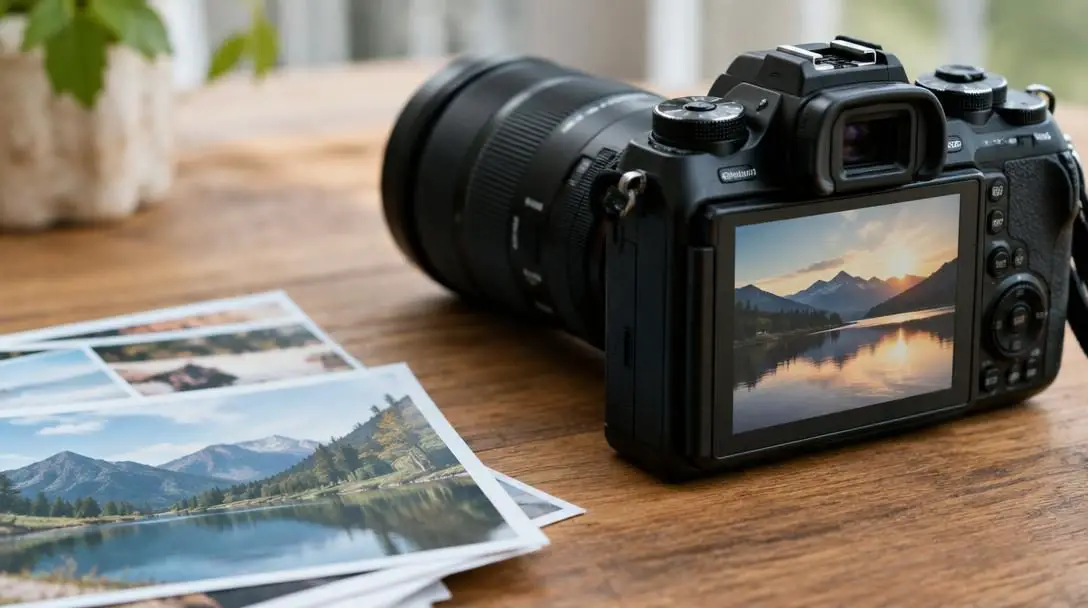
At its foundation, photography is the art and science of recording light. A camera functions as a light-tight housing equipped with specific mechanisms that regulate how light enters, how much of it reaches the recording surface, and how that light is translated into an image. Mastering high-quality image creation starts with understanding the distinct function of each essential hardware component.
The Lens
The lens gathers and focuses incoming light onto the camera's internal sensor. It dictates how much of a given scene is visible within the frame. Different lenses feature varying focal lengths, which establish both the angle of view and the degree of magnification. A wider focal length captures an expansive field of view, making it suitable for vast spaces, while a longer focal length magnifies subjects that are physically far away.
The Shutter
The shutter acts as a physical or electronic barrier that regulates how long the sensor remains exposed to light. Shutter speed measures this precise exposure time and controls motion blur. A high or fast shutter speed suspends rapid movement in mid-air, while a slow shutter speed allows movement to sweep across the frame, producing intentional motion blur.
The Aperture
The aperture is the adjustable diaphragm opening located inside the lens that dictates the volume of light traveling into the camera body. In addition to regulating light transmission, the aperture controls depth of field, which defines how much of the image appears in acceptable focus from the immediate foreground to the distant background.
The Sensor
The sensor is the light-sensitive electronic surface that captures focused light rays and transforms them into digital image data. When light strikes the sensor, it records values of brightness and color. These recorded signals are subsequently converted into the digital file stored on your memory card.
| Component | Primary Function | Light Control Role | Visual Impact |
|---|---|---|---|
| The Lens | Focuses light rays onto the digital sensor plane | Determines field of view and optical magnification | Sets perspective, spatial relationship, and scene coverage |
| The Shutter | Controls the duration of light exposure | Regulates exposure time in fractions of a second | Freezes high-speed action or captures motion blur |
| The Aperture | Adjusts the physical diameter of the lens opening | Controls the physical volume of light entering | Determines depth of field and background separation |
| The Sensor | Converts incoming photons into digital pixel data | Measures overall light intensity and color values | Establishes digital detail, tone reproduction, and image clarity |
How Light, Exposure, and Balance Work Together
Achieving a balanced exposure requires coordinating the aperture, shutter, and sensor so they work in total alignment. When you aim a camera toward a scene, light first meets the front elements of your lens. Adjusting the aperture opening controls both the volume of illumination entering the chamber and the sharpness of the planes surrounding your focal point. An open aperture isolates your subject against a blurred, gentle background by creating a shallow depth of field, whereas a stopped-down, narrower aperture keeps background and foreground elements simultaneously sharp.
Next in the optical path is the shutter. When you activate the shutter release, the mechanism opens for a specified fraction of a second. If the duration is brief, rapid movement freezes in absolute clarity; if the duration is extended, moving subjects paint a trail across the sensor. Finally, the incoming light reaches the sensor, which translates these optical values into a clean visual file. If any one of these settings is mismatched, the resulting image risks being washed out by excess light or shrouded in heavy, unusable darkness.
Coordinating the lens, aperture, and shutter ensures the sensor receives the exact volume of light needed to reveal fine textures, rich details, and genuine atmosphere.
Fundamental Composition Techniques
Even a technically sharp exposure can feel dull if the elements within the frame are arranged without intent. Composition refers to how visual elements are structured within your borders. Thoughtful arrangement guides the viewer's eye through the frame, creates visual harmony, and reinforces the emotional story of the scene.
The Rule of Thirds
The rule of thirds is one of the most widely used compositional frameworks in visual art. Imagine dividing your frame into nine equal sections using two horizontal lines and two vertical lines. Placing your primary subject or horizon along these dividing lines or at their four intersecting points yields a balanced, visually engaging composition that avoids the rigid static feel of centering everything automatically.
Framing
Framing involves utilizing organic or architectural elements already present in the setting to border your focal point. Structural archways, overhanging tree branches, doorway jambs, and bridge spans can surround your subject. This technique immediately establishes environmental context, adds layered three-dimensional depth, and funnels the viewer's gaze toward the center of interest.
Leading Lines
Leading lines are linear elements that pull the viewer's vision directly toward your key subject. They can be explicit physical pathways, such as roads, rivers, walking trails, railway tracks, and wooden fences, or implied lines formed by recurring geometric shapes and visual alignments. When positioned thoughtfully, leading lines create momentum and rhythm across the photograph.
Color and Contrast
Color and contrast generate visual separation and establish mood. Placing contrasting colors side by side—such as cool blues against warm amber tones—helps a subject jump out from an otherwise busy background. Similarly, contrasting bright highlights against deep shadows accentuates physical contours and brings graphic energy to an image.
Mastering Directional Lighting
Lighting is the lifeblood of photography, dictating the mood, depth, and clarity of every frame you shoot. The source of illumination generally falls into two categories: natural and artificial. Natural light is supplied by the sun, shifting constantly in quality, color temperature, and angle depending on the time of day and cloud cover. Midday sun yields sharp, punchy shadows, while overcast conditions diffuse light into a soft, even wash. Artificial light encompasses domestic incandescent lamps, portable flash units, and dedicated studio lighting, offering direct control over intensity, distance, and placement.
Front Lighting
Front lighting occurs when the primary light source is positioned directly behind the photographer, shining straight onto the face of the subject. While this ensures full, even illumination, it can strip away dimensionality, resulting in a flat, untextured visual presentation.
Side Lighting
Side lighting illuminates the subject from an angle to the left or right. This directional angle casts prominent shadows across crevices and contours, accentuating physical textures, creating three-dimensional volume, and adding dramatic visual tension to portraits and architectural surfaces alike.
Backlighting
Backlighting positions the main source of light behind the subject, oriented toward the camera lens. This configuration can produce dramatic dark silhouettes against a bright field, or yield a glowing halo of rim light along hair, foliage, and outer edges.
Photographing People and Fleeting Moments
People represent one of the most compelling and emotionally resonant subjects in photography. Images of human subjects preserve personal history, relationships, and individual identity. Whether you are staging an environmental portrait or quietly observing an informal gathering, prioritizing the subject's authentic demeanor is vital.
In portraiture, a subject's natural expression forms the emotional core of the shot. A rigid, forced pose tends to yield an awkward, unengaging image, whereas genuine conversation, shared laughter, and spontaneous movement yield warmth and vitality. Selecting a wide aperture produces a shallow depth of field, throwing cluttered background environments into a gentle blur so your subject commands full visual attention.
Candid photography focuses on unscripted, natural moments as they unfold in real time. Securing these fleeting instances requires steady patience and constant observation. Keep your camera powered on, configured, and ready to raise at a moment's notice so you never miss an unrepeatable gesture or burst of laughter.
- Focus on the eyes: The eyes are universally the primary point of human emotional connection; ensure your focus point rests squarely on the subject's nearest eye.
- Use a fast shutter speed: Expressions and gestures shift in milliseconds. Setting a rapid shutter speed prevents soft, unwanted motion blur from ruining genuine moments.
Capturing Landscapes and Wildlife
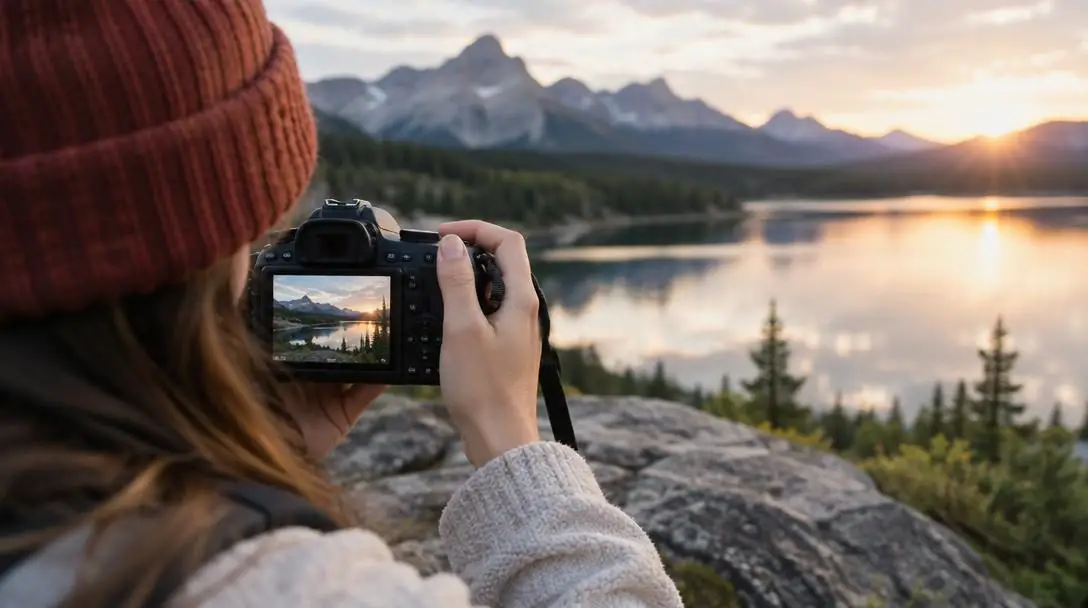
Documenting natural vistas and wild fauna offers an opportunity to study the natural world at a deliberate pace. In landscape photography, balance and scale are essential. Applying the rule of thirds allows you to weigh the visual density of the earth against the sky, placing the horizon along the lower third to highlight dramatic cloud formations, or along the upper third to emphasize rich foreground details.
Incorporating natural leading lines—such as winding waterways, shorelines, or trailheads—draws the viewer into the expansive scenery. Adjusting your camera's exposure settings and color balance helps capture the warm glow of sunrise or the muted serenity of a mist-shrouded forest.
Photographing wildlife introduces significant logistical and behavioral challenges. Animals do not follow direction, nor do they pause for ideal lighting. Working with wild subjects requires immense patience, quiet persistence, and strict ethical standards. Never disturb or bait wildlife in an attempt to force an action shot. Utilizing a telephoto or long focal-length lens allows you to maintain a safe, respectful distance while still capturing intimate, detailed views of animals within their natural habitats.
Digital Editing and Post-Processing Tools
Capturing raw frames in the field is only the initial half of creating a refined photograph. Post-processing provides the creative space to adjust exposure, correct minor shooting errors, and bring out the intended mood of your image. A variety of digital applications serve distinct creative workflows, ranging from basic design layouts to advanced pixel manipulation.
Adobe Photoshop

Adobe Photoshop is an industry-standard image editing suite built for detailed manipulation, pixel-level retouching, and complex compositing. It provides advanced layering systems, precision selection masks, and deep retouching capabilities suited for extensive creative transformations.
Adobe Lightroom

Adobe Lightroom is an image workflow and management application designed specifically for photographers. It streamlines the organization of large catalogs, non-destructive exposure adjustments, batch color grading, and selective tonal refinements across entire photo shoots.
GIMP

GIMP (GNU Image Manipulation Program) is a free, open-source image editing platform that serves as a powerful no-cost alternative to commercial suites. It features comprehensive layer management, customizable paint tools, color balance curves, and broad file compatibility.
Canva

Canva is an accessible, web-based visual design and editing program tailored for straightforward adjustments. It offers intuitive tools for swift image cropping, basic color balancing, text integration, and rapid formatting for sharing across digital platforms.
Regardless of which software platform you adopt, three fundamental post-processing steps form the backbone of clean editing:
- Cropping: Trimming the borders refines the internal composition, corrects tilted horizon lines, and eliminates distracting objects located near the frame's edges.
- Color correction: Fine-tuning the white balance and tint ensures skin tones appear healthy and sky tones mirror authentic environmental hues.
- Retouching: Removing transient dust specks, lens flares, or surface blemishes ensures the viewer remains focused on the primary subject without visual distraction.
Step-by-Step Workflow for Better Photographs
Adopting an orderly shooting workflow reduces mechanical mistakes and frees your mental energy for creative framing. Following these steps helps translate technical principles into natural shooting habits:
- Scout the location and evaluate the light: Examine the environment before raising the camera. Determine whether the light is natural or artificial, and note its direction to decide whether front, side, or backlighting serves your visual goal.
- Select the appropriate lens: Choose your lens based on your creative subject. Attach a wide focal length for broad vistas and expansive environmental frames, or switch to a long lens to photograph wildlife or distant details from a safe distance.
- Configure aperture and shutter settings: Determine your depth of field requirement. Open the aperture for a shallow depth of field in portraits, or stop down to keep landscapes crisp. Match your shutter speed to the motion in the frame, using fast speeds to freeze rapid movement.
- Establish your visual composition: Frame the scene through the viewfinder using structural guidelines. Position subjects along the rule of thirds grid, look for natural archways or foliage to frame the subject, and leverage leading lines like roads or fences.
- Confirm focus on the critical element: Double-check your focus point prior to releasing the shutter. When photographing people, always ensure the focus is razor-sharp on the subject's eyes.
- Review, crop, and polish in post-processing: Import your photographs into your chosen software, such as Lightroom, Photoshop, GIMP, or Canva. Crop away distracting edge elements, balance the color temperature, and perform clean retouching to finalize your photograph.
Common Photography Mistakes to Avoid
Beginners frequently encounter predictable pitfalls that undermine otherwise captivating scenes. Developing an awareness of these common missteps allows you to correct them before triggering the shutter:
- Placing every subject dead center: Automatically centering every person or horizon creates static images; make a conscious habit of shifting subjects off-center using the rule of thirds.
- Relying on flat front lighting: Positioning your light source directly behind you washes out delicate textures and dimensional shadows, leaving subjects looking flat.
- Using slow shutter speeds for moving subjects: Selecting an inadequate shutter speed when capturing animated people or wildlife causes unwanted motion blur and soft facial features.
- Missing focus on the subject's eyes: Allowing autofocus points to lock onto clothing, hair, or background objects ruins portrait engagement; always lock focus directly on the eyes.
- Encroaching on wildlife: Approaching animals too closely induces stress and ruins natural behavior; use telephoto optics to photograph wildlife from a safe and ethical distance.
- Overlooking distracting edges: Failing to inspect the perimeter of your frame before shooting allows stray branches, litter, or bright reflections to dilute the viewer's attention.
Frequently asked questions
What is the difference between aperture and shutter speed?
Aperture refers to the adjustable physical opening inside the lens that dictates how much light passes into the camera body and determines depth of field. Shutter speed refers to the duration of time the camera's sensor remains exposed to that incoming light, which controls whether motion is frozen or blurred.
How does the rule of thirds improve composition?
The rule of thirds divides the frame into nine equal sections via two horizontal and two vertical lines. Placing subjects along these lines or at their intersections creates an off-center balance that feels more dynamic, visually compelling, and natural than placing everything directly in the middle.
Why is side lighting preferred over front lighting for textured subjects?
Front lighting illuminates a subject head-on, which fills in natural shadows and results in a flat appearance. Side lighting strikes the subject from an angle, creating contrasting highlights and shadows that emphasize surface contours, facial features, and tactile textures.
What is the best way to capture sharp candid moments?
To capture sharp candid photos, maintain continuous observation with your camera ready, focus strictly on the subject's eyes, and configure a fast shutter speed to freeze spontaneous laughter, gestures, and rapid movements without motion blur.
Which editing software should a beginner use?
For quick cropping and straightforward visual adjustments, Canva provides an intuitive entry point. For dedicated photographic color correction and catalog organization, Adobe Lightroom is optimal. Those seeking deep pixel retouching can use Adobe Photoshop, while GIMP provides a robust, free, open-source alternative.
The bottom line
Photography is an ongoing creative pursuit that unites technical understanding with personal observation. Every compelling image begins with the precise interaction of light, focused through a lens, measured by an aperture, regulated by a shutter, and recorded on a sensor. When you pair this mechanical foundation with thoughtful composition, directional lighting, and disciplined post-processing, you move past accidental snapshots and gain the ability to tell vivid visual stories. With patient practice, clear habits, and a curious eye, you can confidently preserve your memories one click at a time.