The Art of Etching: Creating Beautiful Designs on Glass and Metal
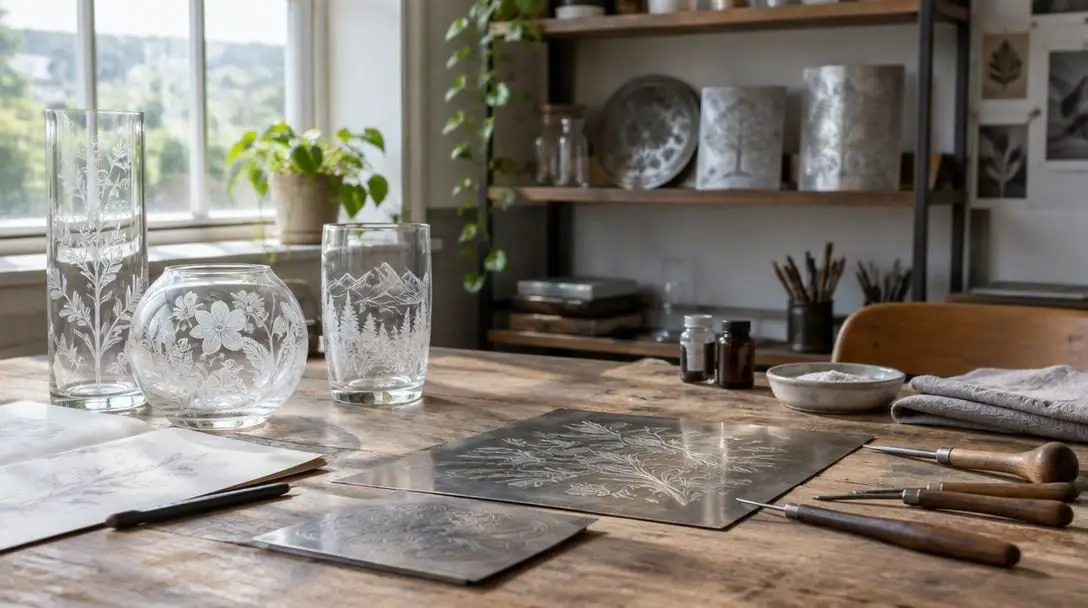
The art of etching has served as a celebrated form of artistic expression for hundreds of years, bridging the worlds of historical metallurgy, master printmaking, and modern artisan craft. At its foundation, etching is a subtractive medium that uses specialized chemicals, acids, or corrosive agents to selectively remove microscopic or macroscopic layers from a solid substrate. By cutting away delicate slivers of glass or biting deep recesses into sheets of metal, artisans transform smooth, utilitarian objects into highly tactile, light-catching works of art.
Unlike surface printing, silk screening, or vinyl decals that rely on topical adhesives and delicate inks, an etched composition alters the physical structure of the workpiece itself. Because the design is cut directly into the material, it will never peel, flake, chip, or wash away over time. Whether applied to delicate tabletop glassware, architectural mirrors, or thick copper plates, etching produces permanent decorative elements that withstand regular handling, moisture, and decades of environmental wear.
Key takeaways
- Etching is a subtractive artistic process that selectively corrodes unprotected areas of glass or metal using targeted chemical solutions.
- Glass etching relies on compounds such as hydrofluoric acid to produce a velvety, light-scattering frosted finish across silica surfaces.
- Metal etching employs mordants like ferric chloride, copper sulfate, or nitric acid to dissolve deep, shadow-filled grooves into raw plates.
- Meticulous surface degreasing and firm mask adhesion are essential to prevent chemical seepage and ensure razor-sharp design contours.
- Finished pieces can remain untouched for subtle textural contrast or be enhanced using enamel paints, acrylic pigments, and backlighting.
The core mechanics of subtractive surface design
In additive visual arts like oil painting or ceramic glazing, an artist builds form by layering pigment or glaze over a base surface. Etching inverts this principle entirely: the composition is created by selectively subtracting material from a pristine object. The artisan guides chemical corrosion so that specific portions of the substrate dissolve while surrounding areas remain shielded and untouched.
To orchestrate this controlled chemical reaction, the creator applies an acid-resistant barrier, traditionally referred to as a resist or mask. Durable masking substrates, including adhesive-backed vinyl and acrylic films, are affixed directly across the polished surface of the workpiece. Using fine scoring blades, craft knives, or transfer tools, the artist traces and cuts their composition through the barrier, carefully peeling away the mask only in the areas designated for chemical exposure.
When the chemical etching agent is subsequently applied, it attacks the newly exposed material while sliding harmlessly over the masked perimeter. After the compound dwells on the surface for a predetermined duration, the reaction is neutralized, the solution is washed away, and the remaining resist is peeled off. What remains is a permanent, tactile design framed by the unblemished, high-gloss surface of the original workpiece.
Unlike surface printing methods that depend on topical adhesives or delicate inks, an etched pattern becomes an integral, physical component of the substrate itself.
How etching works on glass versus metal
While the mechanical workflow of masking and chemical application remains consistent across substrates, the underlying chemical mechanisms and visual outcomes of glass and metal etching differ substantially. Glass and metal possess fundamentally distinct atomic structures, meaning each requires specialized corrosive chemistry to achieve an optimal reaction.
Glass consists primarily of silica, a resilient compound that remains entirely inert when exposed to most common commercial acids. To etch glass effectively, artisans must deploy specialized formulations such as hydrofluoric acid or closely related fluoride-based etching compounds. Rather than excavating deep chasms into the glass, these solutions break down the smooth, fire-polished exterior at a microscopic scale. This chemical action produces a soft, translucent, frosted finish. The micro-textured glass diffuses ambient light, yielding an elegant, velvety contrast against the surrounding transparent glass.
Metal etching, by contrast, relies on potent mordants and corrosive agents engineered to break metallic bonds. Standard chemical baths utilize ferric chloride, copper sulfate, or nitric acid solutions. These compounds react aggressively with metals like copper, brass, and steel, dissolving material away in noticeable volume. Instead of merely scattering light with a frosted haze, metal etching carves deep, dimensional grooves into the object. The depth of these recesses can be controlled by altering the concentration of the bath or prolonging chemical contact time, resulting in deep, dark shadows and dramatic tactile relief.
| Attribute | Glass Etching | Metal Etching |
|---|---|---|
| Primary chemical agents | Hydrofluoric acid or specialized fluoride solutions | Ferric chloride, copper sulfate, or nitric acid |
| Chemical interaction | Breaks down microscopic silica surface layers | Corrodes metallic bonds to dissolve material volume |
| Resulting surface texture | Soft, velvety, frosted, and translucent | Deeply incised, dimensional, tactile grooves |
| Optical behavior | Diffuses ambient light rays across frosted areas | Casts recessed shadows with high structural contrast |
| Primary process control | Surface exposure time for even frost density | Bath duration and solution strength for groove depth |
Essential workspace equipment and foundational tools
Assembling a reliable etching setup requires a combination of chemical reagents, durable masking supplies, and fine manual tools. Working in a clean, dedicated environment protects both the workpiece and the artisan throughout the multi-stage procedure. A fully equipped etching toolkit typically includes the following materials:
- Base substrates: Clean sheets of glass, flat metal plates, architectural mirrors, or functional vessels such as drinkware and jars.
- Dedicated chemical solutions: Material-specific agents, such as hydrofluoric acid formulations for silica glass or ferric chloride, copper sulfate, and nitric acid baths for metals.
- Resist and masking materials: Durable adhesive barriers, including specialized vinyl films, acrylic coatings, or commercial resist sheets that withstand corrosive chemicals.
- Precision cutting instruments: Fine craft scalpels, scoring needles, stylus transfer pens, and burnishing tools to secure masking edges.
- Neutralizing agents and wash supplies: Clean running water, neutralizing solutions, mild soaps, and lint-free microfiber towels to arrest chemical reactions safely.
Surface preparation: the vital prerequisite for crisp lines
Proper surface preparation represents the single most critical phase of any etching project. Because etching relies on direct chemical contact at a molecular boundary, even trace surface contaminants can ruin an otherwise flawless design. Greasy fingerprints, airborne dust particles, and factory oils act as unintended barriers, preventing etching solutions from interacting uniformly with the substrate and resulting in patchy, blotchy finishes.
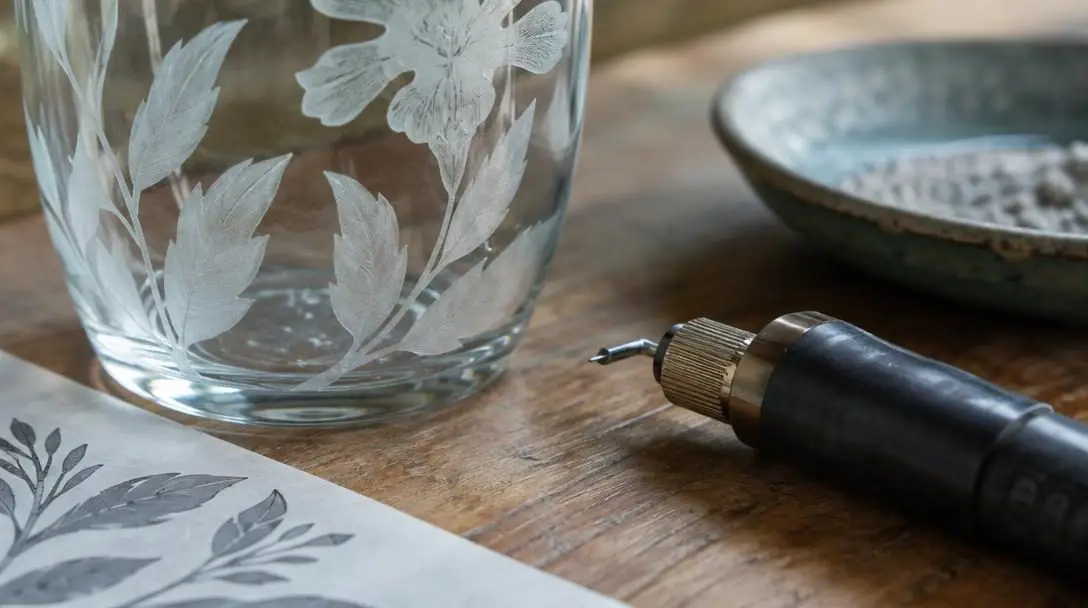
To prepare an item for etching, wash the glass pane or metal plate thoroughly with soap and water. Scrub the surface methodically to lift oils left behind by manual handling or manufacturing lubricants. After washing, rinse the workpiece under clean water to ensure all surfactant residues are entirely eliminated. Dry the piece completely using a clean, lint-free cloth so trapped water droplets cannot compromise the adhesive strength of your resist.
Once the item is pristine and bone dry, apply the protective vinyl or acrylic mask smoothly over the entire design area. Use a firm burnishing tool or a soft squeegee to press out air bubbles, wrinkles, and loose folds, paying special attention to the edges where cuts will be made. Any unsealed pocket along a stencil line creates a channel for chemical seepage, which can ruin crisp margins. Finally, score or trace your artistic composition through the mask and gently peel away the positive sections, leaving only the target design exposed to open air.
Step-by-step guide to etching glass
Glass etching requires a deliberate, steady hand to generate smooth, even frosted finishes across decorative vessels and flat panes alike. Follow this sequential procedure to execute a clean glass etching project from start to finish:
- Wash the glass surface thoroughly with soap and water to remove oils, fingerprints, and debris, then dry it completely using a lint-free towel.
- Apply a durable protective mask of vinyl or acrylic across the glass, smoothing out all air bubbles along the boundary edges.
- Trace or cut your design into the masking film using a precision hobby knife, then peel away the cutout sections to uncover the bare glass.
- Apply your glass etching solution, such as a hydrofluoric acid compound, evenly across the exposed glass surfaces using an applicator tool.
- Allow the solution to dwell on the glass for the recommended duration so the chemical can etch into the silica and create a uniform frosted appearance.
- Rinse the entire glass piece under abundant clean water to wash away the chemical solution and completely halt the etching reaction.
- Peel off the remaining masking material from the glass surface to reveal the permanent frosted composition.
- Wash the finished glassware one final time with soap and water, wipe it down with a clean, lint-free cloth, and inspect the frosted contrast against the polished glass.
Step-by-step guide to etching metal
Working with metal allows makers to achieve substantial relief, deep texturing, and rich shadow lines on structural plates, jewelry components, and ornamental hangings. Follow these steps to complete a chemical metal etching project:
- Clean and degrease your metal sheet or object with soap and water, stripping away all residual cutting oils, factory coatings, and grime.
- Affix a continuous, heavy-duty protective resist or masking layer over the metal surface to shield non-design areas from corrosion.
- Score or trace the artistic pattern through the mask with a fine stylus or blade, peeling away the resist over design channels while keeping the background intact.
- Apply the selected metal etching solution—such as ferric chloride, copper sulfate, or nitric acid—directly onto the exposed design lines or submerge the entire plate in a mordant bath.
- Monitor the chemical biting process carefully as the corrosive solution dissolves the raw metal to carve deep, tactile grooves.
- Neutralize the metal piece and rinse away the chemical bath once the desired groove depth has been reached, arresting further corrosive bite.
- Strip the protective mask from the metal surface to unveil the bright, unetched metal borders surrounding the newly formed recesses.
- Scrub the workpiece thoroughly to clear all trace chemical sediments and particulate debris from inside the etched channels.
Creative design applications for glass and metal
Etching adapts effortlessly to a broad spectrum of artistic styles, architectural projects, and personalized giftware. Tailoring your artwork to the natural curves, weight, and light reflectivity of the chosen medium produces distinctive visual impact.
Decorated glassware and mirrors
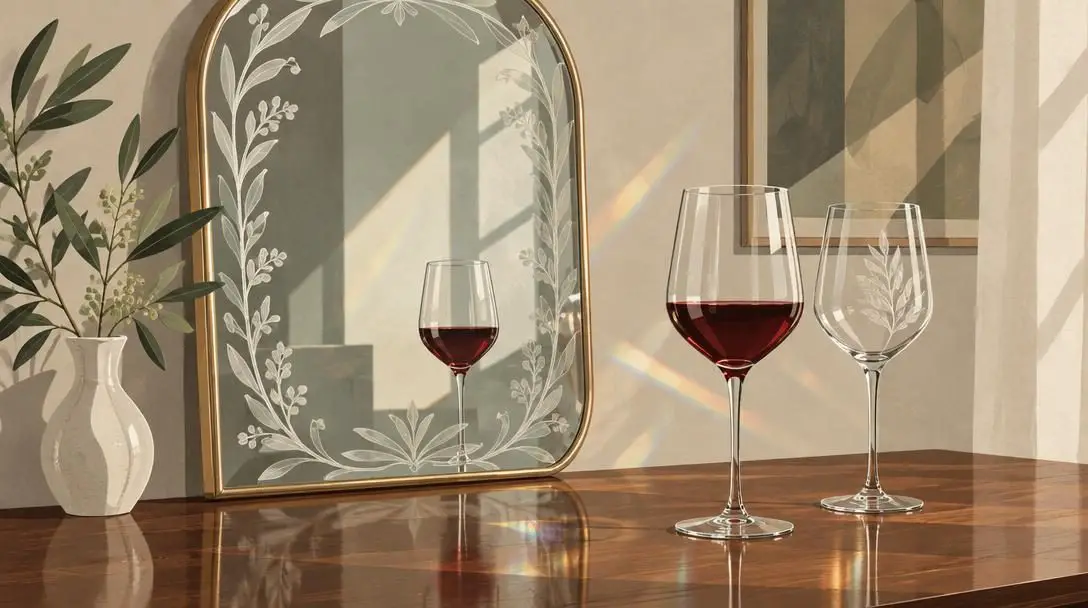
Everyday household glassware—including wine stems, highball tumblers, glass pitchers, and wall mirrors—can be converted into refined accent pieces. Etching elegant borders around the reflective perimeter of a mirror softens harsh frame edges and adds vintage character. Applying motifs to delicate drinkware produces tactile gripping surfaces while elevating ordinary table settings into bespoke culinary presentations.
Rustic forest mason jars

Transforming standard canning jars into decorative luminaries is an accessible and popular project. By etching dense wintery forest silhouettes, pine branch clusters, or mountain ranges around the cylindrical body of a mason jar, crafters produce a cozy, frosty aesthetic. When fitted with an interior candle or fairy lights, the translucent frosted trees glow softly, creating an inviting rustic centerpiece.
Floral and animal glass photo frames
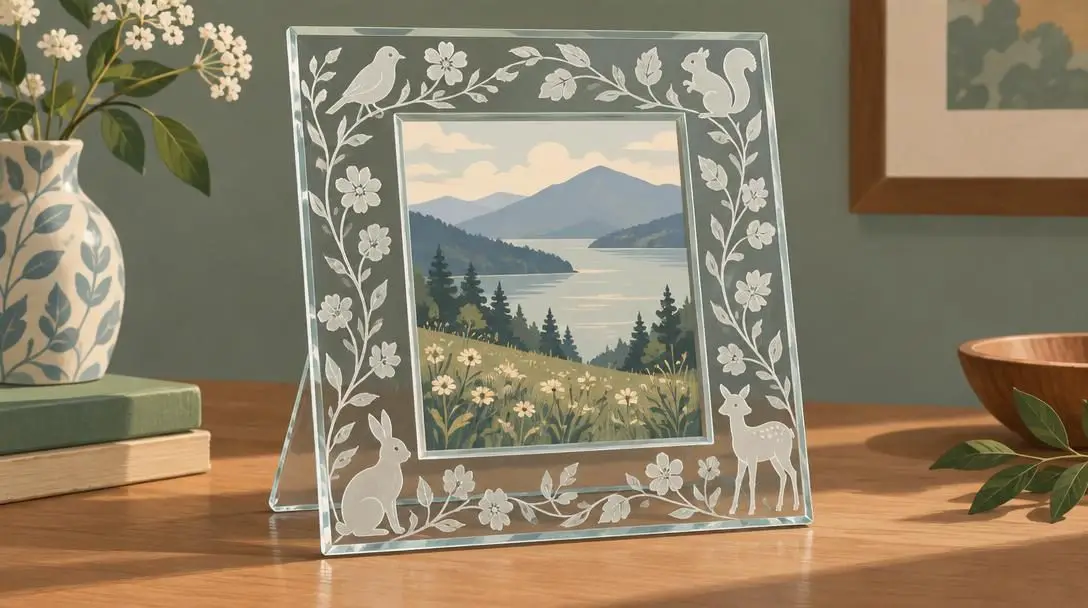
Clear glass panes within tabletop picture frames offer a pristine canvas for border ornamentation. Applying intricate floral vines, leafy filigree, or stylized animal profiles along the outer edges of the glass pane frames cherished family photographs in an ornate, permanent fashion. The frosted glass borders introduce depth without distracting from the photographic print resting beneath.
Personalized commemorative glassware
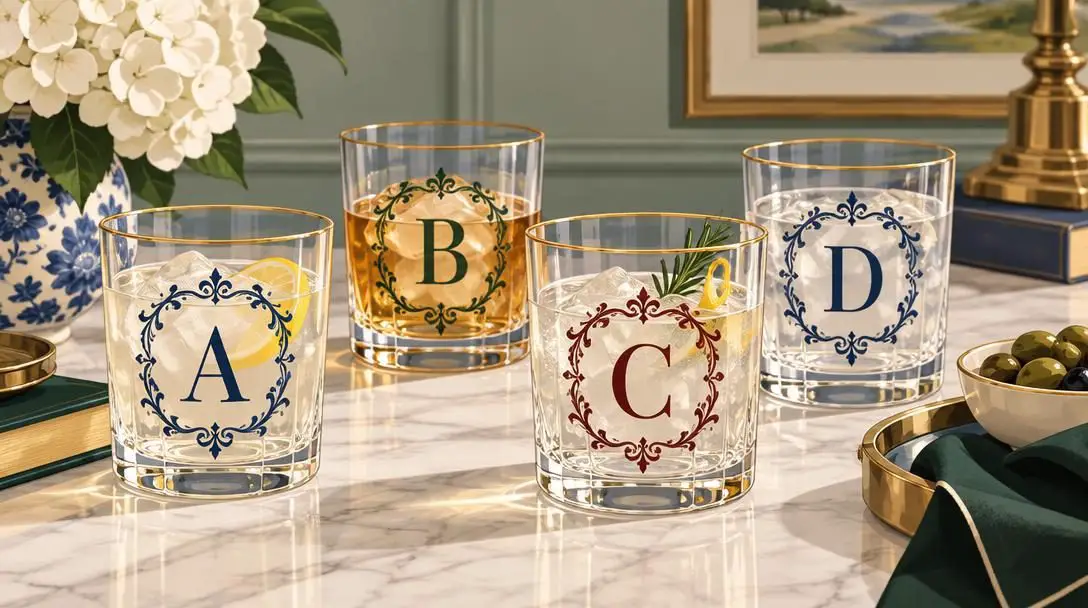
Customizing glass vessels with monograms, family surnames, commemorative dates, and celebration emblems provides a timeless way to mark milestone occasions. Because chemical etching will never peel away in commercial dishwashers, personalized glass sets serve as enduring gifts for weddings, anniversaries, graduations, and major holidays.
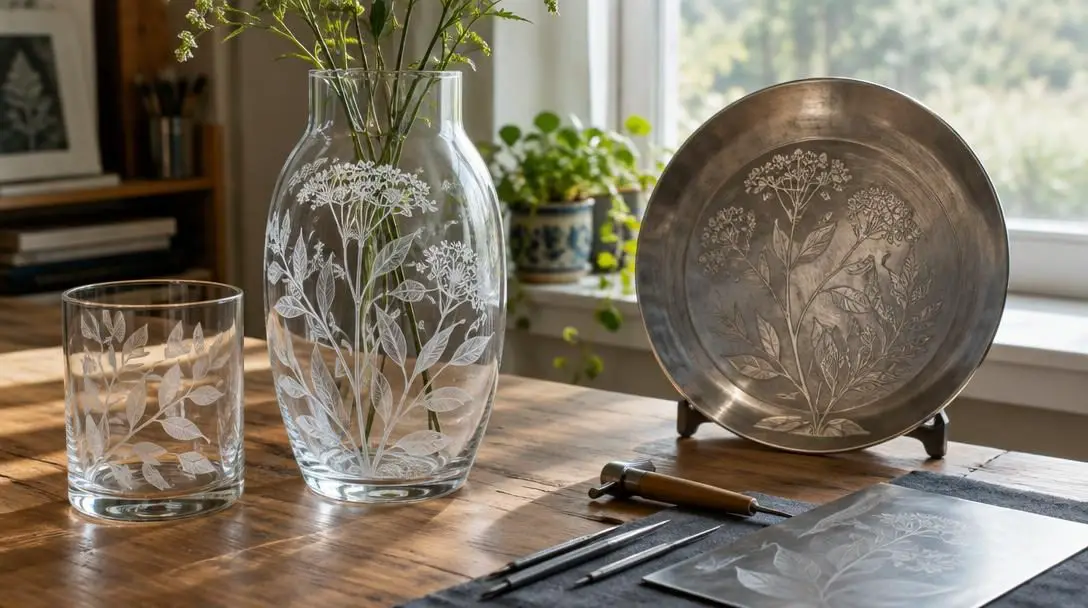
Lace-pattern metal jewelry and charms

Metal etching excels in the fabrication of fine jewelry items, such as brass pendants, copper charms, and bracelet links. By applying complex, lace-inspired filigree patterns to thin metal blanks and etching them in a mordant bath, artisans achieve an antique, vintage aesthetic. The resulting recessed channels catch patinas and antiquing solutions, emphasizing tiny ornamental flourishes.
High-contrast polished copper decor
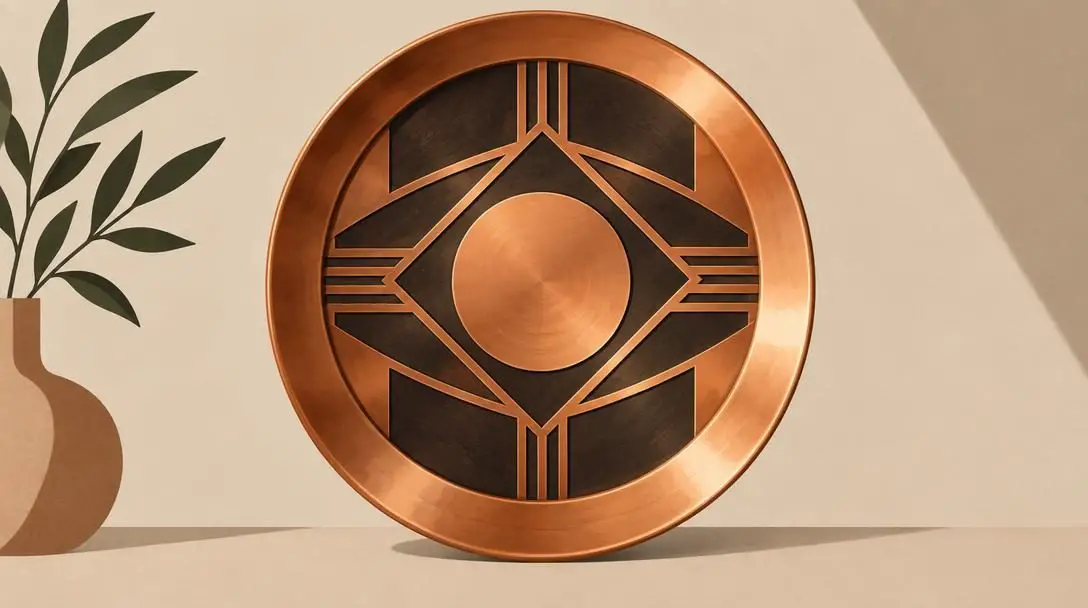
Copper serves as an exceptional substrate for relief etching due to its warm, reflective baseline tone and the distinct coloration of its oxidized compounds. Etching geometric patterns or organic motifs into polished copper sheets creates an immediate contrast between the bright, mirror-like raised sections and the darkened, matte recesses within the etched troughs.
Fluid fire wave metal art
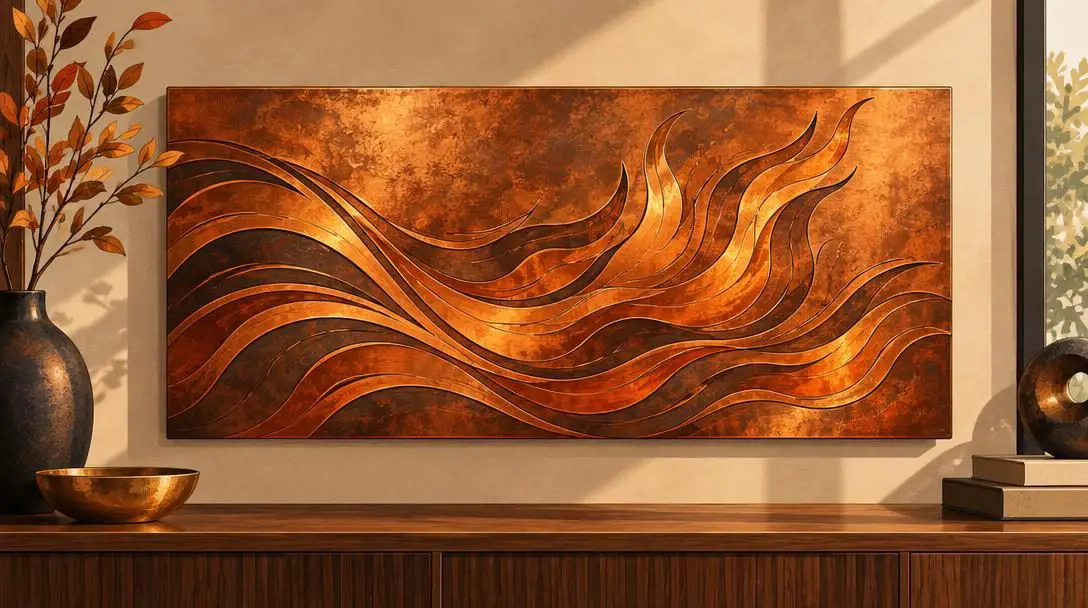
Etching the dynamic contours of a fluid fire wave into copper plates yields striking, nature-inspired decorative panels. The combination of flowing, organic curves and varying etch depths mimics the movement of rolling flames or churning waves. When light plays across the recessed copper troughs, the metal displays an undulating, dynamic visual texture suitable for display in contemporary interiors.
Large-scale architectural metal sculptures
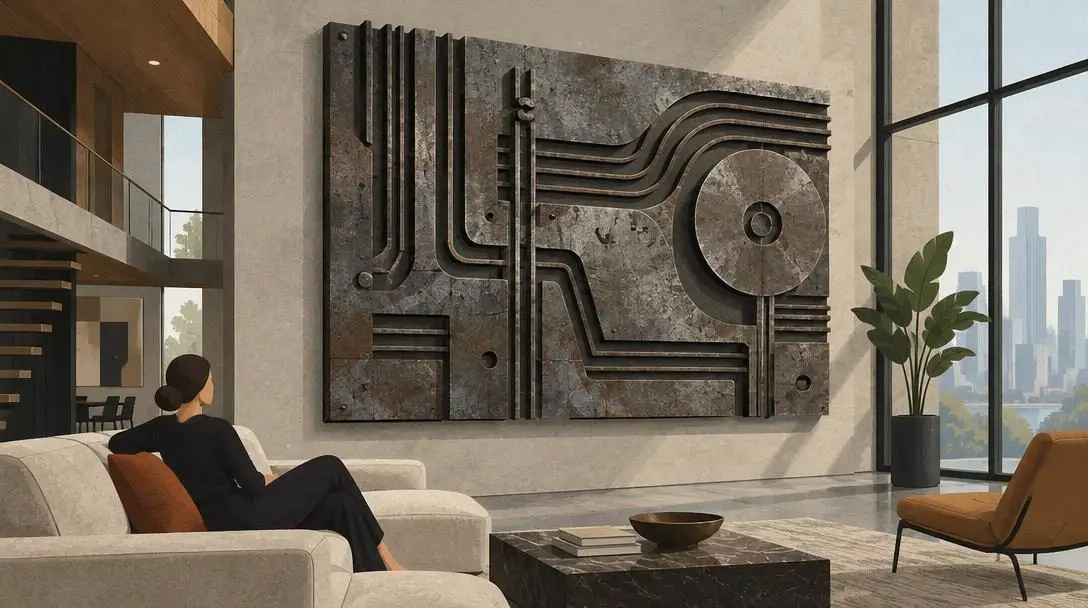
Expanding chemical etching techniques onto larger structural surfaces enables the creation of monumental metal wall art and freestanding sculpture accents. By utilizing heavy-gauge sheet metal and deep-etching mordants, artists introduce rugged tactile topography to architectural panels. These large-scale works serve as durable, industrial-grade focal points in residential lobbies, garden courtyards, and modern living rooms.
Finishing techniques: highlighting and enhancing etched surfaces
Once the etching bath is halted and the resist is stripped away, the composition stands revealed in its unadorned state. At this junction, the creator can decide whether to leave the raw texture unaltered or enhance its visibility through color and illumination.
Leaving an etched piece in its raw state emphasizes pure organic contrast. On glass, the soft frosted veil captures shifting daylight, providing an understated, sophisticated aesthetic. On metal, the natural shadow lines of the recessed grooves demarcate the design against polished highlights. However, when greater dramatic impact is desired, applying specialized colorants can make fine linear elements stand out across a large room.
To accentuate fine linework, artists apply paints specifically formulated for non-porous glass or metal surfaces, such as high-grade enamels or acrylic paints. In metalworking, dark enamel paint can be pressed deep into the etched grooves; once the excess pigment is wiped clean from the polished plateaus, the recessed lines remain darkly defined. On glass, applying thin acrylics across the frosted areas takes advantage of the etched surface's mechanical tooth, which holds paint far more securely than slick, untreated glass.
Common etching mistakes and practical prevention
Achieving crisp line work and consistent texture requires strict adherence to procedural discipline. Avoiding these frequent processing missteps ensures professional results across both glass and metal media:
- Inadequate surface degreasing: Failing to clean the substrate with soap and water leaves behind natural skin oils and packaging films. These barriers impede chemical contact, producing blotchy frosting or incomplete metal etching.
- Lax masking adhesion: Leaving tiny air bubbles or unburnished folds near stencil edges allows etching compounds to seep underneath the resist, resulting in jagged lines and fuzzy, bleeding silhouettes.
- Hasty stencil cutting: Applying excessive blade pressure or rushing through delicate masking cuts can accidentally score pristine areas of the glass or tear fragile stencil bridges.
- Improper chemical dwell times: Rinsing off etching chemicals too quickly produces faint, barely perceptible marks. Conversely, leaving solutions on for too long can undercut the mask, eroding fine lines and muddying small design elements.
- Incomplete chemical rinsing: Failing to flush the workpiece thoroughly under running water allows trace corrosive residues to continue degrading the substrate long after masking removal.
- Applying incompatible surface paints: Using generic craft paints rather than dedicated enamels or acrylics formulated specifically for glass and metal leads to cracking, flaking, and rapid pigment loss during routine cleaning.
Frequently asked questions
Is chemical etching permanent on glass and metal?
Yes. Chemical etching is entirely permanent because it physically alters or dissolves the substrate material rather than adhering an ink or decal to the surface. It will never peel, flake, or wash off over time.
What chemical solutions are commonly used for metal etching?
Common chemical solutions for metal etching include corrosive mordants such as ferric chloride, copper sulfate, and nitric acid. Each agent reacts aggressively with the metal surface to dissolve deep channels.
Why must glass and metal surfaces be degreased before etching?
Oils, grease, and dust act as accidental resists that prevent etching solutions from making uniform contact with the raw material. Thorough washing with soap and water ensures clean, consistent chemical biting.
What causes etched design edges to look blurry or bleeding?
Blurry edges occur when the protective resist or mask is not sealed firmly against the workpiece. Air bubbles or lifted borders allow the corrosive etching compound to seep underneath the barrier.
How can you add color to an etched design?
You can add color by applying specialized enamel or acrylic paints designed for glass or metal directly into the etched grooves or frosted tooth, wiping away excess paint from the polished raised areas.
The bottom line
Chemical etching remains one of the most rewarding and durable decorative techniques available to makers, crafters, and metalworkers. By mastering the core principles of subtractive design, investing time in thorough surface degreasing, and maintaining strict control over chemical dwell times, you can transform ordinary glass vessels and flat metal plates into intricate, heirloom-quality artifacts. Whether creating subtle frosted glassware or deeply carved copper art, the tactile permanence of etching ensures your artistic vision endures for generations.