The Art of Sewing: Crafting Your Own Clothes and Accessories
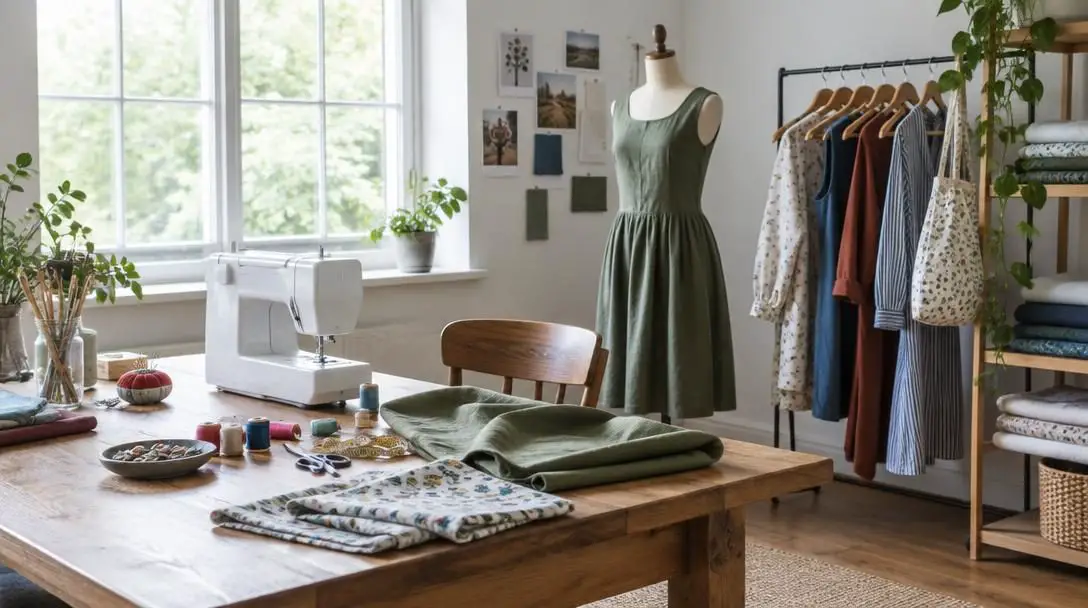
Sewing is an ancient craft and versatile art form that has bridged human utility and artistic expression for centuries. At its most fundamental level, sewing is the process of joining two or more pieces of fabric together using a needle and thread. Historically vital for survival, sewing was once the sole method for fashioning protective garments, blankets, and household linens. Over time, it has evolved into a rewarding recreational pursuit and creative outlet, enabling modern makers to bypass conventional retail shelves and construct one-of-a-kind clothes and tailored accessories.
Beyond producing tangible, wearable art, working with textiles delivers profound therapeutic benefits. The tactile, rhythmic nature of stitching offers a calming, mindful focus that helps reduce stress and lower anxiety levels. Whether you are seeking sustainable wardrobe independence or a tactile creative hobby, mastering the mechanics of fabric manipulation, understanding your tools, and developing foundational techniques will set you up for enduring success.
Key takeaways
- Sewing transforms flat, two-dimensional textiles into three-dimensional garments through mechanical tension, seam allowances, and careful alignment with the fabric grain.
- Understanding the interplay between top thread tension and bobbin placement creates durable, balanced lockstitches that withstand daily wear.
- Methodical preparation—including pre-washing fabrics, cutting along the true grainline, and pressing every seam with an iron—separates professional garments from amateur projects.
- Beginners can build progressive skills by advancing from simple straight-stitch accessories like tote bags and elastic skirts to structured blouses and fitted dresses.
The Evolution of Needle and Thread
The history of sewing mirrors the broader story of human technological and social progress. Long before the advent of automated factories, early humans stitched animal hides and woven plant matter entirely by hand. Craftsmen formed rudimentary needles from smoothed animal bone, antler, or forged metal, threading them with cords spun from natural fibers such as sinew, flax, and wool. Because making textiles required immense physical labor, fabric was treated as a precious, finite commodity. Garments were systematically mended, reinforced, resized, and passed down across generations rather than discarded.
The nineteenth century brought an unprecedented revolution to the craft with the invention and commercialization of the mechanical sewing machine. Industrialization made manufactured clothing widely accessible to the public, permanently altering the role of the domestic sewer. As mass production eliminated the necessity of hand-sewing every household garment for pure survival, domestic sewing transitioned into an empowering hobby, a medium for independent design, and an avenue for personal artistic expression.
Today, home sewists have access to a rich global marketplace of woven and knit textiles, digital indie patterns, and sophisticated computerized sewing machines. Despite these technological conveniences, the craft's underlying geometry has remained constant: sewing is still fundamentally about guiding thread through woven or knitted fibers to turn flat panels into functional, three-dimensional forms.
The Mechanics: Understanding the Lockstitch and Fabric Grain
Sewing operates on precise mechanical tension, structural alignments, and physical geometry. Modern sewing machines form a balanced lockstitch using two independent thread sources. The top thread feeds from an external spool through a sequence of tension discs, guide loops, and the eye of the machine needle. Beneath the throat plate, a second thread unwinds from a small spool called a bobbin. As the needle drives downward through the fabric and begins its ascent, the top thread creates a momentary loop underneath the plate. A rotating hook mechanism catches this loop and sweeps it around the stationary bobbin case, intertwining the two threads inside the heart of the fabric layers.
Proper mechanical tension and respect for fabric grain turn flat panels into durable, three-dimensional garments that move comfortably with the body.
Achieving structural integrity requires balanced tension. If top tension is too tight, the bobbin thread pulls upward onto the right side of the fabric; if it is too loose, the top thread bunches into tangled loops on the underside. Beyond mechanical tension, a sewer must understand two essential garment design principles: seam allowance and ease. Seam allowances provide the necessary border fabric between the raw cut edge and the stitch line, ensuring joins remain stable without unraveling. Ease represents the deliberate extra dimension drafted into a pattern beyond static body measurements, giving the wearer room to breathe, sit, bend, and move freely.
Essential Equipment for the Sewing Room
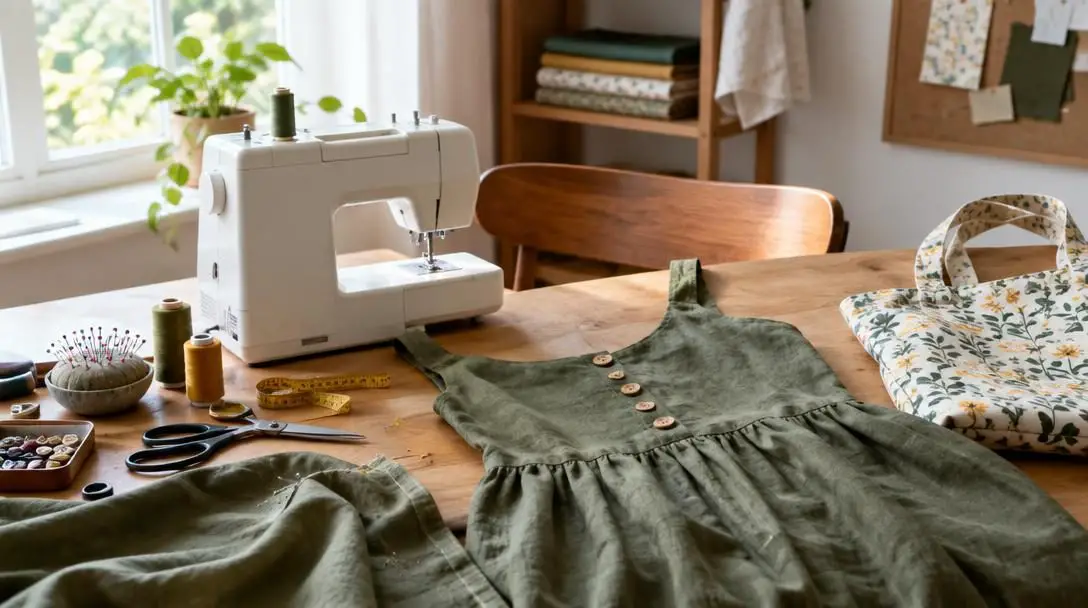
Setting up an efficient sewing workspace requires gathering a core set of dedicated tools. Investing in reliable foundational equipment prevents mechanical jams, fabric snags, and uneven seams.
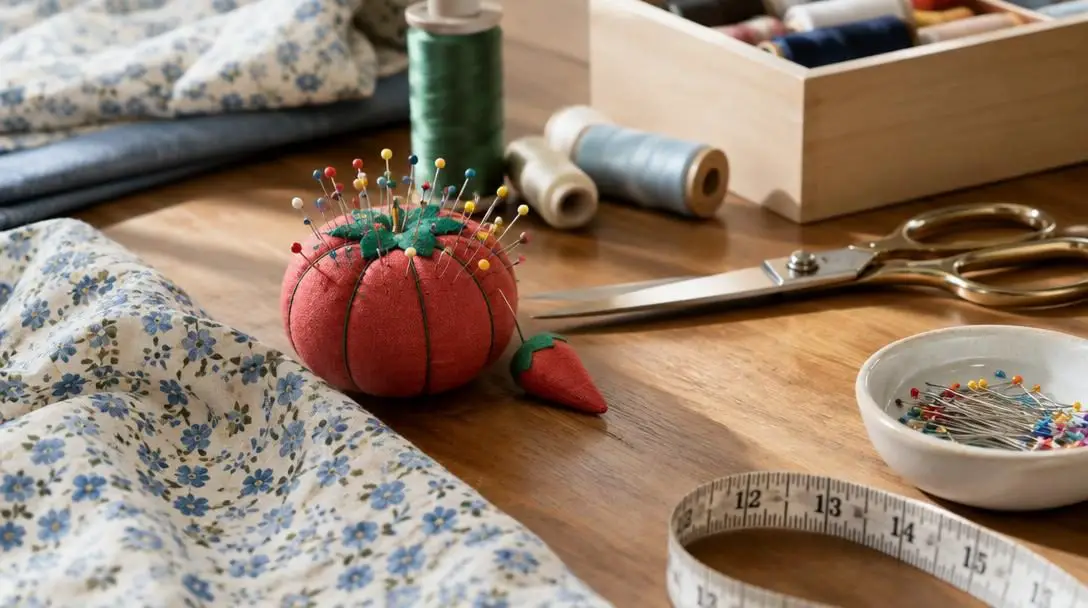
| Tool | Primary Function | Key Selection Factor | Best Practice Tip |
|---|---|---|---|
| Sewing Machine | Stitch formation | Reliable tension and adjustable stitch length | Clean out lint from the bobbin case after every major project |
| Fabric Scissors | Clean textile cutting | Heavy-duty, precision-ground steel blades | Never use textile shears to cut paper or cardboard |
| Straight Pins | Temporary layer stability | Sharp points matching fabric weight | Remove pins before the needle reaches them to avoid bending |
| Flexible Tape Measure | Body and pattern measurement | Non-stretch fiberglass or vinyl construction | Take body measurements over undergarments you plan to wear |
| Steam Iron | Seam setting and fiber shaping | Consistent steam output and temperature control | Press seams flat, then open, before joining intersecting seams |
In addition to these mechanical tools, your raw materials dictate project durability. Selecting the right fabric requires evaluating fiber weight, weave, stretch percentage, and drape against the recommendations listed on your pattern envelope. Pair your textile with matching, high-grade thread—typically polyester all-purpose thread for general sewing, or cotton thread for natural, non-stretch woven projects. Finally, commercial and indie sewing patterns provide the blueprint, containing illustrated instructions, sizing tables, and technical markings to guide garment assembly step by step.
Step-by-Step Garment Construction
Constructing a wearable garment demands a methodical sequence of steps. Rushing the initial phases often produces fitting discrepancies that cannot be corrected once seams are trimmed.
- Record accurate body measurements: Use a flexible tape measure to determine bust, waist, and hip circumferences. Always choose your pattern size based on these measurements rather than off-the-rack commercial sizing.
- Prepare and preshrink the fabric: Launder and dry your fabric using the exact settings you plan to use for the finished garment. Press thoroughly with a steam iron to remove wrinkles and shrinkage distortions.
- Cut pattern panels along the grainline: Lay out pattern pieces parallel to the fabric's selvage as indicated by the printed grainline arrows. Pin pieces flat and cut smoothly using sharp shears.
- Thread the machine and balance tension: Set up your machine needle and bobbin. Test your stitch length and tension balance on a folded scrap of your project fabric before touching the cut garment pieces.
- Pin and sew structural seams: Place fabric pieces with right sides together, aligning notches and raw edges. Sew at the exact seam allowance designated by the pattern, guiding the fabric evenly without pushing or pulling.
- Press every seam immediately: Take stitched pieces to the ironing board. Press the seam flat to set the stitches into the weave, then press the seam allowances open or to one side as instructed.
- Insert fasteners: Install structural closures such as centered or invisible zippers, buttonholes, snaps, or elastic bands while garment sections can still be laid relatively flat.
- Level and finish the hems: Try the garment on to verify the final length. Fold, press, and stitch the bottom edges and sleeve cuffs to enclose raw edges neatly.
Core Garment and Accessory Projects
Developing proficiency in sewing is a cumulative journey. Starting with forgiving, low-complexity projects builds hand-eye coordination before advancing to fitted garments with complex structural tailoring.
Beginner Skirts
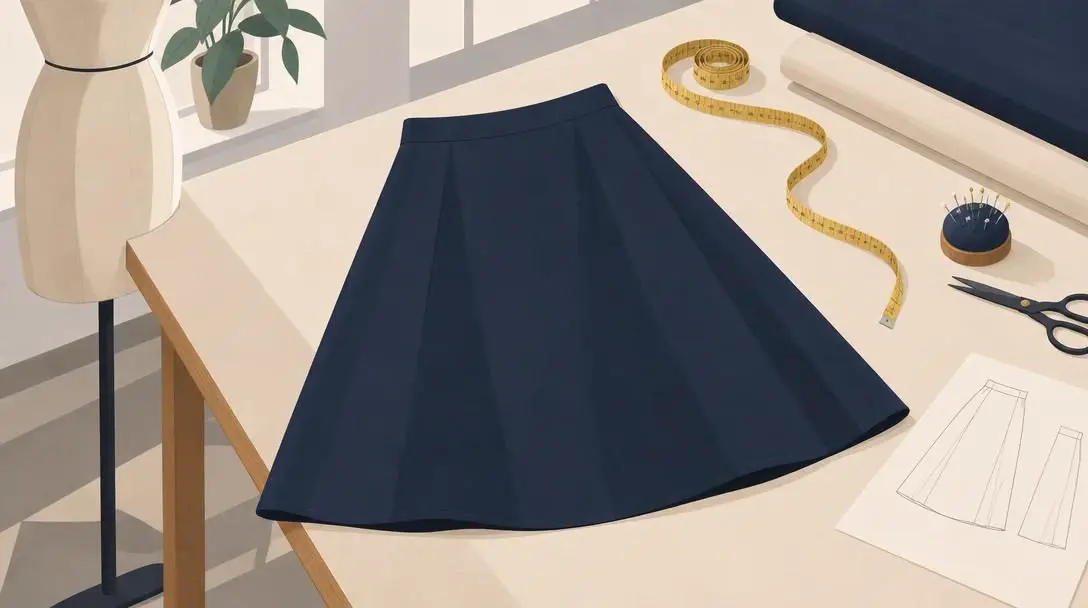
Making a skirt is widely considered the ideal entry point for apparel construction. Elastic-waist gathered skirts or simple A-line silhouettes require only a few rectangular or gently flared panels. They teach sewists how to measure their waist and hip circumference, calculate fabric drape, and stitch long, straight seams without the stress of fitting sleeves or complex bodices. Completing an elastic-waist skirt provides immediate gratification and reinforces fundamental hem-finishing techniques.
Dresses
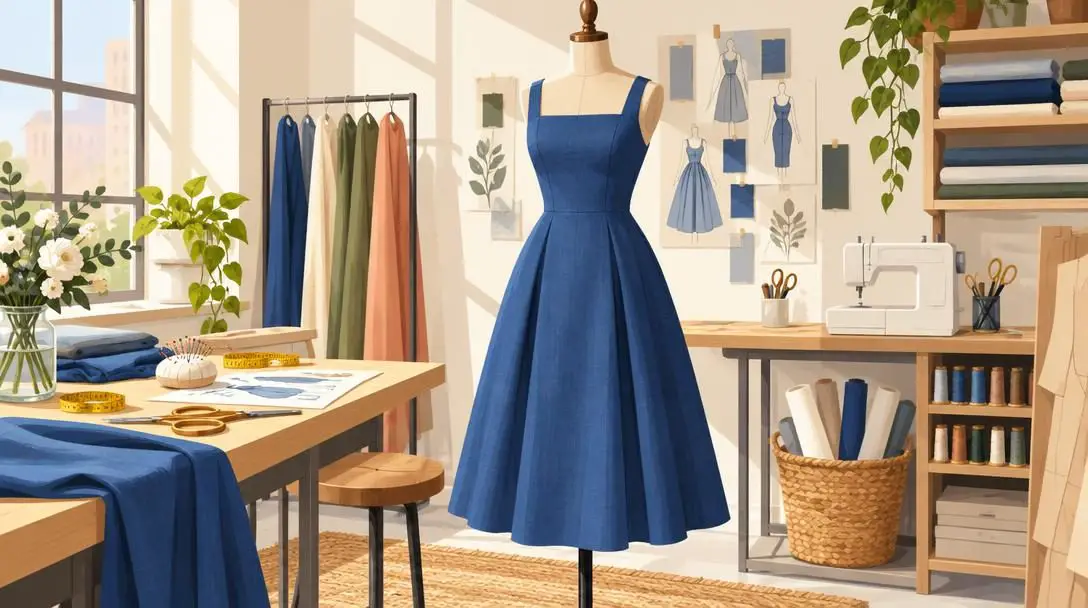
Moving from a skirt to a dress elevates your construction capabilities. Dresses introduce the challenge of uniting a structured upper bodice with a flowing skirt. Sewists practice forming curved armholes, sewing shaping darts to contour fabric around the bust, and attaching neck facings or bias binding. Fitting a dress requires patience, as adjustments must balance both torso length and waistline placement, but the result is a custom, fully tailored showcase piece.
Blouses and Shirts
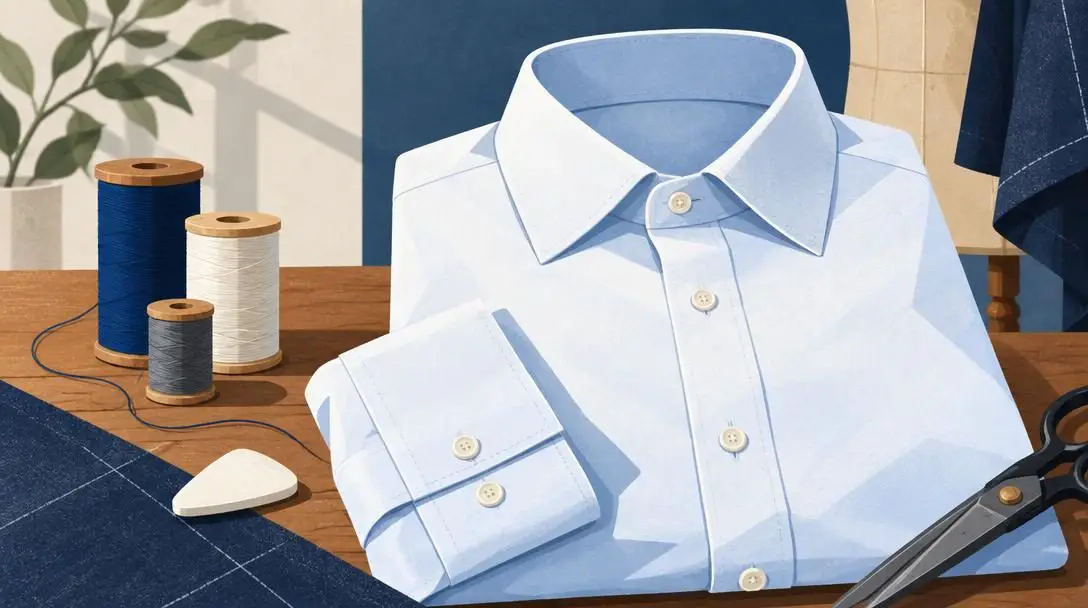
Sewing a button-down shirt or tailored blouse develops high-precision sewing skills. These garments require handling curved necklines, inserting pointed collar stands, sewing plackets, gathering sleeve caps, and setting sleeves into armscyes. Blouses also offer focused practice in creating even buttonholes, sewing flat-felled or French seams, and applying topstitching along cuffs and yokes for a polished ready-to-wear look.
Tote Bags
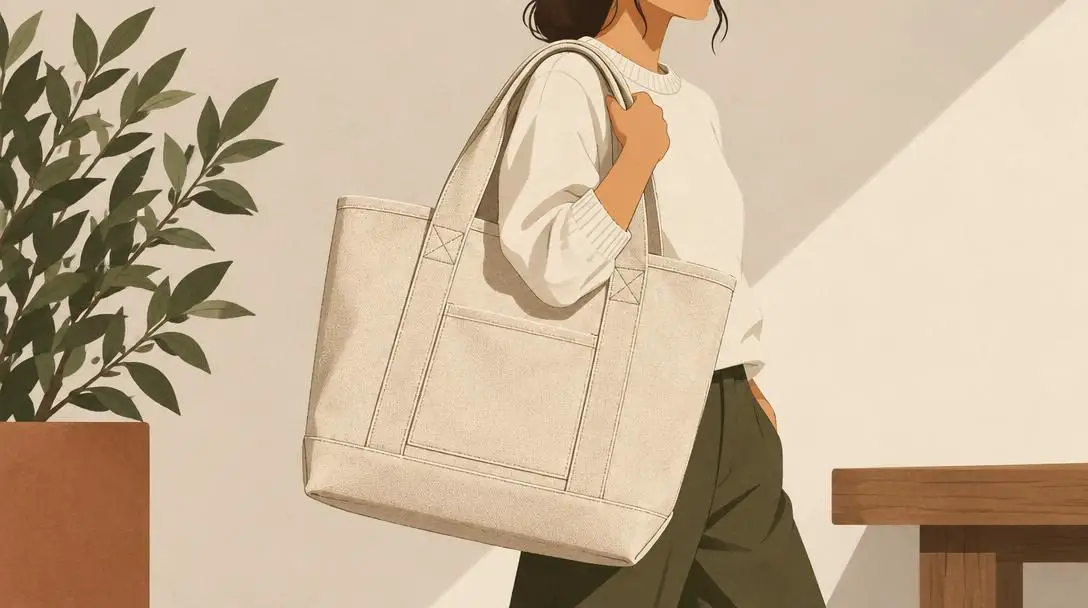
For makers who want to master structural sewing before diving into wearable fashion, the tote bag is an exceptional utility project. Bags can be constructed from heavy-duty fabrics like cotton canvas, denim, or linen. They teach makers how to reinforce stress points through backstitching and box stitching on handles, how to box corners to create three-dimensional flat bottoms, and how to sew enclosed inner patch pockets and linings.
Scarves and Wraps
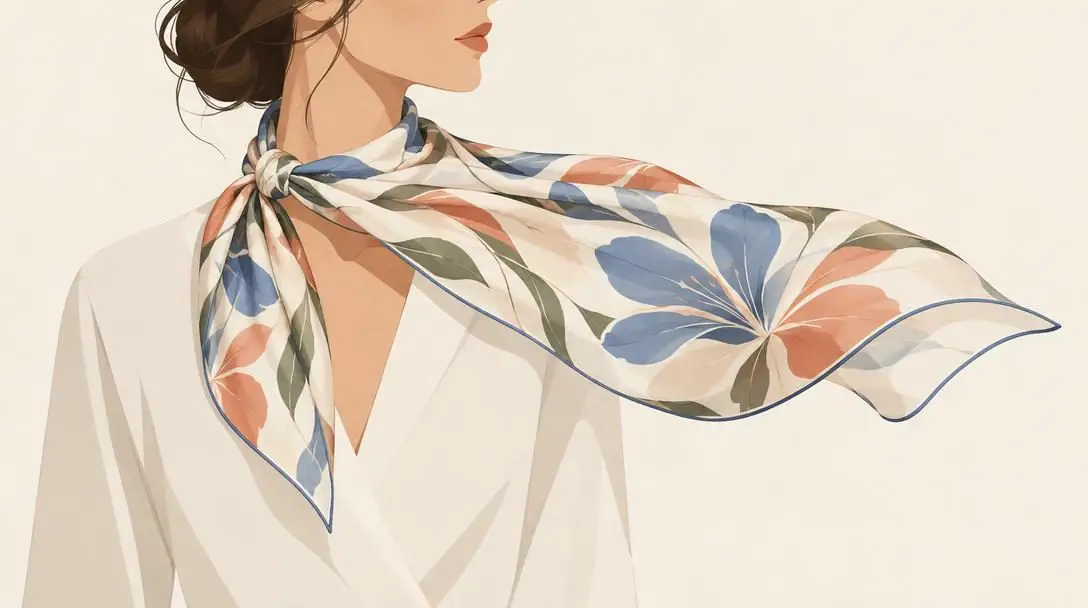
Scarves and wraps are versatile accessories suitable for year-round wear that place total emphasis on edge-finishing mastery. Working with lightweight cottons, airy linens, or slippery silks allows sewists to refine delicate hems, such as narrow rolled hems, mitered corner folds, or decorative fringe applications. Because there are no sizing or fit constraints, scarves provide low-pressure practice in handling fine, shifty fabrics.
Hand-Sewn Jewelry and Hair Accessories
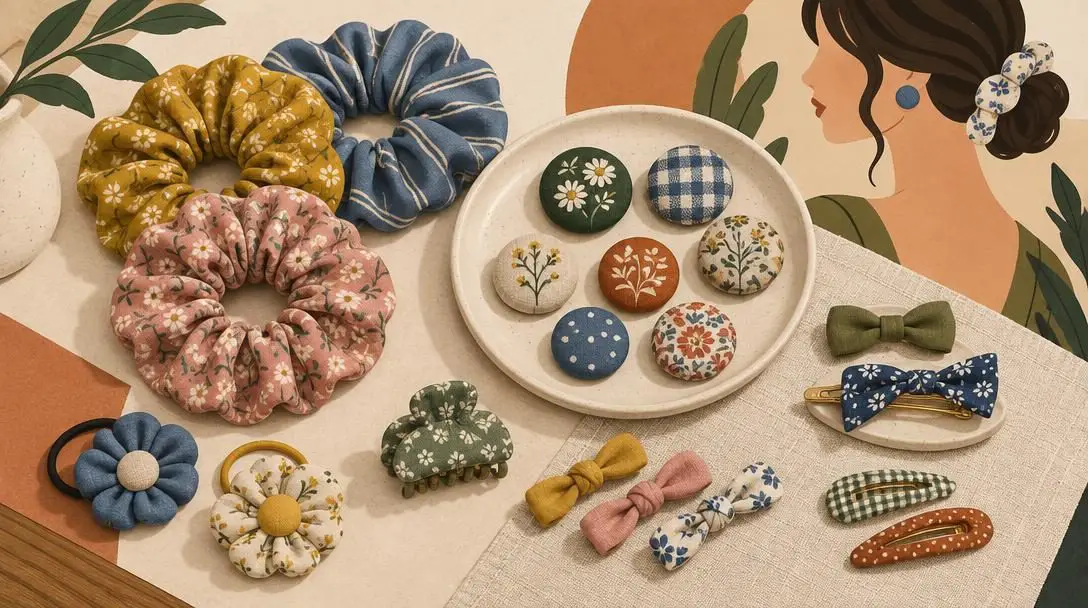
Small-scale accessories—including fabric-covered button earrings, scrunchies, knotted headbands, and textile brooches—are perfect for using up scrap yardage left over from larger projects. These creations develop dexterity in delicate hand stitching, gathering fabric around elastic channels, slip-stitching invisible seams, and working with small notions that cannot easily pass beneath a machine presser foot.
Critical Mistakes to Avoid at the Machine
Beginners often experience unneeded frustration by overlooking subtle mechanical habits. Avoiding these frequent missteps will keep your workflow smooth and protect your sewing machine.
- Skipping the iron: Ironing transforms puckered seams into crisp, professional joins. Failing to press after each stitch line causes garments to look rounded, puffy, and visibly homemade.
- Sewing with the wrong or dull needle: Needles wear out after roughly six to eight hours of continuous sewing. Using a dull or mismatched needle (such as using a heavy universal needle on delicate silk) causes skipped stitches, snagged runs, and loud punching noises.
- Inaccurate pattern cutting: Cutting slightly outside or inside printed lines alters seam allowances across several panels, compounding into sizing errors that leave garments too tight or asymmetrical.
- Pulling fabric through the feed dogs: The serrated feed dogs underneath the presser foot are engineered to pull the fabric backward at the exact speed required for your stitch length. Forcing or pulling fabric bends the needle, damages the timing mechanism, and stretches the seam out of shape.
- Ignoring the grainline: Cutting pattern pieces askew from the fabric grain causes skirts and trouser legs to twist corkscrew-style around your body when walking.
Advancing Your Skills: Tailoring, Quilting, and Beyond
Once you achieve consistent seam lines and master basic garment construction, sewing branches into countless creative disciplines. Structured tailoring introduces internal architecture—such as horsehair canvas interfacings, shoulder pads, and welt pockets—to craft winter coats and sharp blazers that hold their shape indefinitely. Quilting challenges your precision piecing, layering, and decorative free-motion stitching over batting. Meanwhile, machine embroidery and surface embellishment open up opportunities to embellish existing textiles with personalized monogramming and intricate thread art.
For many makers, technical confidence naturally leads to sewing for others. This can mean crafting bespoke heirlooms for family members, altering garments for friends, or turning an artisanal pastime into a home-based alterations or custom accessories enterprise. As your skill set deepens, sewing shifts from a functional chore into a lifelong creative journey.
Frequently asked questions
Do I need an expensive computerized sewing machine to start?
No. A basic mechanical sewing machine featuring reliable straight-stitch, zigzag, and reverse functions is entirely sufficient for learning. Most garment and home accessory projects require only straight seams and basic edge finishing.
Why is it necessary to wash fabric before cutting into it?
Natural fibers like cotton, linen, and wool shrink significantly during their first cycle through water and heat. Pre-washing and pressing your fabric prevents the finished garment from shrinking out of proportion the first time it is laundered.
What is the difference between sewing ease and seam allowance?
Seam allowance is the structural margin between the cut fabric edge and the stitching line used to join pieces securely. Ease is the intentional dimensional fullness added to pattern measurements beyond body dimensions so the wearer can sit, stretch, and move comfortably.
How often should I change my sewing machine needle?
Sewing machine needles should generally be replaced after every 6 to 8 hours of sewing time, or immediately if the needle strikes a pin, begins skipping stitches, or produces a thumping noise while piercing fabric.
Why are paper-cutting scissors kept separate from fabric scissors?
Paper and cardboard contain dense wood pulp and mineral coatings that quickly dull precision blade edges. Using fabric scissors exclusively on textiles keeps them sharp, preventing chewed edges and fabric snags.
The Bottom Line
Sewing is an empowering union of precision mechanics and artistic personal expression. By learning how tension, grainlines, and pattern drafting interact, you gain the ability to make durable, perfectly fitted clothes and functional accessories. With deliberate practice, the right tools, and an orderly approach to cutting and pressing, anyone can transform flat lengths of fabric into beautiful handcrafted pieces that stand the test of time.