The Beauty of Candle Making: A Guide to Crafting Your Own Scents
The past few years have seen a remarkable resurgence in the popularity of crafting and DIY hobbies across the globe. Among the many hands-on pastimes drawing interest, the art of candle-making has gained widespread attention from hobbyists and artisans alike. People are increasingly drawn to making items from scratch rather than relying entirely on mass-produced household goods, finding a tangible sense of accomplishment in turning basic raw ingredients into functional, decorative objects that serve an everyday purpose.
Not only is candle crafting a fun and relaxing activity, but it also grants you complete creative control over your finished project. When you make your own candles, you have direct say over how they look, how they smell, and how they fit into your living environment. This creative freedom makes candle crafting an appealing hobby for curious beginners, seasoned crafters, and anyone seeking an engaging, hands-on artistic outlet.
Key takeaways
- Candles rely on capillary action to draw liquefied wax up through the wick to sustain a steady flame.
- Matching your wax selection to your design goals determines the burn rate, melting point, and fragrance throw.
- Accurate temperature monitoring during melting, scent blending, and pouring prevents cracking, sinking, and scent degradation.
- Using the wrong wick diameter causes severe burn problems, such as tunneling or excessive soot accumulation.
The Science of How Candle Making Works
At its core, a candle functions as a self-contained fuel delivery system. Solid wax serves as the fuel source, while the wick acts as the mechanical engine of the candle. When you light the wick, the initial flame melts a thin layer of wax beneath it. Through capillary action, the wick draws this liquid fuel upward into the flame, where the heat vaporizes the liquid wax into a gas that burns and produces light.
As the flame sustains itself, heat radiates continuously downward into the surrounding wax pool, liquefying more wax to replenish what has burned. Adding fragrance introduces an extra layer of chemistry to this physical process. Scented candles release aroma in two distinct phases: through the unlit cold state, known as the cold throw, and as the warm wax melts beneath the flame, known as the hot throw.
For these aromatic releases to happen smoothly, aromatic compounds must be thoroughly integrated into the liquid wax during preparation. If the wax is treated according to its thermal properties, it cools into an even, stable block that locks in the fragrance until the flame warms the pool again.
Essential Tools and Workspace Setup
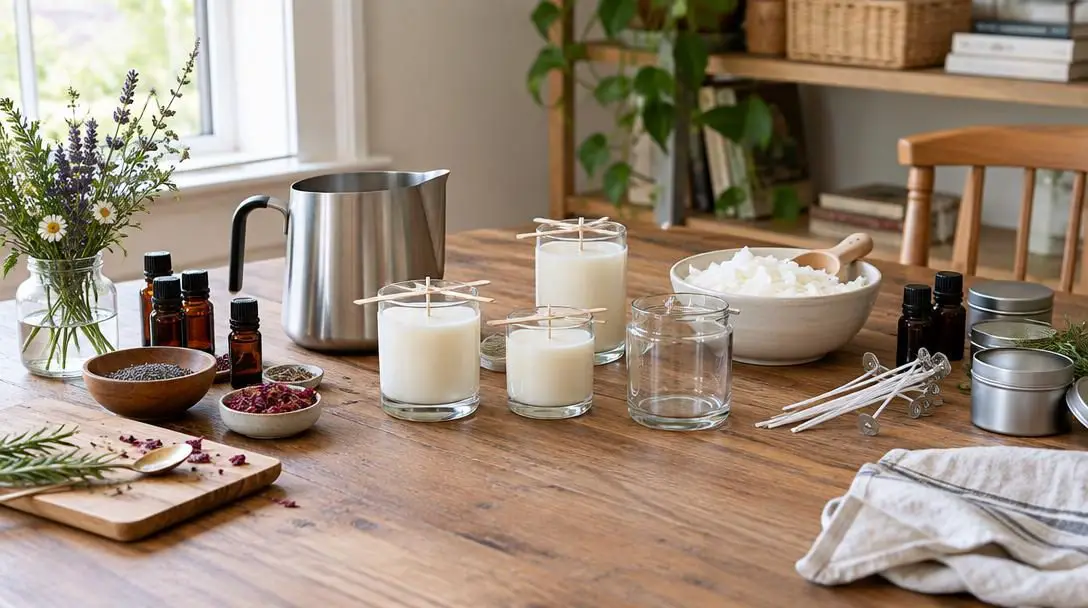
Before melting any wax, it is important to assemble your equipment and organize your space. Having your tools arranged in advance ensures a steady workflow without unexpected delays while handling hot materials.
- Wax: The base material of your candle, available in multiple formulations such as paraffin, soy, or beeswax.
- Wicks: The core fuel delivery mechanism, available in various sizes, shapes, and materials to match specific wax blends and vessel diameters.
- Fragrance oils or essential oils: Concentrated aromatic liquids used to scent the candle.
- Double boiler or dedicated pot: A safe heat source designed to melt wax gently without exposing it to direct, harsh burner heat.
- Thermometer: A critical tool used to track temperature shifts throughout melting, scent addition, and pouring.
- Pouring container or mold: Heat-safe vessels such as jars, tins, or specialty shaped molds that hold the candle as it sets.
Prepare your workspace by covering all flat surfaces with wax paper or newspaper to make cleanup easier. Spilled wax drips harden quickly and can be stubborn to scrape away from porous tabletops, so laying down protective barriers saves substantial time later. Safety is paramount when handling heated liquids.
Choosing the Right Wax for Your Project
There are various types of wax available for candle-making, each with distinct physical characteristics, melting behaviors, and sourcing profiles. Understanding these differences allows you to choose the best option based on your creative vision and functional goals.
Paraffin Wax
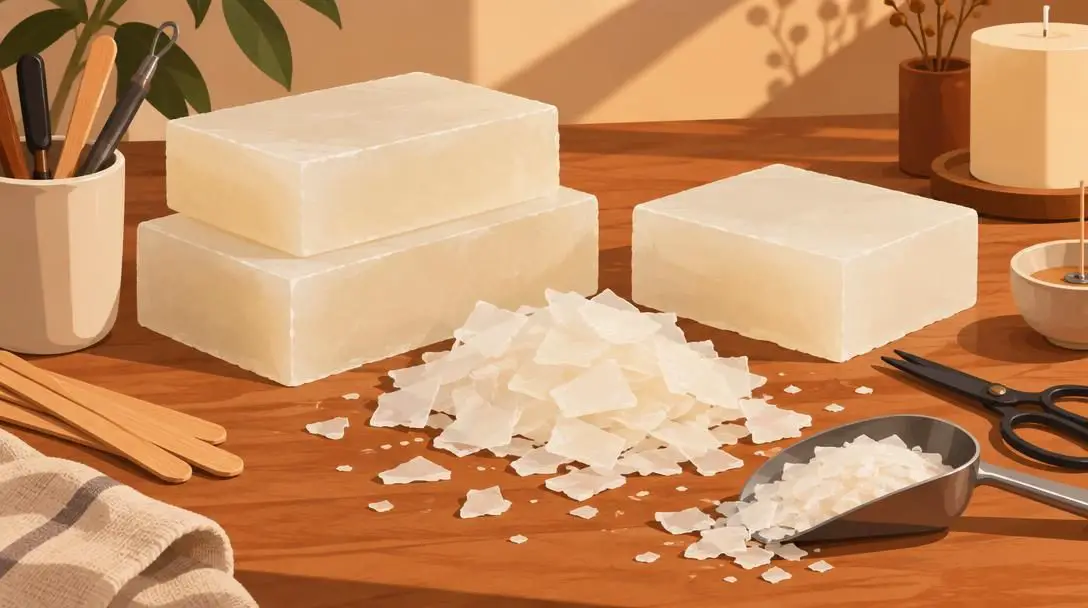
- Origin: Traditional industry standard
- Aroma Profile: Strong cold and hot scent throw
- Color Compatibility: High dye saturation
Paraffin wax is the most traditional and commonly used wax in candle-making. It has served as a reliable standard across the commercial candle industry for generations, valued for its straightforward handling, reliable performance, and wide retail availability. Paraffin holds both dye and concentrated fragrance exceptionally well, making it a dependable choice for crafters who want bright, vibrant colors and a bold scent throw that fills large rooms.
Soy Wax
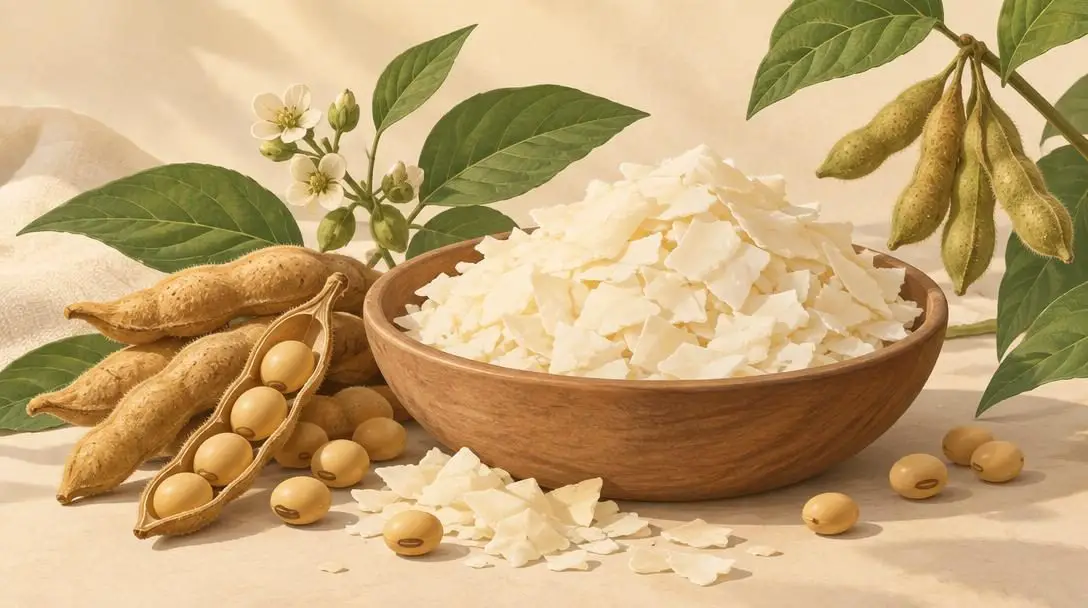
- Origin: Vegetable-based (soybeans)
- Burn Profile: Clean, slow-burning
- Handling Requirement: Strict pouring temperature control
Soy wax is an eco-friendly, plant-based alternative derived from soybeans. It has gained widespread appeal among crafters seeking renewable, agricultural ingredients for home projects. Soy wax burns cleanly and slowly, offering an extended burn duration compared to standard paraffin. However, soy wax requires careful temperature monitoring during pouring to avoid surface frosting, uneven cooling, or surface cratering.
Beeswax
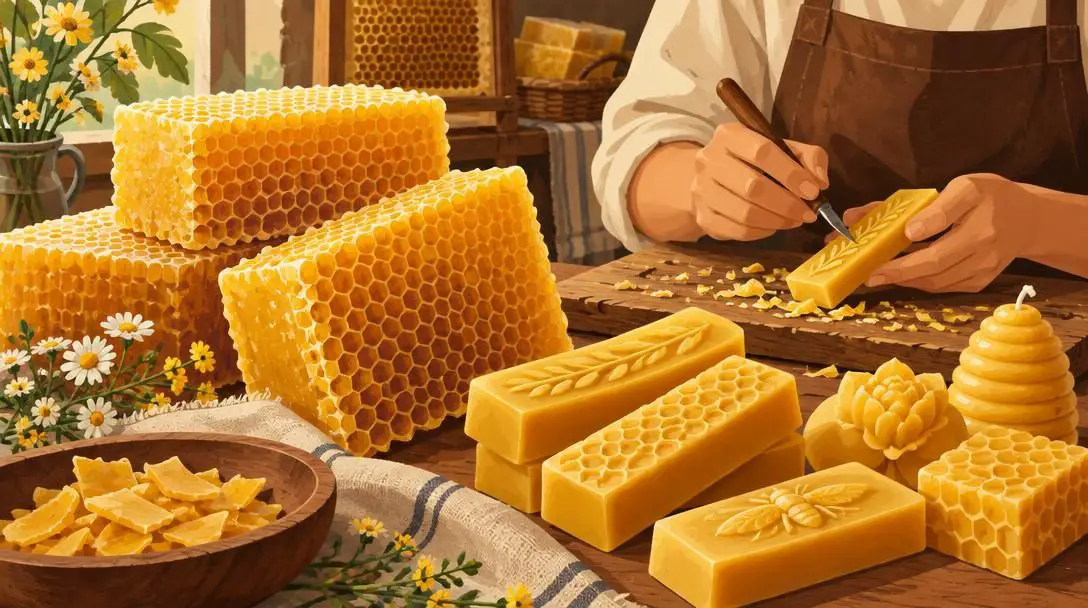
- Origin: Naturally produced by bees
- Melting Profile: High melting point and high density
- Natural Aroma: Subtle, sweet honey scent
Produced naturally by bees inside their hives, beeswax is a dense, premium option recognized for its rich golden hue and delicate natural aroma. Because of its high physical density, beeswax burns very slowly and emits a warm, ambient light that lasts longer than other waxes. Its inherent honeyed fragrance makes it appealing entirely on its own without added scents, though it requires significantly higher melting temperatures to liquefy completely.
| Wax Type | Base Material | Burn Rate | Key Advantage |
|---|---|---|---|
| Paraffin Wax | Petroleum-derived standard | Moderate | Superior dye and fragrance throw |
| Soy Wax | Soybean oil | Slow | Clean, plant-based extended burn |
| Beeswax | Beehive byproduct | Very slow | Naturally fragrant and dense |
Crafting Your Scent Profile
The fragrance you select defines the mood of your candle, so taking time to formulate your aroma makes the difference between an average project and a memorable creation. A candle may look visually striking, but if the aroma is faint, harsh, or unbalanced, the overall experience falls flat. Crafters generally select between two primary aromatic categories.
Essential Oils
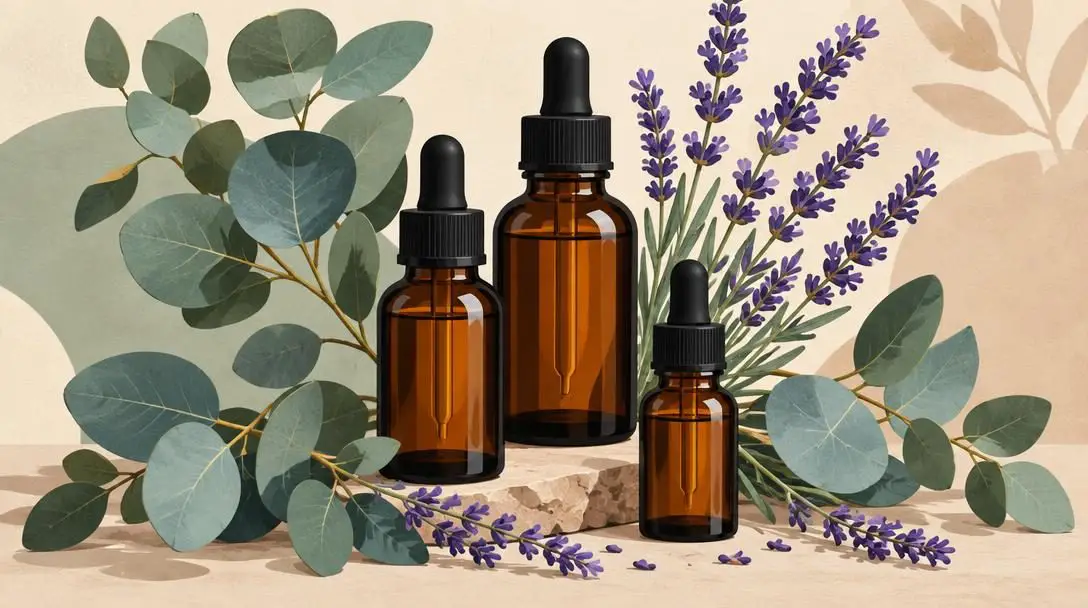
- Composition: 100% natural plant extracts
- Scent Quality: Subtle, earthy botanical notes
- Heat Tolerance: Delicate; requires careful heat verification
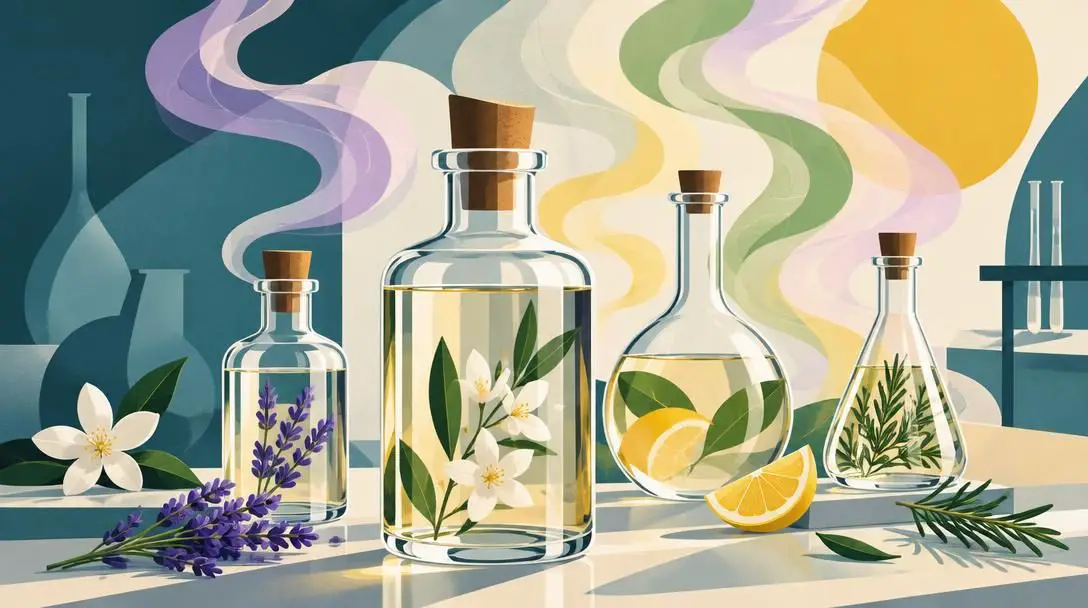
Essential oils are pure natural liquids extracted directly from botanical material such as leaves, flower petals, citrus peels, and bark. They offer authentic, nature-inspired aromatic profiles that appeal to naturalists. However, when choosing essential oils for candle craft, you must verify that the specific oil is safe and rated for candle use, as certain botanical extracts deteriorate or produce unpleasant odors when exposed to heat.
Fragrance Oils
- Composition: Specially formulated synthetic compounds
- Scent Quality: Complex, multi-layered profiles
- Heat Tolerance: Engineered for hot liquid wax
Fragrance oils are synthetic aromatic compounds engineered specifically for candle-making and cosmetics. Because they are designed in a laboratory, they can recreate complex, imaginative scents that cannot be extracted from nature, such as baked pastries, clean laundry, or ocean breezes. These oils are formulated to withstand high wax temperatures without breaking down, delivering a consistent scent throw whether the candle is burning or sitting unlit on a shelf.
Pouring wax at an improper temperature will compromise scent retention, invite surface cracking, and destabilize the finished burn.
Step-by-Step Instructions for Pouring Your Candle
Once your workspace is arranged and your ingredients are measured, proceed systematically through the pouring process to ensure structural integrity and maximum fragrance performance.
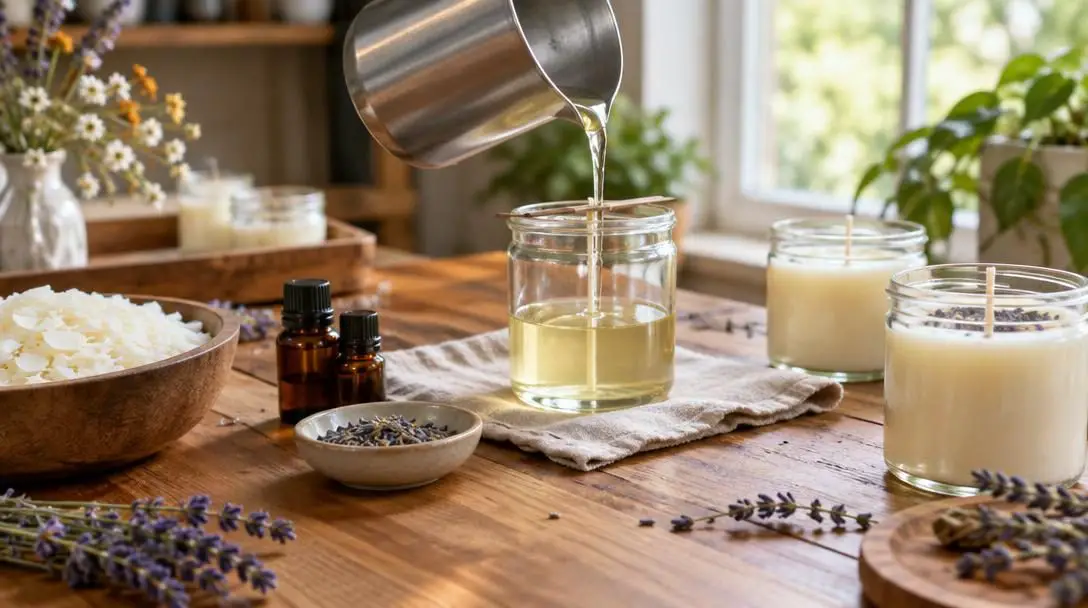
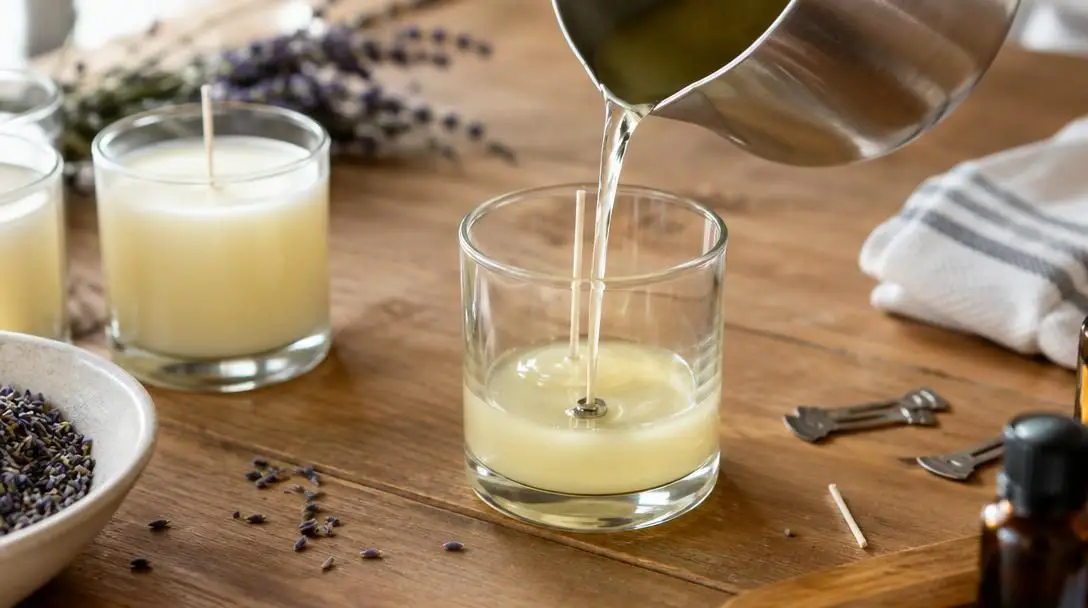
- Choose and secure your wick: Match your wick type and size to the specific diameter of your vessel and the type of wax you are using. Fasten the wick tab securely to the absolute center of the container floor so the wick remains taut and upright throughout pouring.
- Melt the wax: Place your solid wax flakes or chunks into a double boiler or dedicated pouring pot over moderate heat. Stir occasionally to ensure the wax liquefies evenly without scorching against the bottom of the pot.
- Monitor the temperature: Use your thermometer to monitor temperature gains continuously. Heating wax to the correct thermal threshold ensures it holds scent properly and cools without shrinking away from container walls.
- Incorporate your scent: Once the wax reaches its recommended blending temperature, remove it from direct heat and pour in your measured fragrance or candle-safe essential oils. Stir slowly and gently for one to two minutes to distribute the aromatic oils evenly without beating air into the liquid.
- Pour the wax: Steadily transfer the liquid wax into your prepared jars or molds. Leave adequate space at the rim, and pour slowly to prevent air pockets, splashing, or displacing the centered wick.
- Let the wax harden: Place the filled containers on an undisturbed, level surface at room temperature. Allow them to cool and solidify for several hours away from cold drafts, exterior doors, or vibrations.
- Optional scent touch-up: If you desire an extra aromatic boost, you can add a few drops of fragrance oil directly to the solid top surface of the candle after it has fully cured.
Common Candle-Making Mistakes to Avoid
While the fundamentals of candle crafting are straightforward, novice crafters frequently encounter cosmetic and functional defects. Keeping an eye out for these missteps will save materials and guarantee a better finished candle:
- Skipping temperature checks: Relying on visual estimation instead of an accurate thermometer leads to sunken tops, frosting, and premature fragrance burn-off.
- Mismatching the wick and container: Choosing a wick that is too small causes tunneling, leaving a thick wall of unburned wax around the container edges. Conversely, an oversized wick produces black soot, high flames, and dangerously fast burn rates.
- Neglecting workspace safety: Forgetting heat-resistant gloves, allowing loose sleeves near open pots, or working in enclosed rooms without fresh air creates serious hazards.
- Disturbing the cooling wax: Bumping, picking up, or moving cooling containers causes surface ripples, tilted wicks, and uneven solidification.
Ideas and Inspiration for Custom Designs
After you have gained comfort with basic container pouring, you can expand into decorative methods that turn simple wax into personalized artwork. The foundational pouring technique remains identical, but the visual variations are nearly endless.
Consider pouring free-standing pillar candles or spherical ball candles using specialized reusable molds. These freestanding shapes show off the natural geometry of the wax without the surrounding glass barrier. You can also embed visual accents such as glitter, dried flower petals, or aromatic herbs along the perimeter of the mold, creating distinctive botanical textures that capture the eye.
Coloring your wax introduces another creative dimension. By blending specialized candle dyes into the clear liquid wax, you can achieve anything from muted pastel tones to deep jewel shades. Pouring dyed wax in sequential stages creates horizontal, striped color blocks, while blending tones during pouring produces striking ombre gradients that turn everyday candles into vibrant home centerpieces.
Advanced Techniques to Refine Your Craft
As your technique improves, consider developing more advanced production habits to build a reliable crafting repertoire:
- Systematic burn testing: Light your finished creations in measured four-hour intervals to observe melt-pool diameter, wick posture, flame stability, and hot throw strength.
- Seasonal scent blending: Combine two or three single-note fragrances—such as cedarwood, vanilla, and clove—to craft unique, multi-note seasonal blends.
- Container repurposing: Hunt for heat-safe, non-porous vintage vessels like ceramic teacups, enameled tins, and heavy glass sugar bowls to give your candles historical character.
- Multi-wick vessel engineering: Experiment with wide ceramic bowls that require two or three wicks spaced evenly apart to ensure a uniform, full-width melt pool.
Frequently asked questions
Why is my candle tunneling down the center?
Tunneling occurs primarily when a wick is too small for the diameter of your container, or when a candle is extinguished before the top wax pool has melted all the way to the outer edges. Selecting a properly sized wick ensures heat spreads across the entire surface.
Can I use any essential oil to scent a homemade candle?
No. You must verify that the specific essential oil is rated as safe for candle making. Many pure plant extracts degrade, separate from wax, or lose their scent entirely when exposed to high melting temperatures and open flames.
Why did my candle develop cracks and sinkholes after cooling?
Cracking and sinkholes usually stem from pouring the wax at too high of a temperature or cooling the candle too rapidly in a cold room. As hot wax solidifies quickly, it shrinks inward toward the center, pulling away from the wick.
How long should I let a poured candle cool before burning it?
While wax hardens to the touch within a few hours, allowing your candle to set undisturbed at room temperature for several days lets the wax structure stabilize and the fragrance integrate thoroughly for optimal burning.
What is the difference between cold throw and hot throw?
Cold throw refers to the strength and character of the fragrance emitted by the candle while it sits unlit at room temperature. Hot throw refers to the aroma released as the wax liquefies under an active flame.
The Bottom Line
Candle-making represents a perfect intersection of physical science and artistic expression. By understanding the mechanical role of the wick, respecting the thermal limits of different wax types, and selecting high-grade fragrances, anyone can produce professional-quality candles at home. With patience, proper safety precautions, and a willingness to experiment with colors and scents, you can transform simple raw materials into custom decorative items that bring warmth, light, and soothing fragrance into your home.