Jewelry Making: Crafting Wearable Art for Yourself and Others
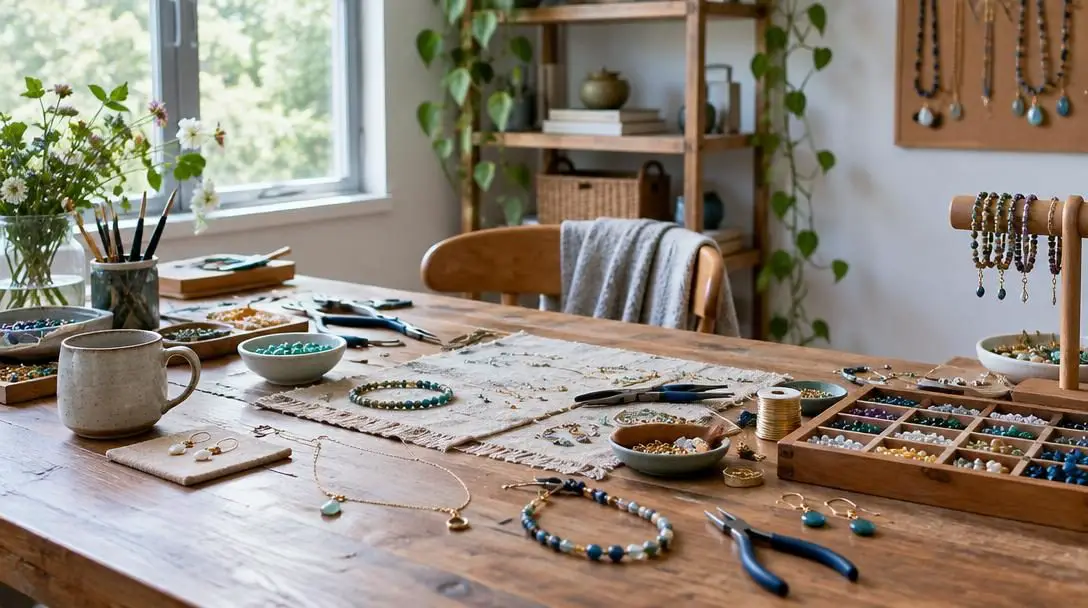
Jewelry making is a captivating discipline that has fascinated makers and wearers across centuries, offering an enduring balance between creative imagination and tactile craftsmanship. Whether practiced during solitary hours of focused creation or shared in a lively group setting, designing personal adornments provides a deeply satisfying artistic outlet. By transforming loose, disparate components into balanced compositions, crafters convert everyday elements into expressive wearable art that carries enduring aesthetic and emotional value.
Today, the barrier to entry is lower than ever before. While historical artisans once required specialized forges or industrial lapidary facilities, modern methods and accessible materials allow enthusiasts to build professional-grade pieces right at home. From fundamental bead stringing to advanced metal clay sculpting and torch-fired enameling, exploring this versatile craft allows artisans to produce custom keepsakes, celebrate personal milestones, or build a thriving commercial brand.
Key takeaways
- Jewelry making bridges historical traditions of cultural ornamentation with accessible, modern home studio practices.
- Core construction relies on essential mechanics like wire manipulation, crimping, knotting, and secure clasp assembly.
- A diverse spectrum of approaches exists, including beadwork, wire wrapping, resin casting, enameling, and precious metal clay.
- Successful longevity requires avoiding structural missteps, such as incorrect wire tension, improper crimping, and mismatched gauges.
- Makers can transition a personal craft into an enterprise through online storefronts, social platforms, art fairs, and retail partnerships.
The Historical Roots of Personal Adornment
Long before the invention of contemporary manufacturing, ancient civilizations developed intricate methods for ornamenting the body with natural treasures gathered from the earth. Rather than functioning solely as decorative flourishes, early body adornments communicated social status, tribal identity, and spiritual devotion. The materials selected and the motifs depicted carried deep cultural resonance, serving as tangible manifestations of a community's beliefs and artistic sophistication.
The ancient Egyptians were renowned masters of the craft, shaping lavish ornaments from gold and vibrant gemstones. Their designs integrated sacred symbolism with refined lapidary skills and advanced metalwork, resulting in artifacts that honored deities and protected wearers in both life and the afterlife. Concurrently, ancient Greek artisans crafted refined adornments utilizing ivory and precious metals, establishing balanced, harmonious aesthetics that shaped jewelry traditions across the Mediterranean basin for centuries.
Over generations, the tools of the trade evolved from rudimentary stone implements and hand-stoked hearths into refined, ergonomic instruments. Modern innovations have democratized jewelry fabrication, eliminating the need for industrial-scale workshops. Today, crafters can safely manipulate wire, set gemstones, and sculpt fine metals from a modest tabletop studio.
Five Core Jewelry-Making Methods
Diverse pathways exist within modern jewelry design, enabling makers to select a medium that best suits their aesthetic vision and technical inclination. Each method requires unique physical manipulations and produces distinct structural finishes.
| Technique | Primary Materials | Essential Tools | Fabrication Process |
|---|---|---|---|
| Beaded Jewelry | Glass, stone, ceramic, wood beads; stringing wire; cord | Bead mat, crimping pliers, wire cutters, beading needles | Linear arrangement, threading, crimping, and knotting |
| Wire Jewelry | Round, square, or half-round craft wire; sheet metal accents | Round-nose pliers, chain-nose pliers, cutters, mandrels | Cold-connection bending, twisting, looping, and wrapping |
| Enamel Jewelry | Vitreous enamel powders; copper, silver, or gold bases | Firing torch or kiln, trivet, holding tongs, metal files | Applying powdered glass to metal and fusing with heat |
| Resin Jewelry | Liquid polymer resin, hardener, color pigments, inclusions | Silicone molds, mixing cups, stirring sticks, protective gloves | Pouring liquid into molds and allowing it to cure |
| Metal Clay Jewelry | Precious metal clay, organic binding medium, water | Clay rollers, textured mats, sculpting blades, firing torch | Hand-sculpting clay and torch- or kiln-firing into solid metal |
Beaded Jewelry
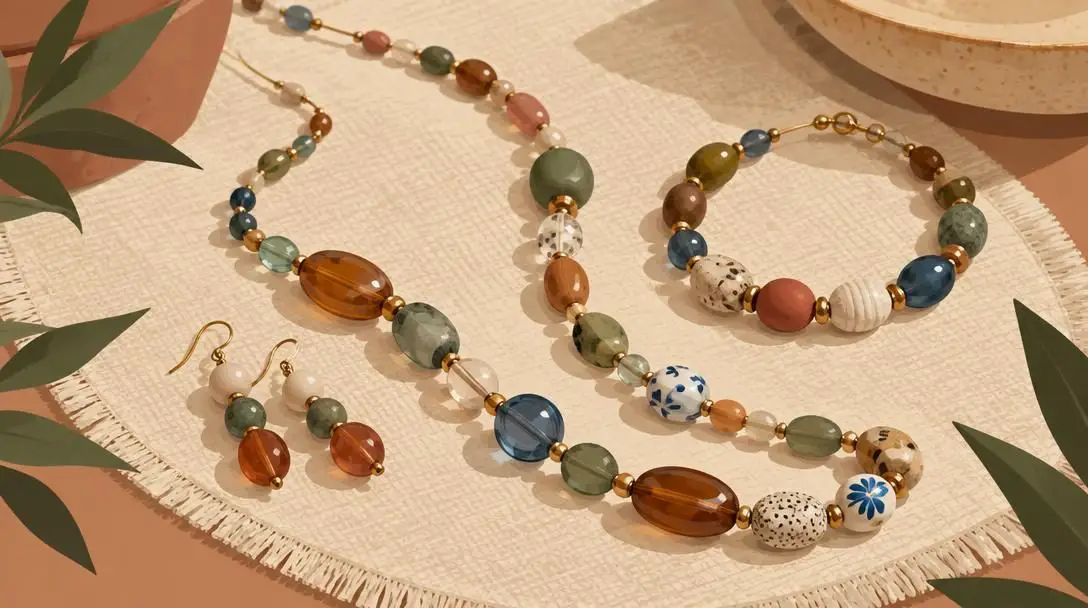
Beaded jewelry relies on stringing individual units of glass, natural stone, ceramic, or wood into balanced linear sequences. Designers arrange components to create rhythmic patterns through intentional variations in color, texture, and size. Ranging from single-strand bracelets to complex, multidimensional woven beadwork, this technique is celebrated for its low barrier to entry and expansive design versatility.
Wire Jewelry
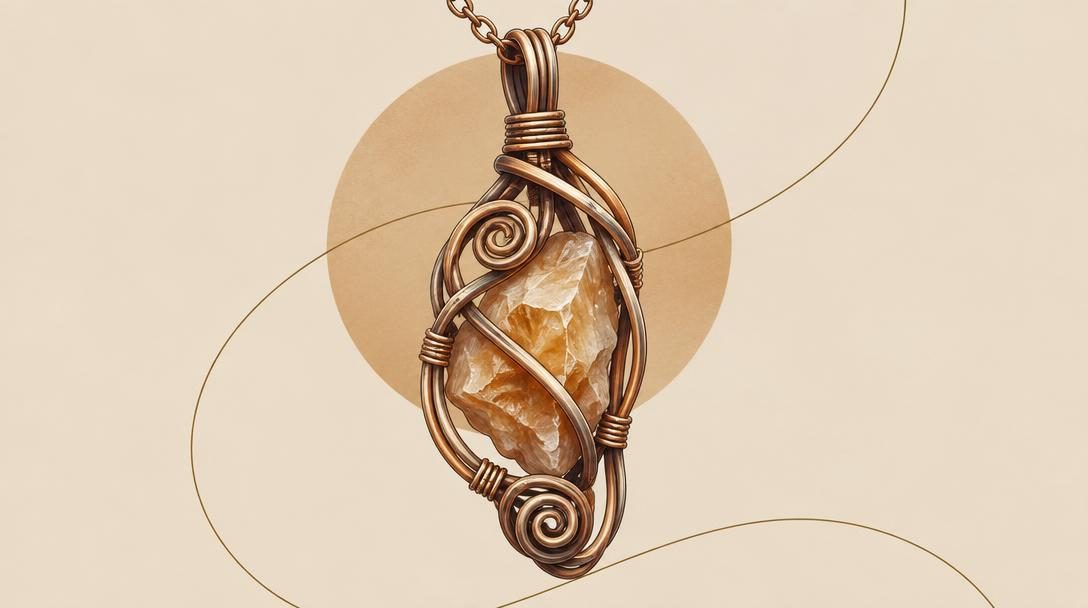
Wirework centers on bending, curling, and wrapping metal strands into self-supporting structural forms without the use of heat or solder. By manipulating round, half-round, or square wire using precision hand tools, artisans can encase raw, undrilled gemstones, produce decorative ear wires, fashion custom chain links, and build intricate structural motifs using purely mechanical cold connections.
Enamel Jewelry
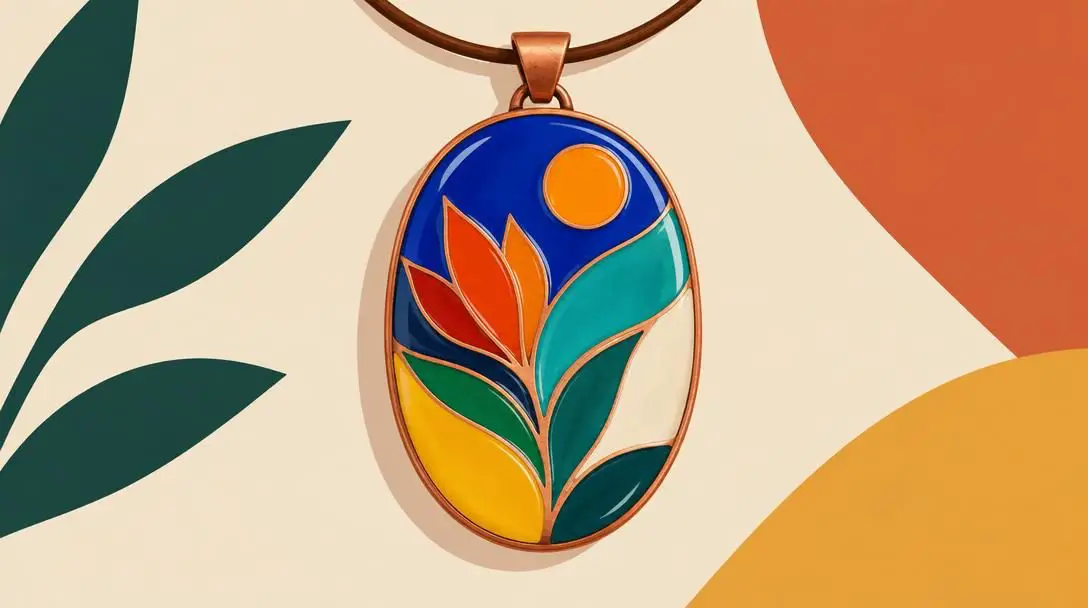
Enameling is the process of fusing finely ground colored glass powders directly onto a metal foundation through intense heat. As the powder reaches its melting point, it liquefies and flows across substrates of copper, fine silver, or gold, cooling into an enduring, vitreous layer. The finished piece combines the strength of metal with the luminous, glossy brilliance of glass.
Resin Jewelry
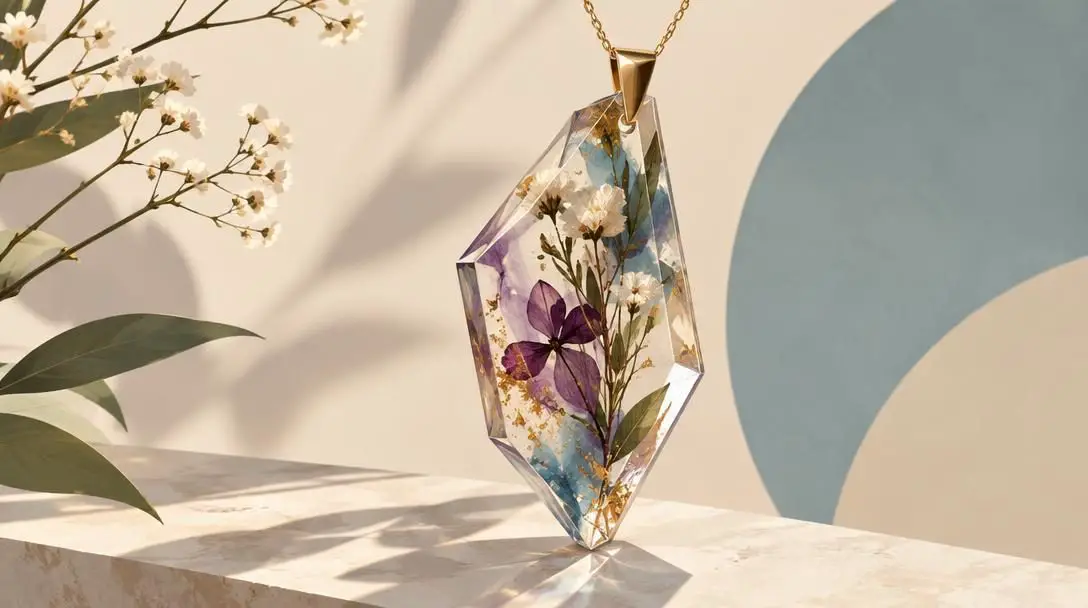
Resin crafting involves mixing liquid polymer compounds and pouring them into dedicated silicone molds to solidify into durable, three-dimensional elements. This technique grants artists extraordinary freedom to preserve organic botanical specimens, glitters, paints, or personal mementos within a crystal-clear or pigmented synthetic structure that cures into a lightweight, resilient accessory.
Metal Clay Jewelry
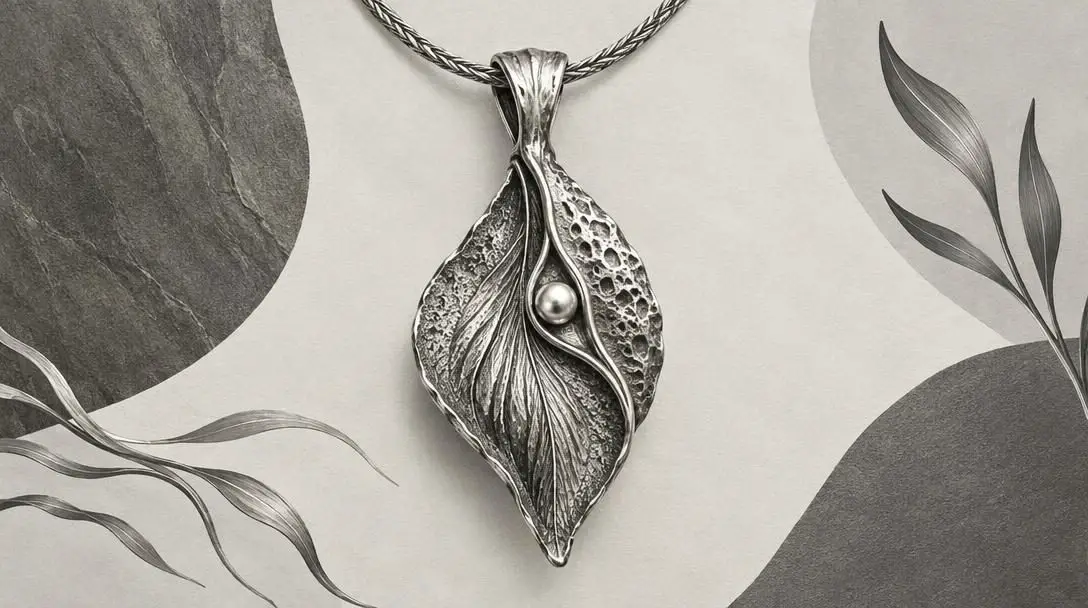
Metal clay consists of microscopic particles of precious metals mixed with water and an organic binder, allowing it to be handled, rolled, cut, and textured just like conventional modeling clay. Once shaped and dried, the piece is exposed to high temperatures via an open flame or a kiln. The binder burns away completely, leaving behind a solid, sintered metal object that eliminates the need for traditional sheet-metal fabrication or foundry casting.
Jewelry making bridges personal self-expression with practical craftsmanship, turning raw, disparate elements into functional works of wearable art.
Essential Tools and Workstation Materials
Assembling a reliable jewelry-making kit ensures that finished pieces remain neat, comfortable to wear, and structurally secure over extended use. Having the correct mechanical tools on hand eliminates strain and minimizes damage to delicate components.
- Pliers: Round-nose pliers are essential for creating uniform loops; chain-nose pliers bend wire and grip findings in tight spaces; flat-nose pliers provide broad clamping power for opening and closing jump rings.
- Precision Cutters: Flush cutters trim beading wire, headpins, and soft craft metals cleanly without leaving jagged spurs that can catch on skin or fabric.
- Bead Mats: Padded, textured work mats keep round beads from rolling across the table while organizing complex layout patterns.
- Beading Needles: Extra-thin, flexible wire needles designed specifically to slip through narrow bead drill holes without splitting the thread.
- Wire Manipulation Instruments: Specialized tools like nylon-jaw pliers, wire straighteners, and mandrels help crafters shape wire without scratching or marring its surface.
In addition to manual tools, makers rely on an assortment of hardware and raw materials:
- Beads: Mineral stones, faceted crystal, wood, bone, and molded glass components offering varied dimensions and visual weights.
- Findings: The vital connective hardware of jewelry, including jump rings, headpins, eye pins, and ear wires.
- Clasps: Mechanical closures such as lobster claws, toggle sets, and spring rings that secure bracelets and necklaces.
- Stringing Media: Multi-strand coated stainless steel wire, durable nylon thread, elastic cords, and traditional silk strands suited for pearl knotting.
- Specialty Media: Precious metal clay compounds and vitreous enameling powders designed for thermal transformation.
Core Skills vs. Advanced Techniques
The progression from an aspiring novice to an accomplished jewelry artisan requires mastering foundational physical manipulations before tackling complex metallurgical processes.
Every beginner must first develop confidence in these basic operations:
- Stringing: Maintaining consistent spacing and tension while threading components along a strand.
- Making Wire Loops: Rolling smooth, circular loops at the ends of eye pins or wire segments using round-nose pliers to link items together.
- Crimping: Mechanically compressing tiny metal crimp beads or tubes with pliers to anchor stringing wire securely to findings.
- Knotting: Tying precise, uniform knots in cord to isolate beads or anchor terminal ends, a hallmark of traditional pearl restringing.
- Attaching Clasps: Fastening closure mechanisms seamlessly to ensure wearable pieces are easy to put on and take off.
After establishing manual dexterity with cold connections, crafters frequently branch out into advanced metalworking disciplines:
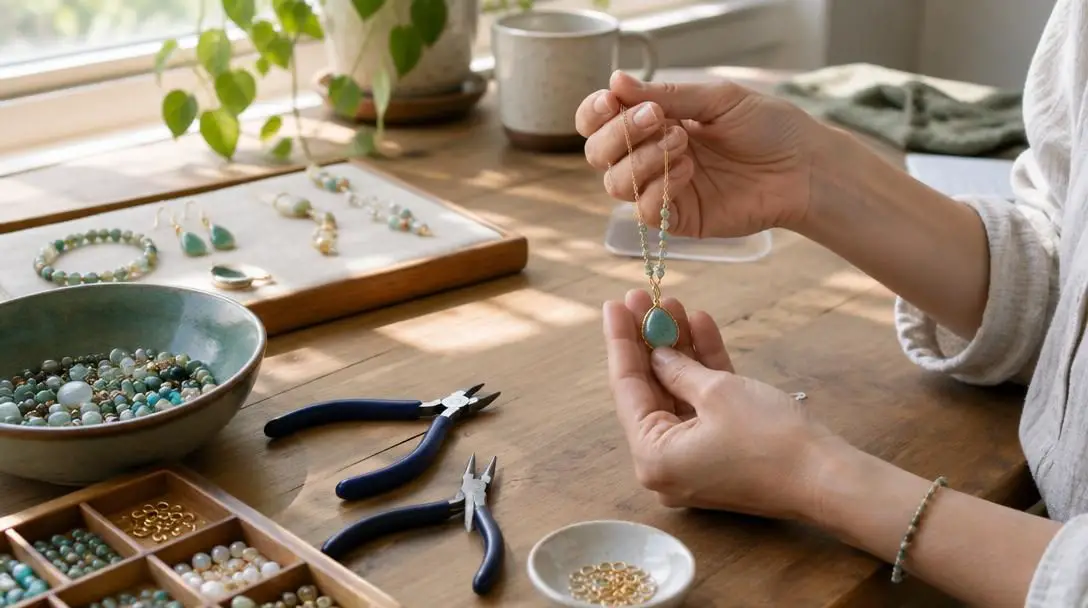
- Hammering and Forging: Using specialized chasing and ball-peen hammers against steel anvils to work-harden wire, produce textured surfaces, and create flared profiles.
- Fabricating and Casting: Melting precious metals to pour into investment molds, or cutting, piercing, and soldering heavy sheet metal using high-temperature torches.
- Torch-Fired Enameling: Directly heating metal pieces coated in vitreous glass powders with a handheld torch flame to achieve high-gloss, smooth finishes.
- Gemstone Setting: Precision cutting of metal seats and burnishing bezels or prongs to lock faceted or cabochon gems firmly into place.
Step-by-Step Guide to Assembling a Beaded Piece
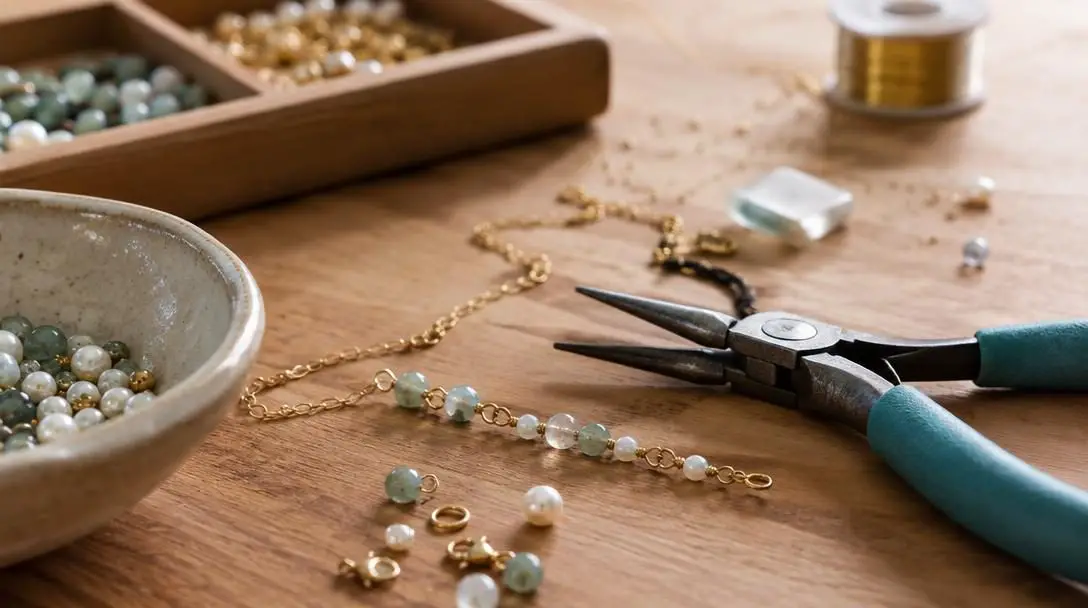
Assembling a standard beaded necklace or bracelet illustrates how stringing wire, crimps, and clasps interact to form a durable accessory. Follow these steps to build a balanced, functional piece.
- Organize the Workspace: Lay out a non-slip bead mat on a clean, well-lit surface. Arrange your chosen beads, beading wire, crimp tubes, clasps, cutters, and pliers within easy reach.
- Measure and Cut the Wire: Unspool enough coated beading wire to match your desired wrist or neck circumference, adding approximately three to four inches of extra length to allow room for finishing attachments. Cut cleanly with flush cutters.
- Plan the Design Layout: Place your beads along the channel of your bead board or directly onto the mat in your preferred sequence. This enables you to check symmetry, balance, and color spacing before stringing begins.
- Attach the First End: Thread a crimp bead onto one end of the wire, followed by one half of your clasp. Loop the wire back through the crimp bead, pull the loop snug against the clasp component, and compress the crimp bead firmly using pliers to anchor it.
- String the Beads: Thread your beads onto the open end of the wire in the predetermined order. Tuck the short tail of wire left from the initial crimp inside the first few beads to conceal the raw edge.
- Fasten the Final Closure: Thread the second crimp bead onto the open wire end, followed by the remaining clasp component. Loop the wire back down through the crimp bead and through the final two or three beads. Pull the strand taut without making it rigid, compress the crimp firmly, and trim any remaining wire flush with the bead edge.
Designing Personalized and Meaningful Pieces
A primary appeal of bespoke jewelry making is the ability to infuse individual pieces with personal significance. Custom pieces become cherished keepsakes when designed around the memories, values, or relationships of the wearer.
Artisans regularly use several distinct elements to personalize their work:
- Birthstones: Incorporating genuine or simulated gemstones corresponding to birth months to represent children, partners, or significant life dates.
- Preserved Keepsakes and Photos: Enclosing miniature photographs, handwritten notes, or dried wedding florals inside resin bezels or glass lockets to preserve memories.
- Meaningful Symbols: Integrating stamped initials, geometric motifs, astrological signs, or talismanic charms that celebrate personal values or milestones.
Critical Construction Mistakes to Avoid
Because jewelry is subjected to continuous movement, friction, and tension, poor construction practices quickly lead to premature wear or broken pieces. Recognizing common structural errors allows makers to produce durable accessories that withstand daily wear.
- Using the Incorrect Wire Gauge: Selecting wire that is too thin relative to the weight of stone or glass beads causes the strand to fatigue and snap, whereas choosing wire that is too thick prevents smooth threading through small apertures.
- Over-tightening the Stringing Material: Pulling the beading wire too tightly before crimping the final closure robs the piece of flexibility. The resulting strand remains stiff, kinks easily, and refuses to drape naturally along the body.
- Improperly Compressed Crimps: Applying too little force allows the inner wire to slip out of the closure under slight tension, while using crushing force can sever the delicate nylon coating and internal metal strands.
- Neglecting Proper Finishing: Leaving raw, exposed wire ends protruding near clasps creates friction points that scratch the wearer's skin and snag clothing.
- Overlooking Metal Compatibility: Combining metals with drastically mismatched melting points or incompatible chemical properties during torch firing or soldering can burn, pit, or destroy the workpiece.
Turning Handcrafted Jewelry into a Viable Business
Transforming an enjoyable creative pastime into an independent commercial enterprise allows makers to share their designs with an appreciative public while generating supplemental or full-time income. Successful jewelry entrepreneurs combine quality craft production with strategic marketing across diverse sales avenues.
Artisans can introduce their collections to the marketplace through several primary channels:
- Craft Fairs and Pop-Up Markets: Participating in local artisan markets offers direct, face-to-face contact with customers, providing immediate feedback on pricing, styling, and ergonomics.
- Dedicated Online Storefronts: Establishing a presence on e-commerce marketplaces like Etsy or launching an independent brand website expands sales potential to a nationwide or global audience.
- Social Media Engagement: Utilizing visual platforms such as Instagram, Facebook, and Pinterest to share finished collections, process videos, and studio tours engages collectors and drives direct sales.
- Wholesale and Trade Shows: Presenting lines at regional trade events connects independent makers with commercial retail buyers seeking unique merchandise.
- Consignment and Boutique Partnerships: Placing physical inventory inside local boutiques, gift shops, and galleries creates local retail visibility without the overhead of maintaining a standalone brick-and-mortar storefront.
Frequently asked questions
What basic tools do I need to start making jewelry at home?
A beginner needs a core set of three basic pliers (round-nose, chain-nose, and flat-nose), a pair of flush wire cutters, a soft bead mat to prevent rolling, and appropriate stringing media or wire. These tools allow you to open jump rings, shape wire loops, string beads, and attach clasps without a major upfront investment.
How do I choose the right wire for my project?
Wire choice depends on the application: use multi-strand coated stainless steel wire for flexible stringing of heavy beads, and solid craft wire (such as copper, brass, or silver) for structural wire wrapping. For wire wrapping, choose gauges between 18 and 22 for primary structural frames and finer gauges (24 to 28) for decorative binding.
What is the difference between standard clay and precious metal clay?
Standard clay remains ceramic or earthen after firing, whereas precious metal clay contains microscopic particles of real silver, gold, or copper suspended in an organic binder. When fired with a torch or kiln, the binder burns away entirely, sintering the microscopic metal particles into a solid, durable piece of genuine metal.
Why does my strung beaded bracelet feel stiff and inflexible?
Stiffness occurs when the stringing wire is pulled too tightly right before crimping the final closure. To maintain a fluid, natural drape, leave a small fraction of an inch of slack along the strand so the beads can move and curve comfortably around the wrist.
Do I need a commercial kiln to make enamel or metal clay jewelry?
No, many metal clay varieties and vitreous enamels can be torch-fired using an affordable handheld butane torch. While kilns allow for precise digital temperature control and larger batch processing, torch firing is a safe, accessible method for producing small, single pieces at home.
The Bottom Line
Jewelry making remains one of the most fulfilling creative pursuits available, marrying timeless craft traditions with modern, accessible materials. Whether your interest lies in stringing vibrant gemstones, shaping intricate wire forms, or firing metal clay sculptures, the craft offers infinite opportunities for personal development and creative satisfaction. By starting with solid core fundamentals, investing in reliable hand tools, and practicing careful assembly techniques, anyone can transform simple components into durable, expressive works of wearable art.