The Joys of Woodworking: Tips for Getting Started

Woodworking is a deeply rewarding, time-tested craft that has been practiced for centuries across human civilizations. Long before industrial automation and mass assembly lines supplied our everyday living spaces, artisans transformed raw timber into essential shelter, rugged transport, domestic tools, and cherished family furniture. Reviving this traditional discipline today offers a tangible antidote to our screen-heavy modern routines, reconnecting makers with natural elements and the quiet satisfaction of physical craftsmanship.
Whether your goal is to fashion simple home upgrades, build custom decorative gifts, or practice the fine art of joinery, woodcraft welcomes newcomers with open arms. Getting started does not require an industrial facility or decades of specialized training. By grasping the basic characteristics of timber, establishing a foundational tool kit, and focusing on reliable assembly techniques, anyone can transform rough lumber into enduring, functional creations.
Key takeaways
- Woodworking delivers balanced physical, cognitive, and emotional rewards by improving motor skills, relieving stress, and fostering genuine creative pride.
- Lumber falls into three principal classifications—softwood, hardwood, and exotic timber—each suited to different structural demands, aesthetic requirements, and tool setups.
- Mastering foundational techniques like precision marking, grain-conscious cutting, and mechanical joinery forms the backbone of any successful workshop project.
- Novice woodworkers can build capability and confidence quickly by tackling approachable builds such as cutting boards, picture frames, nesting birdhouses, and step stools.
The Physical, Cognitive, and Emotional Benefits of the Craft
Working with wood engages both the mind and the body, providing a comprehensive workout that nurtures long-term well-being. Unlike sedentary pastimes, woodcraft demands active, deliberate motion that stimulates coordination while offering a peaceful mental sanctuary from everyday life.
From a physical perspective, the shop environment acts as an accessible, low-impact fitness space. Manipulating lumber, guiding handsaws, driving fasteners, and smoothing surfaces require continuous dexterity, fine motor control, and reliable hand-eye coordination. Because the movements involve natural, steady actions rather than sudden high-impact collisions, woodcraft remains remarkably gentle on joints and muscles while encouraging overall mobility.
The mental rewards are equally pronounced. Woodworking requires acute critical thinking, forward planning, and spatial visualization. Every clean cut relies on accurate mathematical calculation, while every joint demands problem-solving skills to ensure proper alignment. Engaging in these focused tasks sharpens memory, bolsters concentration, and helps quiet internal anxiety by immersing the mind in constructive, present-moment activity.
On an emotional level, the feeling of turning a raw, splintered plank into an elegant, polished object generates an immense sense of accomplishment. This tangible proof of capability enhances personal self-esteem and self-worth. In addition, woodworking opens doors to a supportive community of like-minded makers, whether through local community classes, regional guilds, or online maker spaces where tips and encouragement are shared freely.
Seeing a rough board transform into a functional piece of art fosters a distinct feeling of capability and self-reliance.
Outfitting the Workshop: Tools and Protective Gear
A functional home workshop does not require thousands of dollars in commercial machinery. Beginners can accomplish a wide range of projects by curating a balanced toolkit that combines standard hand implements, versatile power units, and non-negotiable personal safety gear.
Hand tools establish direct sensory contact with wood fibers, providing the maker with nuanced control and an intimate feel for how grain behaves. Essential manual implements include:
- Handsaw: A sharp universal handsaw allows for quick cross-cuts and rough sizing of stock without mechanical setup.
- Chisels: Quality bevel-edge chisels are essential for cleaning out recesses, paring joinery surfaces, and shaving wood with surgical precision.
- Mallet: A wooden or rubber striking tool used to drive chisels cleanly without fracturing or mushrooming their handles.
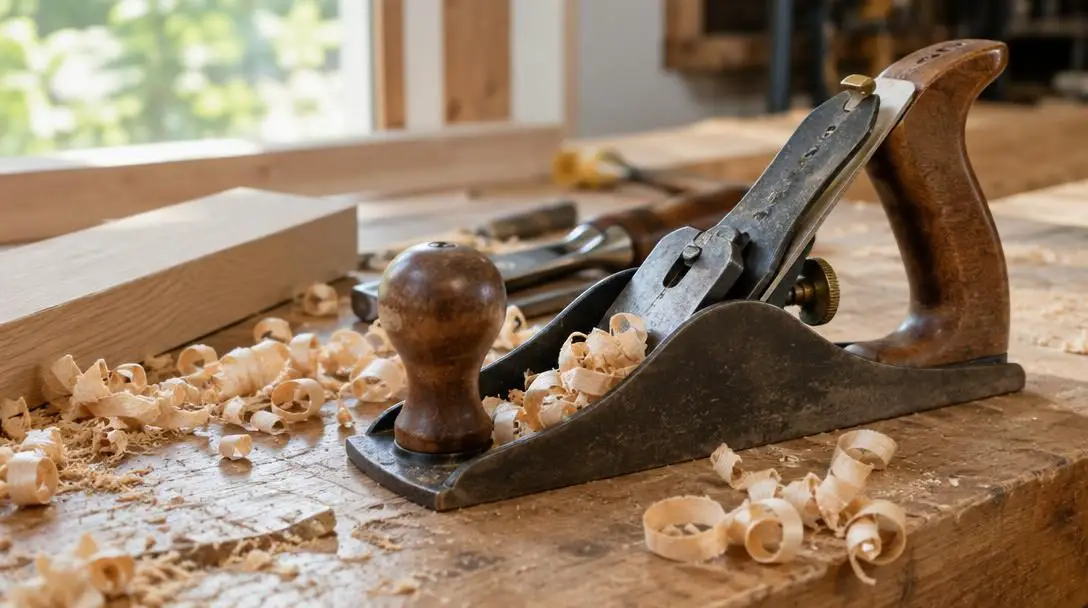
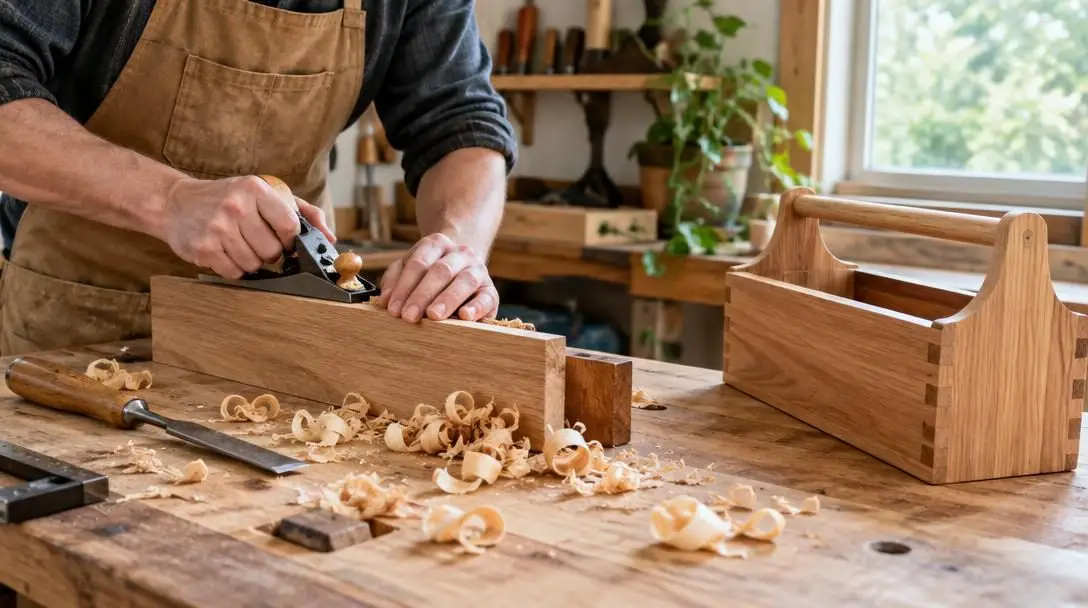
- Hand plane: Shaves microscopic layers of wood from surfaces to flatten uneven stock, true up crooked edges, and create glassy textures.
- Screwdrivers and Hammer: Classic fasteners require dependable screwdrivers for mechanical hardware and a balanced hammer for nails and assembly adjustments.
- Tape measure: The cornerstone of workshop layout, indispensable for dimensioning rough lumber and verifying assembly boundaries.
Power tools introduce efficiency, repeatable accuracy, and rapid material preparation. While manual tools hone precision, power equipment shortens laborious chores:
- Circular saw: A versatile handheld tool designed to break down large sheet goods and make straight, uniform cuts across long boards.
- Jigsaw: Featuring a reciprocating blade, this tool specializes in sweeping curves, complex profiles, and interior cutouts.
- Router: A high-speed rotary machine used to hollow out timber, mill joinery grooves, and cut decorative profiles along board edges.
- Drill: Indispensable for creating clean clearance holes and driving assembly screws without splitting delicate wood fibers.
- Orbital sander: Employs a rapid, non-directional sanding orbit to eradicate surface defects, machine marks, and scratches before finishing.
- Table saw: The operational center of many workshops, dedicated to ripping boards to exact widths and cross-cutting components square.
- Compound miter saw: Engineered to slice clean, repeatable cross-cuts, compound angles, and miter joints in narrow lumber.
Operating cutting equipment produces high-velocity chips, airborne dust, and elevated sound levels. Reliable personal protective equipment must be treated as mandatory equipment rather than an afterthought:
- Safety goggles: Provide a sealed impact shield to keep flying chips, splinters, and sawdust out of your eyes.
- Dust mask and Respirator: While simple masks filter coarse dust, a fitted dual-cartridge respirator captures fine, microscopic wood particulates and toxic finishing vapors.
- Hearing protection: Earmuffs or foam plugs protect your auditory health from the high-decibel pitch generated by routers, table saws, and sanders.
- Work gloves: Useful for moving rough-sawn lumber and avoiding painful splinters, though they should be removed when operating rotating machinery.
Understanding Wood Classifications
Timber is an organic, cellular substance that behaves differently depending on the tree species, growth rate, and moisture exposure. Choosing the appropriate lumber category ensures that your finished project holds its shape, survives environmental shifts, and accepts finishes predictably.
| Category | Botanical Origin | Representative Species | Key Working Characteristics | Primary Applications |
|---|---|---|---|---|
| Softwood | Coniferous (Evergreen) | Pine, Fir, Cedar | Lightweight, easy to cut, budget-friendly | Framing, outdoor builds, basic utility |
| Hardwood | Deciduous (Broadleaf) | Oak, Maple, Cherry | Dense, wear-resistant, crisp edge retention | Fine furniture, cabinetry, interior flooring |
| Exotic Wood | Non-native / Tropical | Teak, Mahogany, Ebony | Striking coloration, rare grain, premium cost | Luxury accents, instruments, showpieces |
Softwood
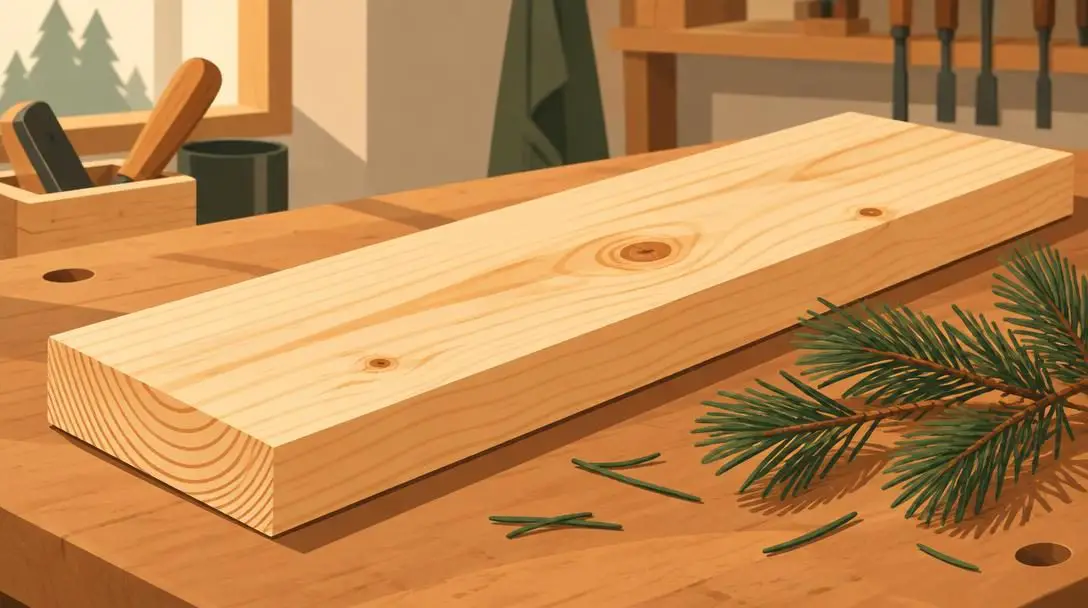
Derived from needle-bearing, cone-producing gymnosperm trees, softwoods are the most widely available species in home improvement centers. Common varieties include pine, fir, and aromatic cedar. Because they grow rapidly, these woods are lightweight, cost-effective, and remarkably forgiving under hand tools, making them the classic entry point for novices practicing saw cuts and chisel work. Species like cedar contain natural preservative oils that resist rot and insect infestation, making them exceptional candidates for outdoor planter boxes, garden trellises, and outdoor furniture.
Hardwood
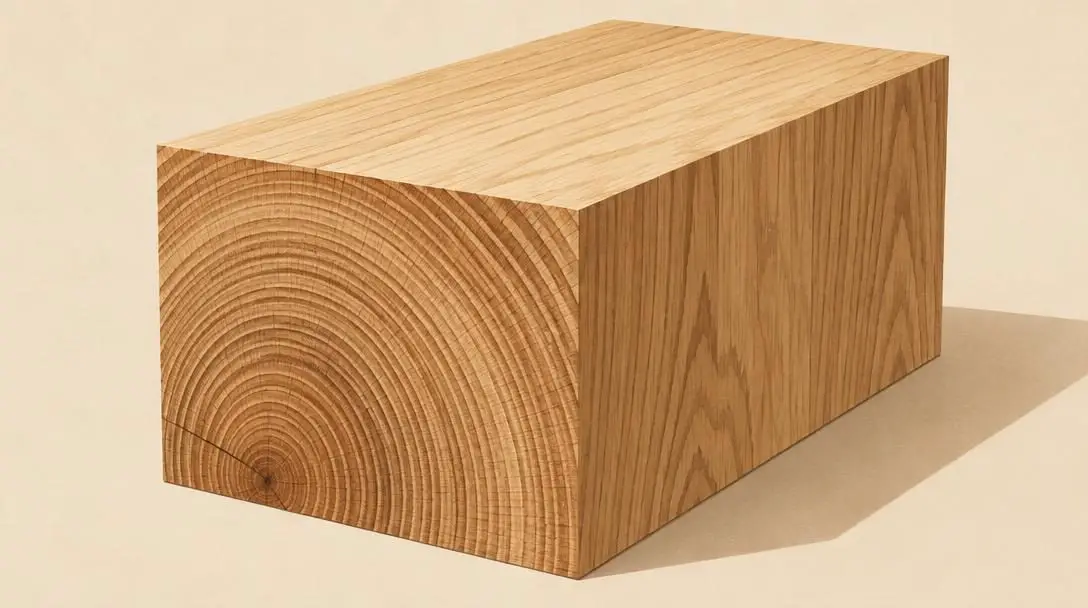
Hardwoods originate from flowering deciduous trees that drop their leaves annually, such as red and white oak, hard maple, and American black cherry. The cellular structure of hardwood is notably compact and dense, giving the timber superior structural strength and abrasion resistance. Although hardwoods require sharp, well-maintained tool edges and a patient approach, they machine cleanly without fuzzing up. They hold crisp joint profiles, withstand decades of heavy daily use, and showcase intricate grain patterns that elevate interior cabinetry, dining tables, and fine display boxes.
Exotic Wood

Exotic woods encompass species harvested outside North America, frequently grown in tropical or subtropical climates. Lumbers such as rich teak, warm mahogany, and dark ebony boast striking color variations, dense mineral contents, and dramatic figuring unlike domestic timbers. While prized for their stunning aesthetic appeal, exotic woods often demand specialized carbide-tipped cutters and slow feeds due to their extreme density and natural oils. Woodworkers primarily reserve these high-value materials for heirloom musical instruments, boutique knife handles, and fine decorative inlays.
Fundamental Workshop Techniques
Every complex woodworking assembly, from a small keepsake chest to an elaborate dining set, is merely a collection of simple operations executed with care. Developing dependable workshop habits across four core disciplines ensures professional, square, and sturdy outcomes.
The first critical discipline is measuring and marking. Woodworking tolerances are unforgiving; a discrepancy of a single millimeter can cause a picture frame to gap or a drawer to bind inside its cabinet pocket. Rather than relying on blunt, soft-lead pencils that leave wide graphite marks, experienced makers mark layout lines with sharp hard-lead pencils or dedicated marking knives that slice wood fibers cleanly. Consistently marking on the correct side of your layout line ensures that your pieces match your design blueprints exactly.
The second discipline involves sawing and cutting. Wood is directional, meaning cutting techniques must adapt to grain orientation:
- Cross-cutting: Slicing across the wood fibers at a ninety-degree angle requires finely spaced saw teeth that sever grain cleanly without tearing the back edge.
- Ripping: Sawing parallel to the grain requires blades with larger, deeper gullets between the teeth to scoop out long ribbons of waste material efficiently.
- Bevel cutting: Tilting the cutting blade at an angle other than perpendicular to the board face creates angled edges, commonly used in decorative panels and multi-sided boxes.
The third discipline is structural joinery. End grain does not absorb or hold wood glue effectively on its own, meaning woodworkers rely on mechanical joinery to anchor intersecting parts. Common options include:
- Doweling: Inserting compressed wooden pegs into mating holes drilled across adjoining boards, creating strong, hidden mechanical pins.
- Pocket hole joinery: Drilling angled pilot bores into one component allows specialized screws to lock directly into the neighboring piece, producing fast, rigid frames without complicated clamping setups.
- Mortise and tenon: A time-tested hallmark of traditional craftsmanship where a projecting rectangular tongue (the tenon) slides tightly into a carved mating socket (the mortise), providing unmatched gluing surface and structural integrity.
The fourth discipline encompasses sanding and finishing. Even the most carefully joined build looks unfinished if its surface is marred by mill marks, scratches, or uneven texture. Proper surface preparation seals the porous timber against moisture changes while highlighting the natural depth of the wood grain.
- Inspect the dry assembly thoroughly under raking light to pinpoint any glue squeeze-out, gouges, or uneven surface seams.
- Begin coarse surface sanding with medium 80- or 120-grit abrasive paper to erase tool marks, always working uniformly in the direction of the wood grain.
- Step up progressively through 150-grit, 180-grit, and finally 220-grit sandpaper, dusting the wood clean between stages to prevent stray coarse grains from scratching polished wood.
- Wipe down all surfaces with a clean, dry cloth or tack cloth to eliminate any residual sawdust trapped inside open grain pores.
- Apply your chosen protective finish—such as an oil-based wood stain, a pigmented interior paint, or a durable clear polyurethane topcoat—using thin, uniform layers according to manufacturer guidelines.
Four Approachable Starter Projects
Applying newly acquired techniques to tangible builds accelerates your learning curve. The following starter builds introduce essential cutting, shaping, and assembly workflows without demanding an overwhelming financial investment or complex workshop equipment.
Cutting Board
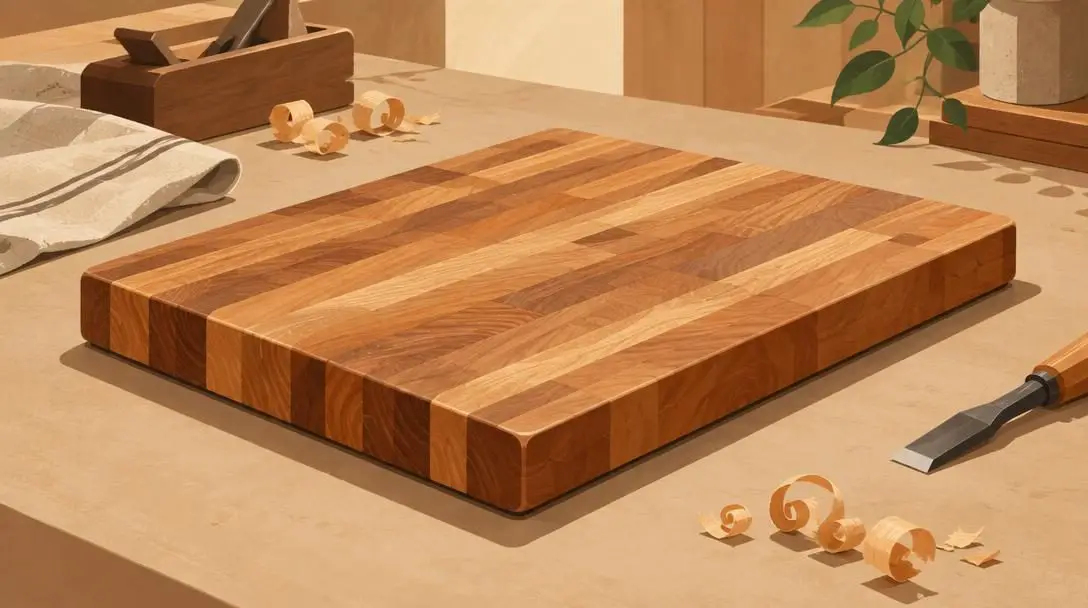
The cutting board represents the quintessential initiation into hardwood woodworking. Requiring only basic straight cuts and careful edge preparation, this project can be brought from raw plank to functional kitchen tool within an afternoon. Makers select a stable hardwood like maple or cherry, cross-cut the timber to convenient serving proportions, and lightly soften sharp outer corners using hand planes or coarse sandpaper. Once the board is sanded to a velvety smoothness, it is soaked in non-toxic, food-grade mineral oil or beeswax polish, transforming plain raw lumber into a water-resistant, food-safe kitchen showpiece.
Picture Frame

A custom picture frame challenges the builder to execute precise, matching angled cuts while introducing routing mechanics. Using hardwood stock, you cut four border sides with matching forty-five-degree miter joints. Next, you utilize a router fitted with a rabbeting bit to cut an interior recessed groove along the back inner perimeter, which holds the picture glass, mounting mat, artwork, and backboard. The mitered ends are then glued, assembled inside strap clamps, and secured before receiving a stain or protective clear coat.
Birdhouse

Constructing a garden birdhouse offers an engaging weekend project that puts softwoods to work. Using inexpensive, weather-resistant cedar or pine, the maker measures and cuts four vertical walls, a floor panel, and a protective pitched roof. A drill equipped with a hole saw or spade bit creates the entrance opening sized to welcome local songbirds. Using simple butt joints secured by exterior-rated wood screws or weather-resistant glue, the components assemble quickly into an attractive, functional garden fixture that weathers gracefully out in the elements.
Step Stool
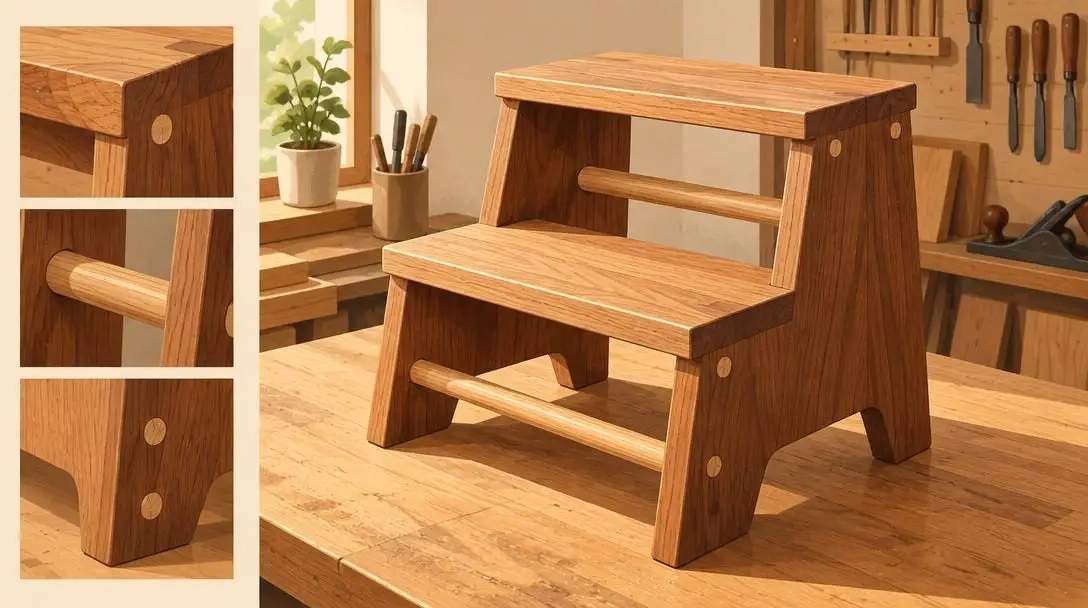
A small wooden step stool serves as an excellent introduction to weight-bearing furniture construction. Built using sturdy hardwood stock, this project introduces structural bracing and hidden mechanical fasteners. The design calls for measuring and cutting two stable vertical side risers, longitudinal stretchers for rigidity, and a comfortable top tread. Builders can employ dowel joints or pocket-screw joinery to anchor the support legs securely beneath the top platform. After thorough progressive sanding softens all handling edges, a durable finish shields the wood from everyday scuffs and foot traffic.
Essential Tips for Beginners and Common Pitfalls
Approaching woodworking with structured patience prevents simple setbacks from turning into expensive, frustrating mistakes. The following guidelines help maintain safety, save valuable stock, and build lasting craftsmanship.
- Start small: Resist the urge to begin your woodworking journey by tackling a complex chest of drawers or an intricate dining set. Small, approachable builds build the fundamental hand skills necessary for larger endeavors.
- Invest in quality layout tools: Precision is the foundation of clean joinery. A reliable steel rule, a true combination square, and a fine marking knife prevent compounding measurement errors.
- Attend local classes: Enrolling in introductory woodworking seminars at local maker collectives, technical schools, or specialty tool shops allows experienced craftspeople to correct your posture, hand positioning, and machine habits early.
- Join an active community: Exchanging ideas through local woodworking guilds or reputable digital maker forums provides rapid answers to puzzling workshop challenges and sparks creative inspiration.
Equally critical is steering clear of frequent beginner errors that undermine project quality and workshop safety:
- Neglecting safety discipline: Disregarding eye shields, respirators, or ear protection invites avoidable injuries and respiratory trouble. Never bypass safety guards on table saws, routers, or jointers.
- Rushing the layout stage: Measuring once and cutting hurriedly frequently ruins expensive hardwoods. Take the time to double-check layout lines before pulling the trigger on any saw.
- Skipping sandpaper grits: Moving directly from coarse 80-grit abrasive paper to an ultra-fine 220-grit sheet leaves deep, unsightly swirl scratches permanently trapped beneath your clear coat finish.
- Ignoring grain direction: Planing, chiseling, or routing against the natural upward slope of wood fibers causes unsightly surface tear-out and rough, fractured edges. Always cut with the grain.
Frequently asked questions
Do I need an expensive shop setup to start woodworking?
No. You can complete dozens of functional, attractive projects with a basic handsaw, a cordless drill, a tape measure, a chisel set, and an orbital sander. High-end stationary machinery like industrial table saws can be acquired gradually as your skills and project ambitions grow.
Which type of wood is best for an absolute beginner?
Softwoods such as pine and cedar are ideal for first-time builders because they are inexpensive, widely available, and effortless to cut and shape. Once you are comfortable with basic sawing, drilling, and joinery, you can transition to forgiving domestic hardwoods like poplar, oak, or cherry.
What is the difference between ripping and cross-cutting lumber?
Cross-cutting involves sawing perpendicular across the wood grain, which demands closely spaced teeth to slice wood fibers cleanly. Ripping involves sawing lengthwise down the board parallel to the grain, requiring larger saw teeth with deep gullets to clear long, fibrous wood shavings without clogging.
Why must I sand wood through several different grits?
Every sandpaper grit leaves tiny, uniform scratches across the wood surface. Starting with coarse grit removes mill marks and irregularities, while progressively finer grits replace coarse scratches with micro-fine abrasions that vanish completely once a stain, paint, or clear coat is applied.
How can I prevent wood from splitting when driving screws?
Always pre-drill a pilot hole slightly smaller than the core diameter of your screw shank before driving the fastener. Pilot holes relieve hydraulic outward pressure within the dense grain, preventing the timber from splitting down its length.
The bottom line
Woodworking combines creative physical exercise, mental focus, and timeless craftsmanship into a deeply satisfying lifestyle hobby. By mastering fundamental measuring habits, respecting proper tool safety protocols, and gaining experience through approachable starter projects, you can transform rough lumber into enduring items of daily utility and personal beauty. Pick up a saw, measure with care, and discover the lasting joy of shaping wood with your own hands.