The World of Scale Models: A Guide to Building Miniature Masterpieces
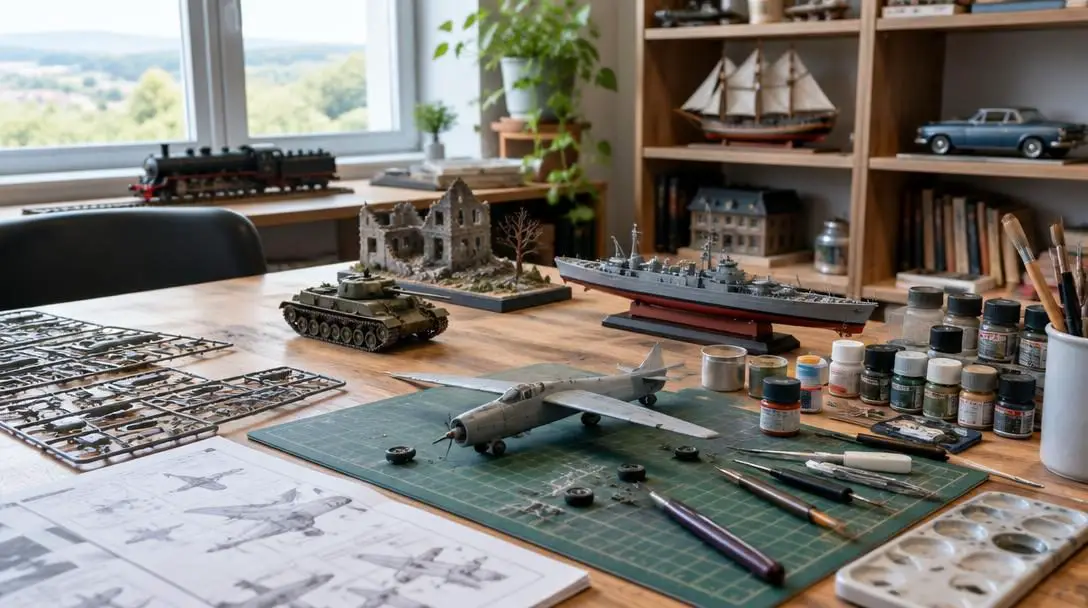
The craft of scale modeling offers an immersive intersection of historical study, industrial design, and hands-on craftsmanship. By taking raw, unassembled components and refining them into authentic, dimensional replicas, hobbyists develop an eye for mechanical realism, surface texture, and meticulous assembly. Whether reproducing the aerodynamic lines of an experimental aircraft, the heavy armor of a tracked military vehicle, or the polished bodywork of a classic roadster, modeling transforms flat parts into compelling miniature tributes.
For beginners and seasoned crafters alike, achieving convincing results requires an understanding of scale ratios, kit compositions, adhesive chemistry, and specialized finishing workflows. Taking the time to explore foundational techniques ensures that each project progresses smoothly from the initial parts sprue to a finished collector-grade display piece.
Key takeaways
- Scale ratios like 1:72 and 1:24 establish the mathematical reduction of real-world subjects to manageable display sizes.
- Kit materials dictate tool and adhesive choices, requiring plastic cement for polystyrene and cyanoacrylate or epoxy for metal and resin.
- A structured four-phase workflow—framing, detailing, painting, and finishing—keeps delicate assemblies organized and accessible.
- Proper surface preparation, including washing sprues, trimming seam lines, and applying primer, is essential for a durable, lifelike finish.
Understanding scale, proportions, and modeling appeal
Scale models are proportional miniatures of actual physical objects, precisely reduced according to a specific mathematical ratio. The scale indicates the relationship between a measurement taken on the model and the corresponding measurement on the full-sized subject. Expressed as a fraction or a ratio, these numbers dictate the overall footprint, density of detail, and final dimensions of the assembled project.
In a 1:72 scale model, one unit of measurement on the replica corresponds to seventy-two identical units on the real-world object. In a larger 1:24 scale model, the assembled kit measures one twenty-fourth the size of the original vehicle or structure. Because subjects vary wildly in their real-life dimensions—ranging from massive naval dreadnoughts to compact single-seat race cars—standardized modeling scales have emerged across different branches of the hobby to keep finished projects practical to display while retaining structural fidelity.
The scale of a model indicates the proportional relationship between the replica and the real-life subject, establishing the exact mathematical reduction required to capture realism at a manageable physical size.
People enter the world of scale modeling for a wide variety of personal and artistic motivations. Many builders find that the focused, manual concentration needed to assemble fine parts provides a relaxing counterbalance to screen-based work. Others view the hobby as a three-dimensional extension of their passion for aviation, naval history, architecture, or mechanical engineering. Recreating an operational machine allows enthusiasts to study how individual components interlock and age under working conditions.
Choosing the right kit material
Selecting a suitable project is the vital first step in any build. A modeler must evaluate their current skill tier, the total time available for the build, and their genuine enthusiasm for the chosen subject matter. Maintaining interest in the historical or mechanical context of the piece helps carry the builder through tedious stages of seam line removal, repetitive masking, and multi-stage curing. Kits are generally divided into three major categories based on the raw materials used during manufacturing.
Plastic kits
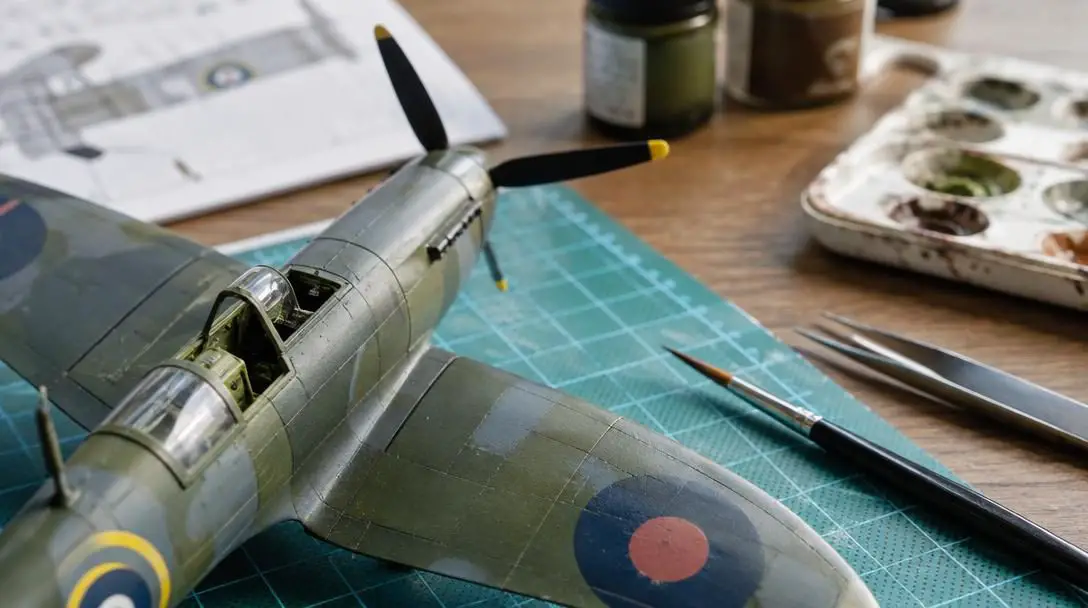
Produced through industrial injection molding, plastic kits represent the most widespread and accessible segment of the scale modeling hobby. These models are engineered using injection-molded polystyrene, a lightweight and rigid plastic that is straightforward to cut, scrape, sand, and glue. Available in diverse scales ranging from 1:72 up to 1:24 and beyond, plastic kits suit every experience level from complete novices to competitive exhibition builders.
Metal kits
Offering considerable physical heft and exceptionally crisp edges, metal models are often favored for high-end replicas and precision mechanical displays. Because metal cannot be joined with standard solvent cements, builders must rely on specialized adhesives such as cyanoacrylate or multi-part epoxies, along with specialized filing and surface preparation techniques.
Resin kits
Cast from liquid polyurethane or similar chemical resins, these kits are frequently produced in limited runs for rare subjects, prototype vehicles, or specialized aftermarket conversion sets. Resin captures exceptionally subtle surface textures and crisp casting details, though the parts can be brittle and require careful trimming, truing, and dust precautions during preparation.
| Kit Material | Manufacturing Method | Primary Adhesive | Best Suited For |
|---|---|---|---|
| Plastic (Polystyrene) | Injection molding | Liquid plastic cement | All skill levels, mainstream subjects |
| Metal | Die-cast or machined casting | Cyanoacrylate or epoxy | Weighty display replicas, sharp edges |
| Resin (Polyurethane) | Low-pressure liquid casting | Cyanoacrylate or epoxy | Short-run subjects, ultra-fine detailing |
Essential tools and materials for the workbench
Precision modeling requires dedicated implements designed to cleanly separate, true, and bond small pieces without causing surface distortion or accidental gouging. Preparing a well-equipped workstation before opening a box prevents assembly errors and frustration.
- Hobby knife: A precision knife fitted with a sharp pointed blade cuts parts cleanly from their trees or sprues and shaves away microscopic molding seams and excess flash.
- Sandpaper: Fine-grit abrasives smooth cut points, level glue joints, and eliminate sprue nubs before any paint or adhesive touches the plastic.
- Tweezers: Fine-tipped tweezers provide the leverage and control necessary to manipulate and align miniature components that are awkward or impossible to hold by hand.
- Cutting mat: A resilient, self-healing cutting mat protects workbench surfaces and helps prolong the working life of delicate hobby blades.
- Airbrush: A dual-action airbrush powered by compressed air sprays finely atomized coats of paint, achieving smooth finishes and realistic soft-edged camouflage gradients that cannot be matched by bristle brushes.
- Photo-etch bending tool: This rigid clamping jig allows modelers to make crisp, repeatable bends in wafer-thin brass or steel photo-etched detail sheets without warping the surrounding metal.
Adhesive selection depends strictly on the chemical nature of the kit material. Plastic cement is formulated specifically for polystyrene; it acts as a chemical solvent that dissolves and welds the mating plastic joints together into a single structural bond. In contrast, non-styrene materials like cast resin and photo-etched metal cannot be welded with plastic cement. For these assemblies, builders must use superglue (cyanoacrylate) or multi-part epoxy adhesives to secure the parts mechanically.
The four-phase construction workflow
Assembling a complex scale model requires patience and a structured workflow. Approaching the build in defined stages preserves fragile details and ensures that internal compartments remain accessible for detailing before the external shell is sealed.
The standard construction process moves through four distinct phases:
- Assembling the frame: The primary structural components are cleaned, dry-fitted, and joined first. This involves assembling major exterior elements, such as the two halves of an aircraft fuselage or the primary hull of a warship, establishing the foundational alignment for the rest of the project.
- Adding details: Once the primary frame is secure, secondary elements are systematically added. These include sub-assemblies such as landing gear, wing structures, external propulsion units, cockpit consoles, or armament. In many model configurations, internal elements must be fully painted and detailed before the exterior frame is closed around them.
- Painting: The assembled model receives an even layer of primer followed by base colors, secondary camouflage or livery tones, and localized detail painting. Weathering applications are introduced at this point to reflect mechanical wear, operational exposure, and physical aging.
- Finishing: Final appointments, including identification markings, water-slide decals, and transparent glass components such as windscreens and flight canopies, are installed. A clear protective topcoat is then applied across the entire model to seal the paintwork and equalize surface sheen.
Painting mediums and realistic finishing techniques
The painting stage determines the visual impact of a miniature replica. Even a flawlessly assembled kit can look like an unconvincing toy if the paint layer is overly thick, uneven, or applied over poorly prepared plastic. Proper coating reveals subtle recessed panel lines, raised rivets, and realistic mechanical textures.
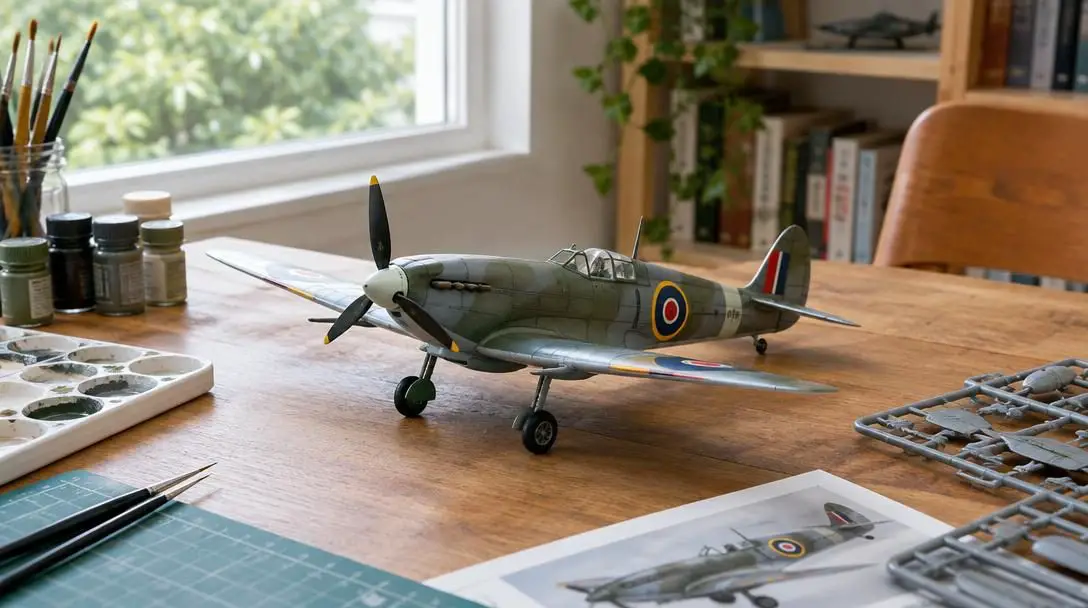
Scale modelers generally choose between two primary paint formulations:
- Acrylic paints: Bound in water or alcohol emulsions, acrylics are known for quick drying times and low odor, making them well-suited for indoor hobby areas. They can be brushed or thinned for airbrushing and clean up easily with water or specialized acrylic cleaners.
- Enamel paints: Oil-based enamels dry much slower than acrylics through a chemical oxidation process. This extended drying window gives the modeler ample time to blend colors, create soft transitions, and brush large surfaces without leaving brush marks.
Finish selection should align with the historical context of the subject. Civilian racing machines and commercial automobiles typically feature high-gloss topcoats that mimic polished automotive clear coats, whereas military aircraft, tanks, and combat vessels require ultra-flat or matte finishes to reproduce non-reflective tactical surfaces.
Refining a model into a miniature masterpiece involves specialized finishing applications:
- Decals: Water-slide decals supply accurate squadron markings, warning stencils, vehicle serial numbers, and instrument gauges. Soaked briefly in water, the thin printed carrier film slides smoothly onto the model's surface and conforms to underlying surface contours.
- Weathering effects: Realistic weathering simulates the wear caused by operating environments. Techniques such as adding dirt, engine exhaust stains, paint chipping, and rust streaks turn an artificial assembly into an authentic machine shaped by time and elements.
Practical step-by-step guide for beginners
Approaching a model kit systematically helps eliminate common beginner missteps. By keeping your workspace organized and following a steady sequence, you can ensure a clean and structurally sound outcome on your very first build.
- Inspect the kit components: Open the box and inventory all plastic sprues, decal sheets, clear pieces, and documentation. Confirm that all sprues are present and that delicate components have not broken off in transit.
- Wash plastic sprues: Injection molds are coated with chemical release agents that leave an oily residue on new plastic. Wash the sprues gently in lukewarm water mixed with a small drop of mild dish detergent, then allow them to air dry fully so subsequent primers adhere properly.
- Clean each part carefully: Detach parts from sprue runners using a sharp hobby knife or dedicated side cutters rather than snapping or twisting them free. Use fine-grit sandpaper to smooth away remaining connection nubs and seam lines.
- Test fit before gluing: Always dry-fit parts together without adhesive first. Verifying the alignment beforehand allows you to trim excess plastic or scrape away mold flaws before cementing the joint permanently.
- Apply adhesive sparingly: Use plastic cement or superglue in controlled, minimal quantities. Excess liquid cement softens and melts styrene, ruining fine external detailing if it squeezes out along seams.
- Prime prior to topcoating: Lay down an even, thin coat of hobby primer across all components before applying your final paint colors. Primer creates a neutral, grippy surface that prevents paint peeling and exposes small flaws that require further sanding.
- Apply decals to smooth areas: Water-slide decals settle best over smooth, glossy surfaces, which prevents air bubbles from becoming trapped under the carrier film. Slide the decals into place with fine tweezers, wick away excess water with a damp cloth, and let them dry fully.
- Seal with a topcoat: Spray a final clear varnish coat—gloss, satin, or matte—over the entire model to protect decals from peeling, protect paint from handling, and lock weathering effects into place.
Common mistakes to avoid at the workbench
Small errors in technique can complicate a build or spoil a delicate finish. Keeping these standard stumbling blocks in mind helps you work around the most frequent assembly traps:
- Using the wrong adhesive: Standard plastic cement only bonds styrene plastic through solvent welding; it will not join metal photo-etched parts or resin castings. Use cyanoacrylate (superglue) or two-part epoxy when joining non-plastic elements.
- Overusing glue: Applying excessive cement to joints can soften neighboring surface areas, obscuring molded panel lines and distorting delicate parts. Apply modest amounts directly to the inner mating surfaces.
- Rushing the painting process: Brushing heavy single coats of enamel or acrylic obscures delicate surface details and leads to sagging or brush marks. Applying multiple thin, properly thinned coats yields a smooth, uniform surface.
- Skipping the primer: Applying paint straight onto unprimed styrene or resin increases the likelihood of chipping, uneven color depth, and poor edge adhesion. A quality primer coat is essential for a lasting finish.
- Forgetting to protect clear parts: Vapors from cyanoacrylate adhesives and aggressive solvent cements can permanently fog clear canopies and windows. Mask clear parts carefully, secure them with specialized water-based adhesives, and leave them unglued until late in the build.
- Ignoring fatigue: Scale modeling requires manual precision and mental patience. Continuing to work when tired often leads to snapped parts, misplaced adhesives, and costly assembly mistakes. Step away from the bench whenever focus wanes.
Frequently asked questions
What does scale mean when choosing a model kit?
Scale represents the proportional ratio between the size of the model and the actual real-world object. For example, in a 1:72 scale aircraft, one inch on the model corresponds to seventy-two inches on the real aircraft, whereas a 1:24 scale car is one twenty-fourth the size of the real vehicle.
Why shouldn't I use plastic cement on resin or metal parts?
Plastic cement is a chemical solvent formulated specifically to melt and weld polystyrene plastic together. Because metal and cast resin have entirely different chemical compositions, plastic cement cannot melt them, requiring cyanoacrylate (superglue) or epoxy adhesives instead.
What is the difference between acrylic and enamel modeling paints?
Acrylic paints are water- or alcohol-based emulsions that dry rapidly, emit low odor, and clean up easily with water. Enamel paints are oil-based, taking longer to dry through oxidation, which provides extended working time for smooth color blending and brush painting without visible strokes.
Why must model parts be washed before assembly?
During manufacturing, injection molds are sprayed with chemical mold release agents to help parts pop out easily. This leaves an oily residue on new sprues that repels paint and primer, so washing them in lukewarm soapy water ensures optimal adhesion.
When should cockpit interiors and cabins be painted?
Internal compartments must be painted and detailed during the detail phase before the main fuselage or body frame is glued shut, as these enclosed spaces become inaccessible to brushes and tools once the exterior shell is sealed.
The bottom line
Scale modeling transforms simple plastic, metal, and resin components into detailed three-dimensional records of mechanical and historical engineering. Success in the hobby does not depend on innate artistic talent, but rather on developing a disciplined approach to preparation, dry-fitting, adhesive control, and patience during finishing. By starting with manageable kits, utilizing proper safety and assembly tools, and embracing systematic construction phases, any modeler can construct miniature replicas that stand as durable, lifelike works of art.