5 Secrets for Astonishingly Good Pancakes
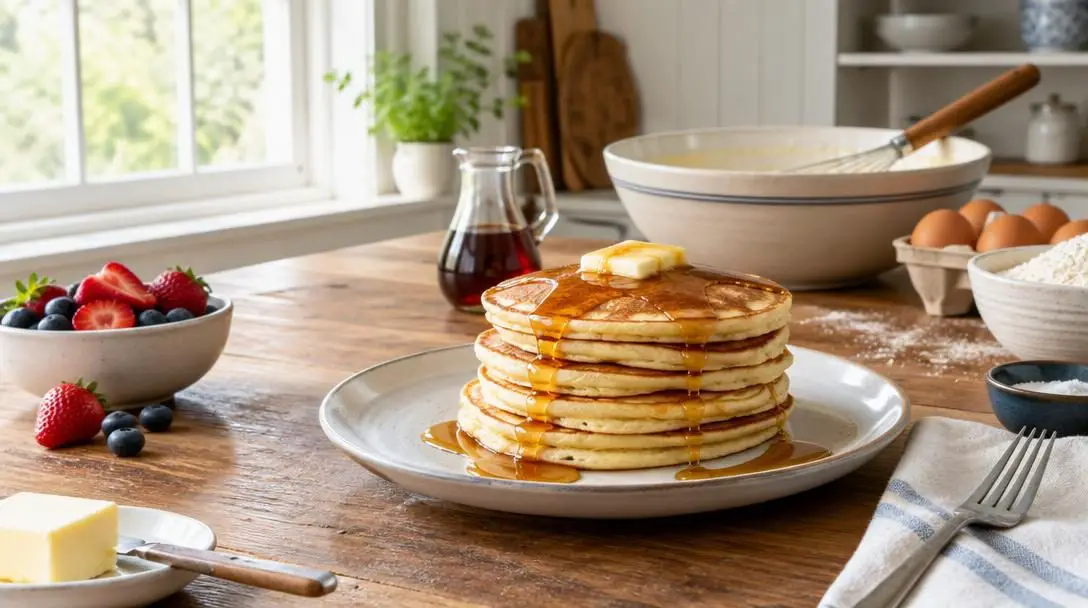
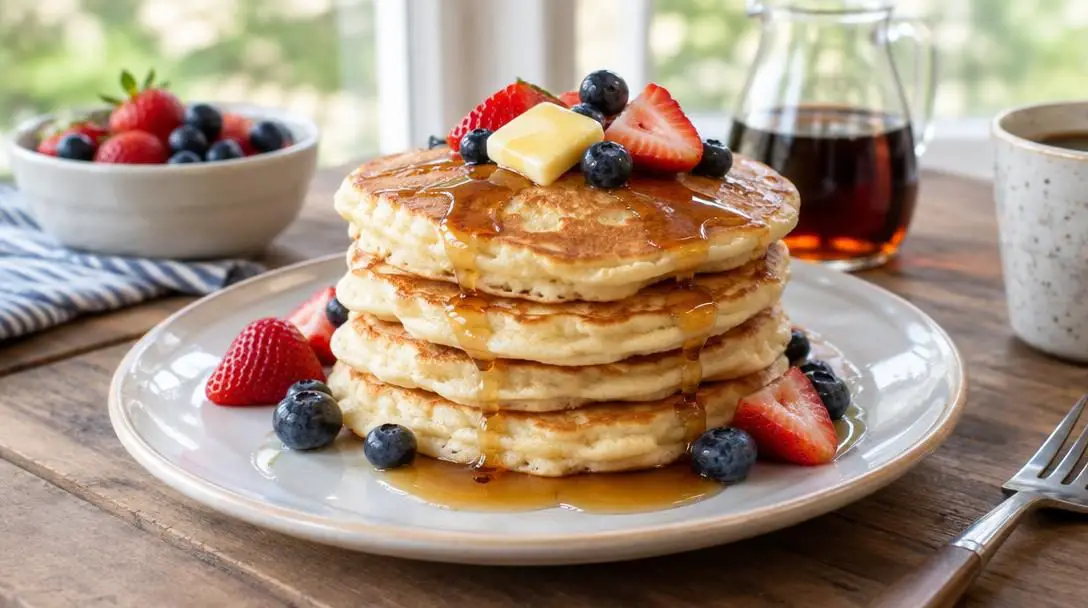
When you picture the quintessential breakfast, it almost always centers on a towering stack of golden-brown, cloud-soft pancakes draped in butter and drenched in warm maple syrup. Universally cherished across morning tables, pancakes represent the ultimate comfort food. Yet, despite relying on basic kitchen staples found in nearly every pantry, reaching bakery-level height and a delicate, melt-in-your-mouth crumb remains notoriously elusive. Many home cooks routinely struggle with flat, rubbery, dense, or greasy results, frequently turning to commercial boxed mixes under the mistaken assumption that exceptional fluffiness demands restaurant-grade equipment.
The true dividing line between a mediocre breakfast and an extraordinary stack lies in the fundamental chemical interactions and culinary techniques happening right inside your mixing bowl. Pancakes are not merely fried batter; they are quick breads cooked directly on a flat surface. By understanding how acidity, aerated egg proteins, gluten control, and surface heat conduction behave, you can routinely turn basic pantry ingredients into light, sky-high discs with an unblemished, golden crust.
Key takeaways
- Natural lactic acid in buttermilk triggers rapid carbon dioxide expansion with baking soda while softening gluten networks for a tender crumb.
- Separating eggs and whipping the whites to stiff peaks introduces millions of microscopic air pockets that expand under heat.
- Deliberately leaving lumps in your batter prevents excess gluten development that turns pancakes tough and chewy.
- Cooking on a completely dry, ungreased pan creates an even, matte golden-brown finish and stops the batter from absorbing heavy frying oil.
- Folding solid mix-ins into the base before incorporating the delicate whipped whites keeps the aerated structure intact.
The Five Foundational Secrets of Fluffy Pancakes
Mastering pancake craftsmanship begins with understanding why specific chemical reactions and mechanical steps produce dramatic structural changes. These five core techniques target the underlying chemistry of quick breads to deliver maximum lift, delicate texture, and clean flavor.
1. Acidity and Richness of Buttermilk
While regular milk provides liquid hydration and subtle sweetness, it lacks the chemical acidity required to create tall, airy pancakes. Cultured buttermilk is essential because of its naturally high lactic acid content. The moment buttermilk meets the alkaline baking soda in your dry mix, a fast-acting reaction generates thousands of tiny carbon dioxide bubbles throughout the batter. This effervescence produces immediate vertical lift during the initial cooking phase. Furthermore, the acid tenderizes the batter by breaking down rigid protein bonds, producing a soft crumb rather than a chewy, bread-like texture. Beyond structural mechanics, buttermilk imparts a subtle tang and rich depth that plain milk cannot duplicate.
2. Structural Lift of Whipped Egg Whites
Standard recipes typically call for beating whole eggs straight into the liquid ingredients, which provides moisture and emulsification but negligible aeration. Separating your eggs and whipping the whites to stiff peaks fundamentally changes the physics of your batter. Beating denatures the egg white proteins, creating a flexible, resilient web that traps millions of microscopic air pockets. When carefully folded into the batter, these captured pockets expand rapidly as heat increases internal air pressure on the griddle. This physical leavening works alongside chemical leaveners to generate a soufflé-like lift and a feather-light internal matrix.
3. Gluten Restraint and Embracing Lumps
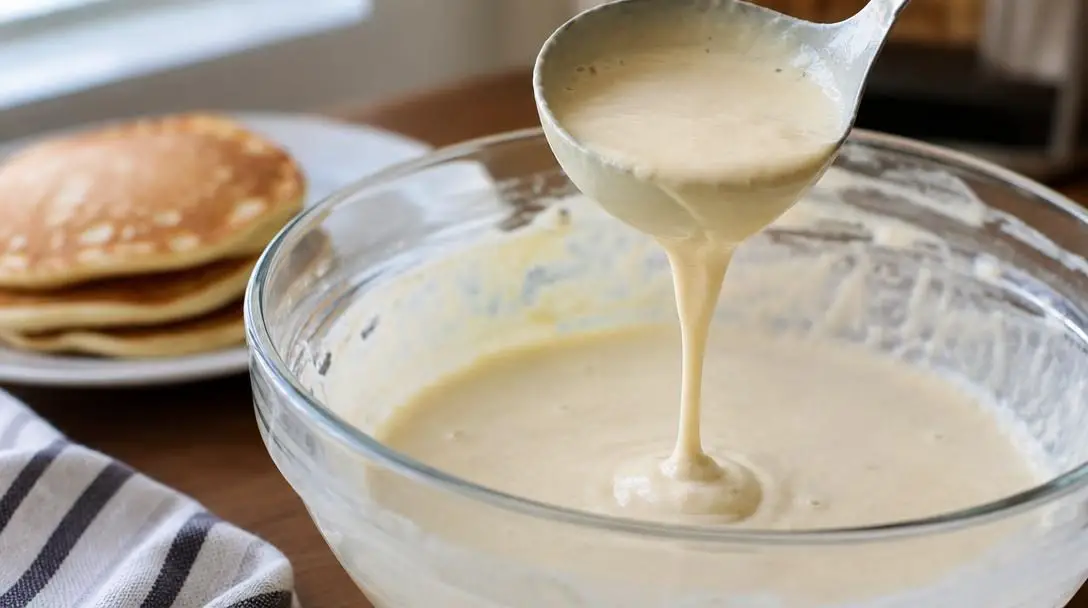
Flour contains glutenin and gliadin, two proteins that bond in the presence of water and mechanical agitation to form an elastic gluten network. While elastic gluten is vital for crusty artisan sourdough, it is disastrous for pancakes. Overmixing the batter develops these elastic strands, transforming what should be a tender, delicate cake into a dense, rubbery disc. To prevent toughness, stir the wet and dry ingredients only until the flour is just moistened. Visible flour lumps are completely normal and desired; they will hydrate fully during cooking without compromising tenderness.
Visible lumps are the visual signature of a tender crumb, ensuring gluten never overpowers delicate leavening.
4. The Physics of a Completely Dry Cooking Surface
A widespread kitchen habit involves greasing the griddle with butter or drizzling vegetable oil across the pan. However, raw pancake batter is porous and acts like a dry sponge, readily soaking up standing fat. Excess surface oil weighs down the rising structure, fries the edges unevenly into greasy rings, and masks the natural sweetness of the batter. Utilizing a completely dry pan facilitates direct, uniform conduction. This dry heat produces an unblemished, matte golden-brown exterior that seals in moisture while keeping the exterior crisp and grease-free.
5. Strategic Flavor Inclusions and Texture Variations
A well-balanced base batter acts as a clean culinary foundation for creative enhancements. Introducing fresh sliced fruit, such as bananas, adds pockets of caramelized sweetness and natural moisture directly into the crumb. Timing is critical: solid ingredients must be added after blending the base but before folding in the whipped egg whites. Stirring dense ingredients into an already aerated batter deflates fragile foam cells, reducing overall volume and resulting in a flatter pancake.
Comparing Standard Methods Against the Fluffy Technique
The difference between common household pancake habits and bakery-quality execution comes down to deliberate technical adjustments across each stage of preparation.
| Pancake Element | Standard Home Method | The 5-Secret Fluffy Method | Impact on Finished Stack |
|---|---|---|---|
| Liquid Base | Standard whole or low-fat milk | Cultured buttermilk or acidified milk | Acidity activates leaveners; yields tender crumb |
| Egg Incorporation | Whole eggs beaten into liquid | Yolks in liquid; whites whipped to stiff peaks | Trapped air expands with heat for double the height |
| Batter Consistency | Whisked until perfectly smooth | Gently mixed with visible lumps remaining | Prevents gluten development; eliminates rubbery bite |
| Pan Preparation | Melted butter or vegetable oil pool | Completely dry, heavy-bottomed surface | Clean, matte golden finish without oil absorption |
| Mix-in Timing | Dumped in at the very end | Folded before egg whites | Protects delicate aeration from deflating |
Step-by-Step Guide to the Ultimate Stack
Executing these techniques requires an organized workflow to protect your leavening agents and aerated foams from premature breakdown.
- Whisk the dry foundation: In a spacious mixing bowl, combine your all-purpose flour, baking soda, and seasonings. Whisking thoroughly ensures the chemical leavener is uniformly distributed, preventing bitter pockets of unreacted soda.
- Prepare the acidic liquid: Measure out genuine cultured buttermilk. If making a substitute, blend one tablespoon of white vinegar into milk up to the one-cup line and allow it to rest for five minutes until lightly curdled.
- Separate and blend egg yolks: Separate your eggs, placing the whites into a grease-free bowl. Whisk the yolks directly into your buttermilk until smooth and fully emulsified.
- Unite wet and dry components: Pour the buttermilk and yolk mixture into the bowl of dry ingredients. Using a rubber spatula or wooden spoon, mix just until the flour is hydrated. Stop immediately, leaving noticeable lumps intact.
- Incorporate solid additions: If you are including sliced bananas or other mix-ins, gently fold them into the lumpy base batter now so they are evenly distributed.
- Whip egg whites to stiff peaks: Using an electric hand mixer or stand mixer fitted with a clean whisk, whip the egg whites until rigid peaks form that hold their shape when the beaters are lifted.
- Perform a two-stage fold: Spoon roughly one-third of the whipped egg whites into the thick batter to loosen its density. Add the remaining whites and fold gently using broad, sweeping motions from the bottom of the bowl upward until no distinct streaks remain.
- Condition the dry cooking surface: Heat a heavy skillet or flat griddle over medium heat until evenly hot. Pour a small spoonful of batter onto the ungreased surface as a sacrificial tester to verify temperature and pan conditioning.
- Griddle the batch: Ladle equal portions of batter onto the dry pan. Cook undisturbed until the outer edges appear set and surface bubbles begin popping open. Flip in a single motion and cook the second side until pale golden.
Frequent Pitfalls That Ruin Homemade Pancakes
Even small oversights during preparation or cooking can undermine your efforts. Watch for these common mistakes before heating your pan:
- Relying on sweet milk without an acid source: Using plain milk means baking soda has no acid partner, resulting in flat, lifeless discs with an unappealing metallic aftertaste.
- Contaminating egg whites with fat: Even a microscopic drop of egg yolk or greasy residue in your whipping bowl prevents egg white proteins from building a stable structural foam.
- Vigorous stirring during folding: Treating aerated whites roughly pops the trapped microscopic air bubbles, destroying the physical lift before the pancake touches the pan.
- Overworking the batter to eliminate lumps: Stirring until smooth over-activates gluten proteins, ensuring tough, chewy pancakes instead of a delicate bite.
- Pouring cooking oil into the pan: Oiling the skillet causes the batter to fry unevenly in grease rather than baking evenly against clean, dry metal.
Creative Additions: Sweet and Savory Flavor Profiles
Once you have mastered the foundational batter and folding steps, you can tailor the flavor profile to match any morning craving or brunch theme.
The Banana Classic
Thinly slice ripe bananas and gently fold them into the batter right before introducing the whipped egg whites. As the pancake cooks on the dry skillet, the natural fruit sugars caramelize against the hot metal, yielding sweet pockets of fruit embedded within an airy crumb.
Tropical and Berry Combinations
You can introduce vibrant fruit additions like diced fresh strawberries, chopped ripe mangos, sweet pineapple tidbits, or unsweetened shredded coconut flakes. Because berries and stone fruits release moisture during cooking, ensure pieces are patted dry before incorporating them into the batter.
Savory Bacon and Herb Profiles
Pancakes are not limited to maple syrup and fruit toppings. Omit sweet garnishes and fold crisp, finely crumbled bacon, sharp shredded cheddar cheese, and freshly minced chives into the thick batter base. The rich fat and bright allium notes balance the natural tang of the buttermilk foundation.
Bespoke Nut and Spice Blends
Toasted pecan pieces, sliced almonds, crushed walnuts, or warm spices like freshly grated nutmeg and cinnamon can be blended into the dry mix or scattered over the wet batter. Pairing crunchy nuts with tender cake provides a satisfying textural contrast across every forkful.
Managing Heat and Holding Finished Batches
Maintaining proper pan temperature is critical when working with aerated, thick batters. Heavy cast-iron skillets, thick-bottomed stainless steel pans, or dedicated electric countertop griddles offer superior thermal mass, preventing temperature drops when cold batter hits the cooking surface. If your heat is dialed too high, the exterior will brown before the center sets; if the surface is too cool, the batter will spread flat and dry out before leavening can take effect.
Preserving pancake quality while cooking for a group requires proper holding techniques. Stacking hot pancakes directly on top of each other on a cold plate creates trapped steam, which quickly turns tender crusts soggy and deflates internal air pockets. Instead, arrange cooked pancakes in a single layer on an oven-safe wire rack set inside a rimmed baking sheet. Keep the sheet in an oven preheated to 200°F. This allows dry, warm air to circulate around each pancake, keeping the exterior crisp and the interior light until the entire batch is ready to serve.
Frequently asked questions
Why must the griddle be completely dry when cooking pancakes?
A dry griddle transfers heat evenly across the entire surface of the batter, creating a clean, matte golden crust. Adding butter or oil causes the porous batter to absorb excess grease, weighing down the rise and producing patchy, uneven browning.
Can regular milk be used instead of buttermilk?
Regular milk lacks the acid needed to react with baking soda. If you do not have buttermilk, make an acidified substitute by combining one tablespoon of white vinegar with enough whole milk to reach one cup, then resting it for five minutes before use.
Why do egg whites have to be whipped separately?
Whipping egg whites denatures their proteins and traps millions of tiny air pockets. When folded into the batter, these pockets expand under the heat of the skillet, delivering an ultra-fluffy texture that chemical leaveners cannot achieve alone.
Why is a lumpy pancake batter better than a smooth batter?
Whisking out all the lumps overworks the flour, developing tight gluten networks that make pancakes dense and rubbery. A lumpy batter ensures minimal gluten formation, yielding a tender crumb that melts in your mouth.
How can you keep cooked pancakes warm without making them soggy?
Place finished pancakes in a single layer on an oven-safe wire rack set inside a rimmed baking sheet in an oven warmed to 200°F. This prevents trapped steam from softening the exterior crust while holding the interior at serving temperature.
The Bottom Line
Transforming standard morning pancakes into an extraordinary, towering stack does not require specialized restaurant equipment or pre-packaged chemical mixes. It simply requires respecting the culinary chemistry of quick breads. By deploying acidic buttermilk, aerating egg whites into stable foam, minimizing gluten formation, cooking over dry heat, and scheduling your additions thoughtfully, you take full control of your kitchen results. Practice these foundational techniques on an unhurried morning, and you will consistently serve bakery-quality pancakes that are impossibly fluffy, golden, and tender.