No-Waste Herb Gardening: 5 Tips to Grow Herbs in Small Containers
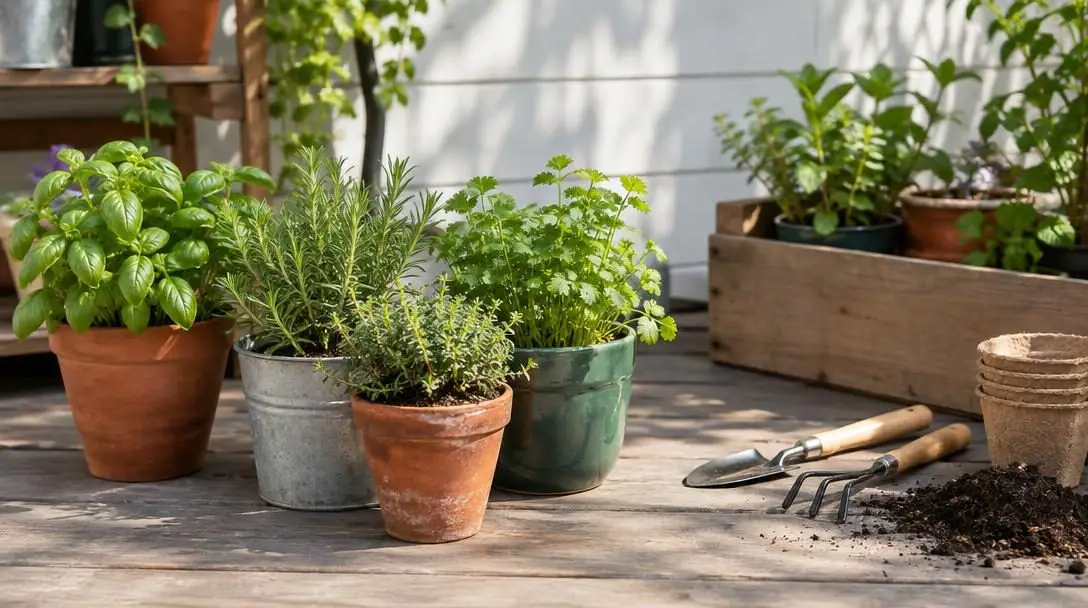
The vision of cultivating a kitchen herb garden carries an enduring, rustic charm. Many home cooks dream of reaching directly above the kitchen sink or stepping over to a sunlit window ledge to snip sprigs of fresh rosemary or aromatic basil straight into a simmering pan. Yet for apartment dwellers and households with limited counter space, the fear of cluttered surfaces, insufficient natural light, or plant failure often prevents them from ever getting started.
Traditional gardening advice tends to assume access to broad backyard soil, expansive raised beds, or large balconies. In reality, culinary herbs are remarkably well-suited to indoor living because their root systems can thrive in compact spaces when provided with proper light, careful aeration, and consistent moisture. Transitioning away from supermarket herbs packaged in single-use plastic clamshells toward a compact, no-waste container garden is both practical and economical, turning unused window sills into an ongoing source of fresh culinary flavor.
Key takeaways
- Compact kitchen herbs thrive in small, repurposed household containers when soil is aerated with Perlite and layered with drainage stones.
- Maximizing vertical window real estate with suction-cup shelves or hanging racks preserves valuable kitchen counter space.
- Focusing on two or three foundational culinary herbs prevents beginner overwhelm and simplifies daily care routines.
- Routine harvesting, water propagation, and seed collection create a self-sustaining cycle that eliminates the need to buy plastic-packaged supermarket greens.
The Mechanics of Growing Herbs in Small Containers
To successfully nurture culinary plants indoors, it is essential to understand how a miniature root zone operates differently from outdoor soil. In nature or in large open garden beds, root systems branch out wide and deep to pull water and minerals from a substantial volume of earth. Excess moisture filters naturally down into the subsoil, while soil microbes and worms maintain loose, breathable pathways for oxygen. When a plant is confined to a miniature pot or an upcycled household vessel, those natural buffers disappear.
Sunlight functions as the primary engine for your indoor garden. Sunlight fuels photosynthesis, allowing herbs to synthesize the sugars necessary for stem elongation, robust foliage, and the production of aromatic essential oils. These oils are precisely what give culinary staples like basil and rosemary their distinctive scents and flavors. Kitchen windows serve as the natural gathering point for this solar energy, delivering the hours of light required to sustain healthy plant tissue without requiring specialized outdoor access.
Container physics also govern how roots interact with moisture and oxygen. In small vessels, soil can dry out rapidly or become waterlogged if excess moisture has nowhere to escape. Plant roots require continuous access to oxygen to avoid suffocation; when water fills every pore in the potting medium, root rot quickly takes hold. By incorporating aggregate materials like Perlite into the soil and layering stones or pebbles at the base of closed vessels, you introduce essential air pockets and drainage reservoirs that keep the root zone oxygenated and resilient.
A small-space indoor garden transforms standard kitchen windows into productive, closed-loop ecosystems that supply fresh seasonings all year long.
Five Strategies for Small-Container Herb Gardening
Transitioning from the concept of a windowsill spice rack to a bountiful reality depends on five focused strategies. These methods emphasize resourcefulness, space efficiency, and continuous plant renewal.
| Strategy | Key Equipment or Materials | Primary Kitchen Benefit |
|---|---|---|
| Window Optimization | Suction-cup shelves, hanging racks | Frees counter space while capturing direct solar energy |
| Culinary Simplicity | Two to three nursery starter plants | Prevents maintenance fatigue and matches daily cooking habits |
| Small-Batch Drying | Herb drying racks, airtight jars | Preserves surplus harvest and builds a zero-waste dry spice reserve |
| Upcycled Vessels | Mugs, tea cups, mason jars, plastic bottles | Eliminates pot purchasing costs through repurposed household items |
| Plant Propagation | Water jars, pruning shears, seed containers | Generates endless replacement herbs from cuttings and blooms |
1. Capitalize on Window Space
Kitchen counters and food preparation areas are valuable real estate in any home. Crowding cutting boards and appliances with heavy ceramic pots often leads to frustration and premature abandonment of the garden. Instead, look upward to the vertical plane of your kitchen windows. Windows offer prime exposure to natural solar radiation, functioning as micro-greenhouses right inside your living space.
Installing sturdy suction-cup window shelves or mounting hanging herb racks directly across the window frame lets you stack several small pots vertically without consuming an inch of counter surface. Starting with small starter plants or high-quality seeds sourced from a local nursery allows you to establish a functional, vertical window display that captures morning or afternoon sun with minimal structural modification.
2. Keep It Simple
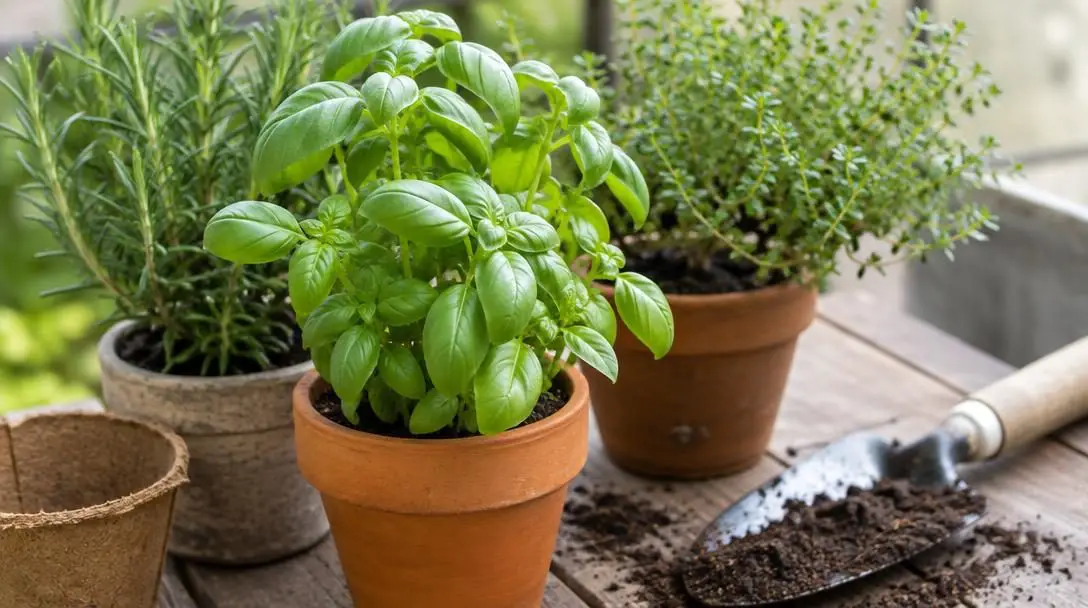
Social media feeds and interior design blogs frequently display sprawling indoor herb walls boasting dozens of exotic cultivars. For a beginner, attempting to balance the distinct moisture levels, feeding schedules, and growth profiles of ten different species at once is a fast track to burnout. Herbs are generally forgiving plants, but each variety brings its own temperament to a small pot.
The most effective strategy is to focus on two or three varieties that you regularly cook with in your day-to-day routine. If your home menu features Italian pastas, homemade pestos, and tomato sauces, sweet basil is an essential starting choice. If you frequently roast poultry, root vegetables, or potatoes, hardy rosemary is an ideal partner. By mastering the daily hydration and pruning rhythms of a small selection, you build practical confidence before introducing specialized varieties.
3. Learn Preservation Techniques
Fresh herbs harvested moments before serving offer unmatched flavor, but vigorous indoor plants will periodically produce far more foliage than one or two people can consume fresh. Allowing clipped stems to sit unused in the refrigerator drawer leads to wilted, blackened waste, defeating the zero-waste purpose of home cultivation.
Incorporating simple herb drying racks into your kitchen workflow resolves this issue. Hanging small bundles or laying pruned stems across a mesh drying rack preserves excess foliage indefinitely. Processing small batches as soon as pruning occurs builds a self-sufficient pantry stock of dried seasonings, ensuring that your surplus summer growth enriches winter soups and braises without added cost.
4. Get Creative with Unconventional Pots
Starting an indoor garden does not require purchasing designer planters, drainage trays, or high-tech automated self-watering units. Everyday household vessels can be upcycled into charming, functional herb planters with minimal effort. Discarded items such as vintage tea cups, unused ceramic coffee mugs, glass mason jars, and recycled plastic water bottles cut in half can all cradle healthy root systems.
Because many household containers lack pre-drilled bottom drainage holes, you must manage water distribution manually. Layering the base of the container with small pebbles or clean gravel creates an internal catchment basin where excess water can rest without saturating the roots. Combining this lower reservoir with a potting medium amended with coarse Perlite maintains root aeration and prevents stagnation.
5. Propagate to Renew Growth
Herbs kept in miniature containers will naturally exhaust their available root run and soil minerals more rapidly than those planted in deep outdoor raised beds. When a container plant begins to stretch, thin out, or bolt toward flowering, you do not need to head to the garden center to purchase a replacement.
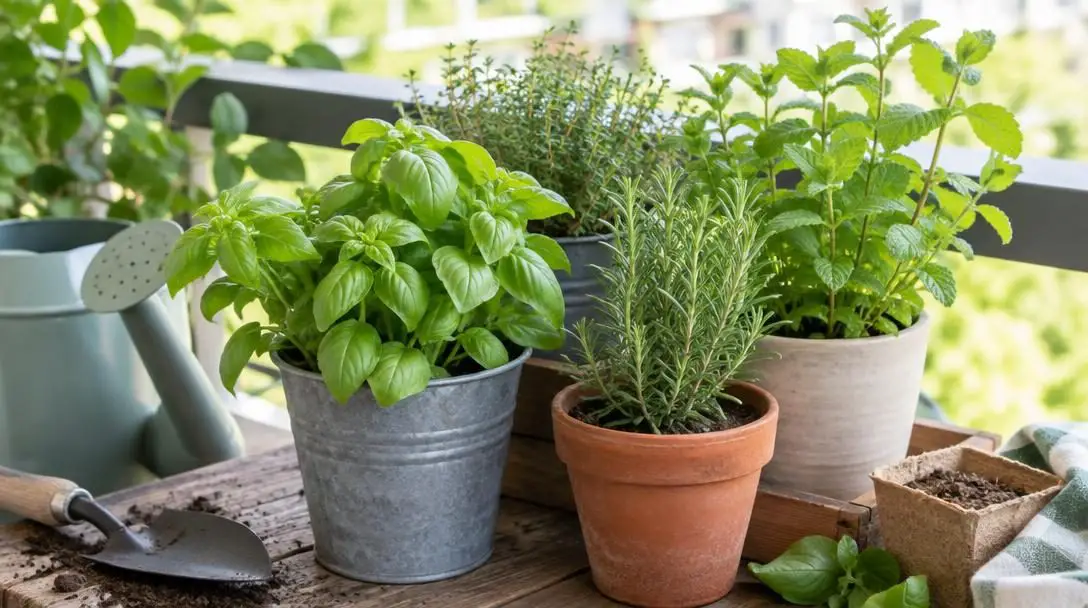
Many common culinary herbs regenerate quickly through water propagation. Snip a healthy, tender green stem cutting, strip away the lower sets of leaves to expose the bare nodes, and rest the cutting upright in a small glass of fresh water on your windowsill. Within two to three weeks, new white roots will sprout from the nodes, creating a rooted seedling ready to be potted into fresh soil. For herbs that have flowered, letting the bloom heads mature on the stem allows you to harvest dry seeds for successive seasonal plantings.
Step-by-Step Guide to Setting Up Your Small Container Garden
Transforming these core principles into a thriving home setup requires a clear, methodical approach. Follow this sequence to assemble, plant, and maintain your windowsill herb system:
- Prepare the window zone: Clean the target window glass thoroughly to eliminate dust, grease, and grime that could obstruct sunlight. Securely attach suction-cup shelves or hang an overhead window rail to maximize vertical space.
- Select your foundation plants: Acquire two or three healthy starter herbs or seed packets from a local plant nursery, prioritizing species you cook with every week, such as basil or rosemary.
- Prepare upcycled containers: Clean your chosen vessels, such as ceramic coffee mugs, mason jars, or cut-down plastic bottles. If the container lacks bottom holes, place a 0.5- to 1-inch layer of small stones or gravel at the very bottom.
- Blend the potting medium: Thoroughly mix standard potting soil with a generous portion of Perlite to ensure the final substrate remains light, airy, and well-draining under indoor watering conditions.
- Plant and bed the roots: Place a bed of prepared soil over the stone layer, position the herb gently in the center, and fill the remaining perimeter with soil. Lightly press the mix down to secure the root ball without compacting it excessively.
- Water with precision: Pour in a small volume of water until the soil feels consistently moist to the touch, ensuring liquid does not accumulate in standing pools above the soil line.
- Harvest from the top: As the herb grows, clip sprigs from the top leaf nodes rather than stripping lower leaves. This regular pinching encourages lateral branching, creating a bushy, productive plant.
- Dry excess cuttings: Lay any unconsumed foliage across an herb drying rack positioned in a dry, ventilated area away from harsh direct sunlight until the leaves crumble cleanly for pantry storage.
- Root replacement stems: When older plants become leggy, snip a 4-inch tender stem, remove the lower foliage, and submerge the base in a jar of clean water on the windowsill until new roots emerge.
Common Indoor Herb Mistakes to Avoid
Growing in confined indoor volumes leaves little room for environmental extremes. Awareness of typical pitfalls helps keep your plants healthy and productive throughout the year:
- Overwatering un-drained containers: Closed vessels like mugs and jars have no way to discharge excess moisture. Drenching the soil leads to stagnant water reservoirs, cutting off root oxygen and inducing rapid root rot.
- Overcrowding the windowsill with too many varieties: Attempting to manage five to ten disparate herb species at the beginning divides your attention, making it hard to identify specific water or lighting distress signals.
- Placing containers away from direct window glass: Setting pots back on kitchen islands or dark countertops deprives plants of solar energy, resulting in pale, weak, leggy stems that collapse under their own weight.
- Allowing pruned stems to spoil in the fridge: Clipping large bundles of herbs without a plan often results in slimy, wasted produce. Commit to drying or propagating surplus foliage immediately after trimming.
- Expecting every single cutting to root: Water propagation is an organic process with variable success. Taking multiple cuttings simultaneously ensures you obtain healthy, viable rooted replacements even if one or two fail.
- Treating micro-container plants as permanent fixtures: Miniature pots restrict root mass, meaning indoor herbs have a natural lifespan. Plan to rotate older plants out through cuttings and seed harvesting rather than expecting them to live indefinitely.
Expanding and Rotating Your Culinary Garden
Once your initial kitchen window arrangement is operating smoothly, you can begin expanding your living spice collection to match evolving culinary interests. Reflect on your weekly cooking patterns: if your foundational pots of basil and rosemary are consistently clipped, consider introducing cold-hardy thyme, pungent oregano, or vigorous mint. Mint, in particular, benefits immensely from small container confinement, as its invasive underground runners are naturally restricted by pot walls.
Rotation is the key to maintaining a zero-waste indoor kitchen garden over multiple seasons. As your first-generation plants mature, monitor their vitality. When a plant shows signs of woodiness, sparse lower foliage, or persistent flowering, treat it as an asset rather than a failure. Harvest the mature seeds from spent blooms, snip the top green shoots for water propagation, and empty the spent soil into your compost bin.
Refine your post-harvest storage systems alongside your growing setup. As your herb drying rack yields small batches of dried oregano, thyme, and rosemary, store them in uniform, labeled glass jars away from direct heat and light. By orchestrating a steady cycle of water cuttings, seed gathering, and small-batch drying, your kitchen transforms into a self-sustaining culinary workshop independent of grocery store supply chains.
Frequently asked questions
Can herbs really survive in containers without drainage holes?
Yes, herbs can survive in non-draining vessels like mugs and mason jars if you manage moisture carefully. Creating a bottom layer of pebbles or rocks provides a catchment area for run-off, while blending Perlite into the soil prevents compaction and maintains essential air spaces around the roots. Water sparingly so the soil remains lightly damp rather than saturated.
Which herbs are the easiest to start with in a small kitchen?
Sweet basil and rosemary are ideal starter herbs for beginners. Both are foundational culinary staples used across numerous everyday recipes, grow well in compact pots, and adapt readily to bright indoor windowsills. Once you establish a routine with these two, you can introduce thyme, oregano, or mint.
How do I prevent my indoor herbs from growing tall, weak, and leggy?
Leggy growth occurs when herbs receive insufficient sunlight or are harvested incorrectly. Ensure your pots are positioned directly along the window pane using suction shelves or hanging racks to maximize solar radiation. Additionally, prune the tips of stems just above leaf nodes to stimulate lateral, bushy growth instead of tall, spindly stems.
How long does it take for herb cuttings to root in water?
Most tender herb cuttings, such as basil or mint, begin forming visible white roots along their submerged leaf nodes within two to three weeks when kept in fresh water on a warm, bright windowsill. Once the roots are an inch or two long, the cutting can be potted into soil.
What should I do when my indoor herb begins to flower?
When an herb flowers, its energy shifts away from leaf production toward seed formation, which can alter leaf flavor. You can pinch off early buds to prolong leafy growth, or allow the flowers to mature and dry completely on the stem to harvest viable seeds for your next planting cycle.
The Bottom Line
Cultivating a thriving kitchen herb garden does not require a large yard, expansive counters, or expensive specialized equipment. By taking advantage of natural window light, repurposing common household vessels, and understanding root aeration, you can maintain a vibrant culinary supply in the smallest apartment. Routine harvesting, home drying, and water propagation close the loop, turning fresh kitchen herbs into an accessible, low-waste daily luxury.