The Art of Decoupage: Transforming Ordinary Objects into Art
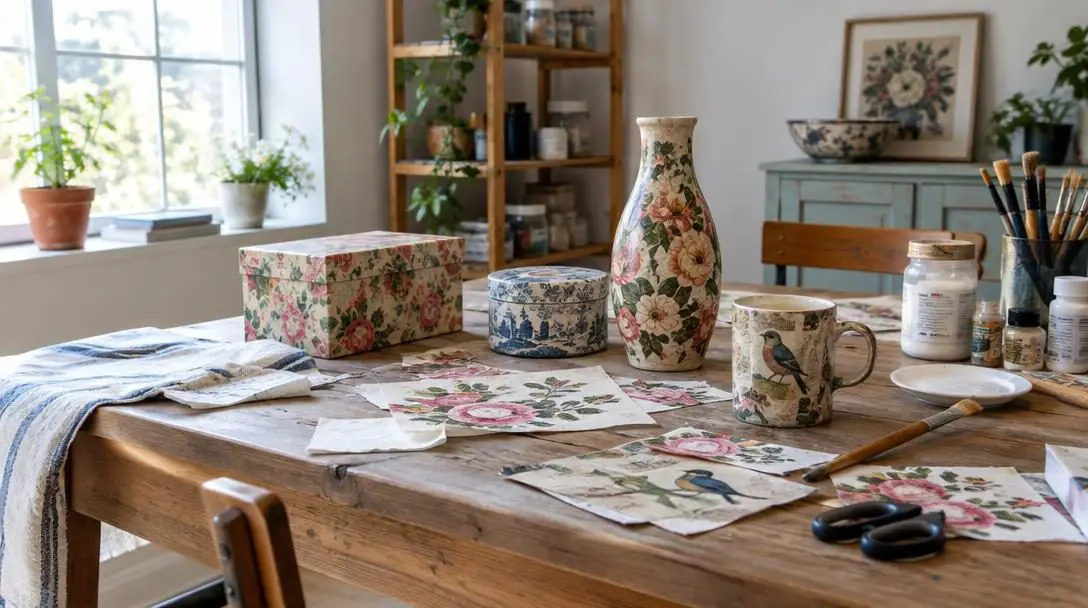
The art of decoupage offers an accessible, remarkably versatile avenue for creative expression, bridging the gap between fine art, collage, and decorative craft. By taking simple paper cutouts and permanently adhering them to a solid substrate, crafters and artisans can transform utilitarian household objects into bespoke design pieces. Whether your goal is to revive a weathered piece of furniture, salvage an uninspiring home accent, or turn plain wooden craft components into finished heirloom treasures, mastering this time-honored discipline allows you to turn everyday surfaces into striking visual statements.
Although modern crafters enjoy an unprecedented range of engineered adhesives, synthetic brushes, and specialty print media, the core spirit of decoupage remains completely unchanged. It celebrates patience, meticulous surface preparation, and the tactile joy of physical composition. By understanding how paper fibers interact with liquid adhesives, how light interacts with translucent layers, and how dedicated sealants protect against daily handling, anyone can master this craft and produce durable, professional-quality decorative objects at home.
Key takeaways
- Decoupage originated in France as an affordable method for European artisans to simulate the luxurious look of imported East Asian lacquered surfaces.
- Liquid decoupage mediums soften paper cellulose fibers so they can conform smoothly over flat planes, complex curves, and irregular contours without buckling.
- Thorough surface preparation—including degreasing, mechanical sanding, and priming porous materials—is mandatory to prevent bond starvation and peeling edges.
- Different creative methods like layering, spontaneous collage, and reverse glass application allow artisans to tailor their approach to distinct decorative goals.
- Applying a dedicated protective finish such as clear varnish or casting resin ensures that decorative papers remain safe from environmental moisture, friction, and dust.
The Origins and Science of Paper Bonding
Decoupage has flourished for centuries, originating in France and maintaining a dedicated following across the globe today. The term itself is derived from the French verb meaning to cut out. Historically, European artisans embraced paper cutouts as a clever, cost-effective method to simulate the elaborate, labor-intensive lacquered furniture and hand-painted surfaces imported from East Asia, which were otherwise prohibitively expensive to produce. Over successive generations, what began as an elite decorative trade gradually transitioned into an approachable, widespread craft accessible to hobbyists and makers of all backgrounds.
In contemporary practice, decoupage encompasses both traditional methods—relying on physical cutouts from ephemera, illustrated prints, and specialty papers—and digital decoupage techniques that utilize modern graphic design tools and custom-printed layouts. Although production methods and adhesive formulas have evolved, the underlying philosophy remains steadfast: elevating plain, functional surfaces into distinctive works of art through deliberate composition and tactile paper application.
At its scientific and artistic foundation, decoupage works by bonding paper fibers to a solid base material using a specialized liquid adhesive or medium. This medium serves a dual function: it acts first as the adhesive that grips the paper to the substrate, and subsequently as a protective top layer that binds the paper edges down flush against the surface. When the liquid decoupage medium is brushed over paper, it penetrates and softens the cellulose fibers. This softening effect makes delicate papers pliable enough to conform smoothly over flat planes, complex curves, and irregular contours without buckling.
As the liquid vehicle evaporates, the medium cures into a durable, transparent film, locking the design in place. Through repeated applications of paper, medium, and specialized protective clear coats, the physical borders of the paper gradually blend with the underlying structure, creating the illusion of an embedded, professionally painted, or enameled finish.
Through successive layers of medium and protective finish, paper cutouts blend smoothly into the underlying substrate to create the appearance of an embedded, enameled work of art.
Essential Materials and Workspace Supplies
Embarking on a decoupage project requires only a minimal collection of primary supplies, alongside several surface-preparation and finishing products tailored to your chosen substrate. Assembling the correct toolkit before opening your adhesives ensures a smooth, stress-free crafting session:
- Object to decoupage: Any solid, suitable item ready for decoration, such as a wooden box, picture frame, terracotta pot, or piece of furniture.
- Decoupage glue or medium: A specialized all-in-one adhesive formulated to bond lightweight papers smoothly without wrinkling while doubling as a sealing layer.
- Scissors: Fine, sharp crafting scissors designed to navigate intricate contours and execute precise decorative cuts around detailed imagery.
- Paintbrushes: Soft-bristled brushes or dense foam brushes that spread even, thin coats of glue, paint, or sealant without tearing damp paper fibers.
- Decorative paper materials: Patterned paper cutouts, motifs, decorative paper napkins, or sheets of tissue paper.
- Optional materials: Sandpaper, primer, acrylic paint, and durable sealants, all of which assist in thorough surface prep and final wear resistance.
Preparing the Surface for Decoupage
Thorough surface preparation is essential to achieve a clean, long-lasting bond. Neglecting prep work frequently results in lifting edges, persistent air pockets, or discoloration beneath thin paper layers. Follow these foundational steps before introducing any glue to your piece:
- Clean the surface: Thoroughly clean the base item to remove dust, grease, grime, or fingerprints. Any foreign matter creates a weak barrier that interferes with adhesive penetration. Allow the substrate to dry completely before applying materials.
- Sand the base: Lightly abrade the item using medium-to-fine sandpaper. This scuffing creates mechanical tooth, providing the liquid decoupage medium with a receptive texture to grip firmly over years of handling.
- Prime or paint porous surfaces: When working with raw wood, unglazed ceramic, or porous composite boards, apply a coat of primer or acrylic paint and let it dry completely. Porous surfaces absorb glue unpredictably, which can starve the bond and cause lifting. Furthermore, applying a pale base coat prevents thin materials like napkins and tissue paper from looking dark, muddy, or dull once saturated with adhesive.
Core Decoupage Techniques
Depending on the aesthetic goals of your project and the physical properties of your substrate, several core application methods can be employed. Selecting the right method ensures that your composition integrates seamlessly with the piece.
The Layering Technique
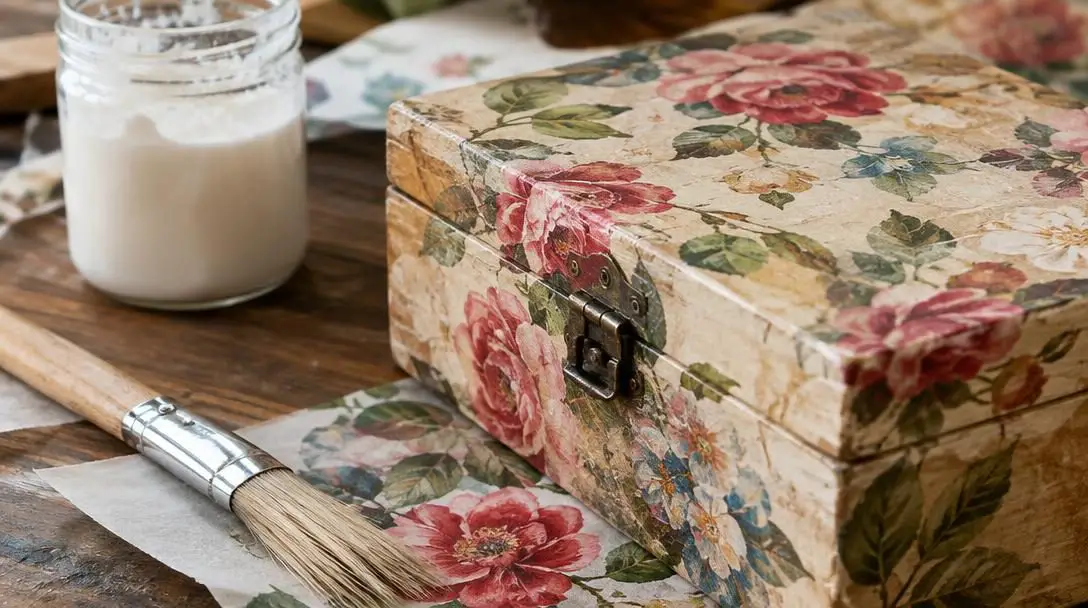
The layering technique relies on the deliberate, sequential placement of cut paper designs onto a prepared surface. Craftsmen cut out individual motifs, place them intentionally across the base item, and brush decoupage medium both underneath and directly over the paper. Once the initial application is completely dry, subsequent paper elements can be added over the original design. By repeating this process with successive coats of medium and curated cutouts, you build visual depth, perspective, and dimensional interest across the surface.
The Collage Technique
The collage technique offers an expressive, textured aesthetic where paper fragments are applied in a spontaneous, overlapping fashion. Rather than highlighting isolated focal elements, you gather a diverse mix of patterned napkins, printed sheets, or tissue paper, tearing or cutting them into assorted shapes. These fragments are adhered haphazardly across the substrate, deliberately overlapping edges to generate tactile texture, varied color fields, and multifaceted visual rhythms over the entirety of the object.
The Reverse Decoupage Technique
The reverse decoupage technique is specifically engineered for transparent substrates, such as clear glass plates, bowls, or acrylic panels. In this method, the decorative paper is adhered to the reverse side of the transparent object, sandwiching the artwork between the clear surface and the backing medium. The adhesive is brushed onto the visual front of the paper cutout, which is then pressed face-down against the back of the glass. When viewed from the front, the artwork shines through the clarity of the glass or plastic. Once dry, opaque backing paints or protective sealers are applied over the rear to protect the paper and provide contrast.
| Technique | Primary Substrate | Adhesive Placement | Visual Aesthetic |
|---|---|---|---|
| Layering Technique | Opaque wood, ceramic, or composite | Under and over each motif sequentially | Curated composition with distinct visual depth |
| Collage Technique | Wood, paperboard, or canvas | Under and across overlapping paper shapes | Textured, dynamic mosaic with rich color fields |
| Reverse Decoupage | Transparent glass plates, bowls, or acrylic | Directly onto the front face of the paper cutout | Luminous, embedded artwork viewed through clear glass |
Step-by-Step Practical Application Guide
Executing decoupage successfully requires patience, careful handling of fragile papers, and systematic execution. Follow this structured workflow for dependable, bubble-free results across any flat or curved surface:
- Design and Layout: Prior to opening your adhesive, stage your paper cutouts directly on the dry, prepped object. Experiment with various arrangements, overlaps, and orientations to finalize the composition before any glue is applied.
- Apply Base Adhesive: Dip your brush into the decoupage medium and lay down a thin, uniform coat across the specific area where the initial paper cutout will rest. Excess glue should be avoided, as over-saturation weakens delicate papers and causes premature tearing.
- Position the Paper: Carefully set your decorative paper atop the wet medium. Anchor the paper starting from one edge or from the center, smoothing it outward toward the perimeter using your fingertips or a soft brush to press out trapped air pockets.
- Seal the Top: Brush a light coat of decoupage medium across the top surface of the paper cutout. Work gently from the center outward to ensure the perimeter edges are firmly anchored down without folding.
- Allow to Dry Thoroughly: Permit each layer to dry completely before adhering overlapping cutouts or handling the substrate. Damp paper is fragile and shifts easily under pressure.
- Apply Protective Sealant: After the entire composition is fully cured, apply a dedicated topcoat or clear sealant to shield the finished piece from environmental moisture, dust, and daily contact.
Common Mistakes to Avoid
While decoupage requires no advanced studio equipment, minor oversights during assembly can degrade the final aesthetic and durability of your creation. Keep these common pitfalls in mind throughout your project:
- Skipping Surface Cleaning: Adhesives cannot form a stable bond over dust, oils, or residue, leading to eventual detachment of the decorative paper.
- Applying Too Much Glue at Once: Drenching delicate materials like printed napkins or tissue papers turns them into fragile pulp, causing instant rips, bubbles, and stubborn wrinkles.
- Neglecting Sanding: Smooth, non-porous surfaces lack the mechanical grip required for long-term adhesion, resulting in peeling edges down the road.
- Working Too Fast with Wet Layers: Dragging a brush over half-dry paper can lift previously secured elements, stretch delicate fibers, and create unsightly tears.
- Omitting a Final Sealant: Leaving paper cutouts unprotected by a dedicated topcoat leaves the piece susceptible to moisture damage, friction, and dirt accumulation.
Finishing Touches and Sealing Options
Applying a dedicated finish represents the critical bridge between an ongoing craft project and an enduring piece of decor. A quality topcoat protects the vulnerable paper surface from abrasion and moisture, while also filling the slight height difference between the edges of the cutouts and the substrate. Choosing the correct sealant ensures the longevity, durability, and aesthetic clarity of your finished decoupage piece.
Different types of sealants, such as varnish or resin, offer distinct visual and structural properties:
- Clear varnish: Provides a traditional, reliable barrier that can be brushed on in several thin, successive layers to build a smooth, satin, or gloss sheen. Varnish is versatile, easy to apply with standard soft brushes, and allows the artisan to build incremental protection layer by layer.
- Casting resin: Produces a thick, glass-like encapsulation that delivers exceptional durability and depth, making it ideal for flat surfaces subjected to rigorous daily use. Resin creates an impenetrable, crystal-clear barrier that completely levels paper edges beneath an ultra-glossy plane.
Regardless of the finish you select, always verify that your decoupage layers have cured completely beforehand. Sealing over uncured medium traps ambient moisture permanently beneath the clear coat, creating cloudy haze or bubbling that cannot be rectified once the topcoat cures.
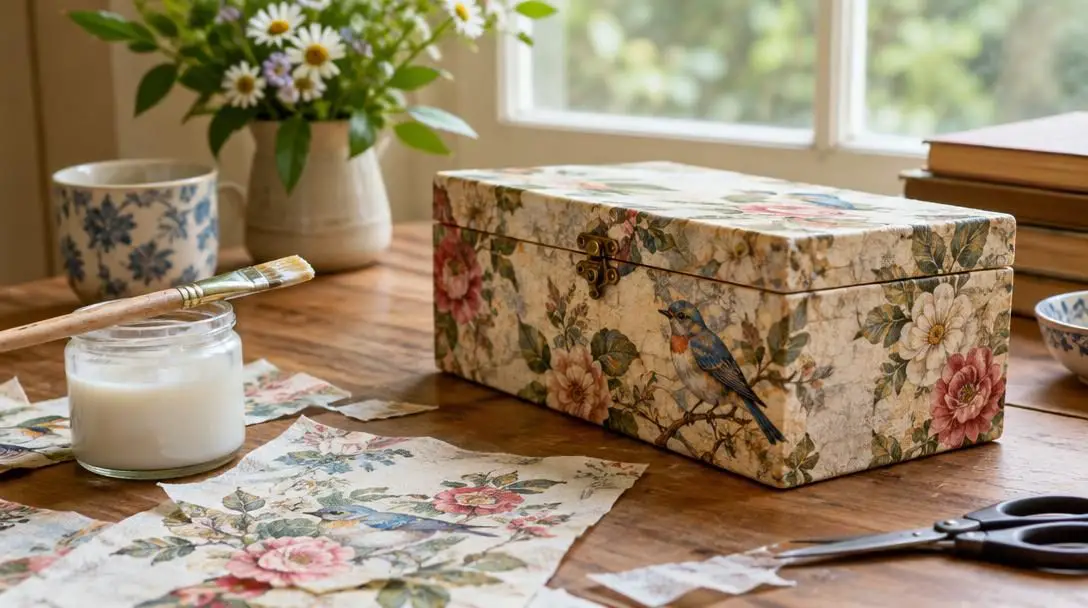
Project Ideas to Inspire You
Because decoupage can be adapted to substrates of virtually any profile, size, or material, the potential applications for your home are vast. Consider starting with these versatile projects to build your skills:
Picture Frames
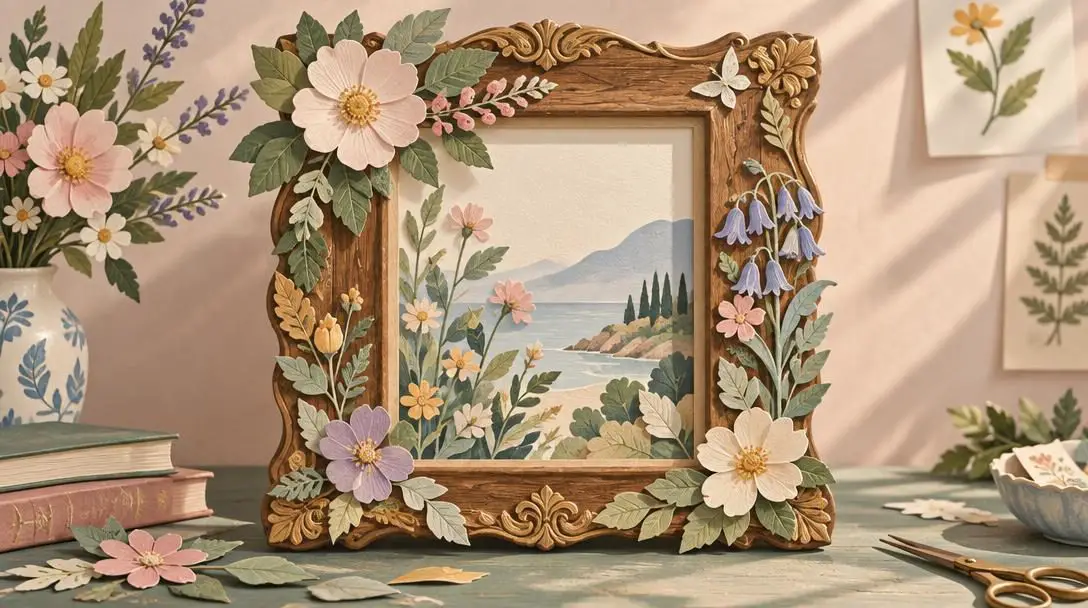
Revitalize plain wooden, plastic, or composite picture frames by applying vibrant botanical motifs, antique prints, or geometric paper designs that complement your favorite family photographs and wall art. Flat moulding profiles make frames an ideal introductory project for mastering corner wrapping and crisp edge trimming.
Plant Pots
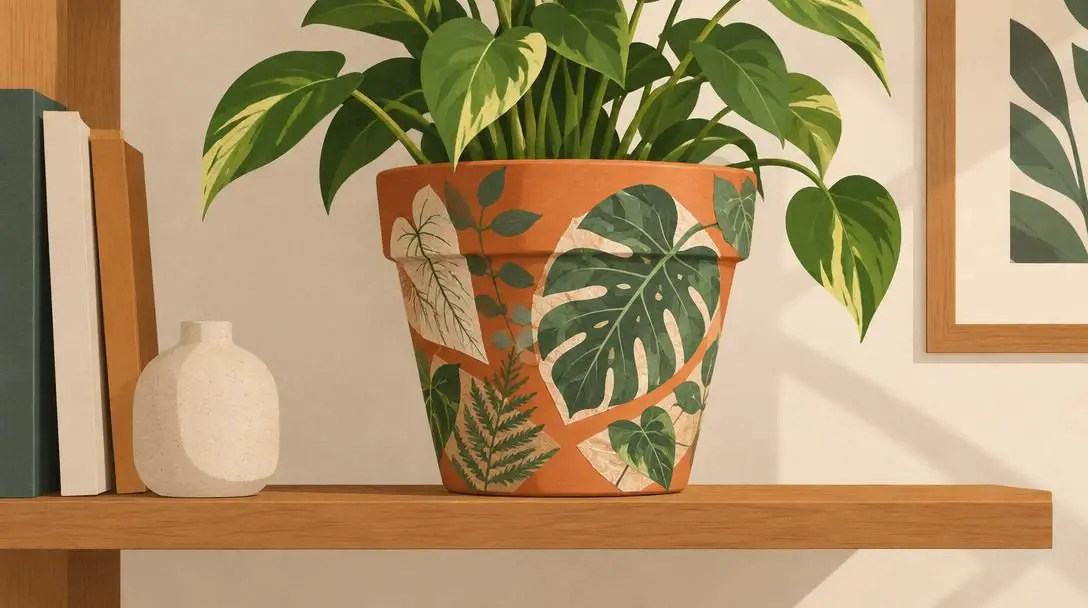
Turn utilitarian terracotta planters or ceramic pots into customized decorative accents. Applying botanical illustrations or patterned tissue napkins can turn standard indoor garden containers into striking centerpieces. Ensure porous terracotta receives a thorough coat of primer inside and out prior to decoupaging so watering does not saturate the adhesive bond from within.
Boxes
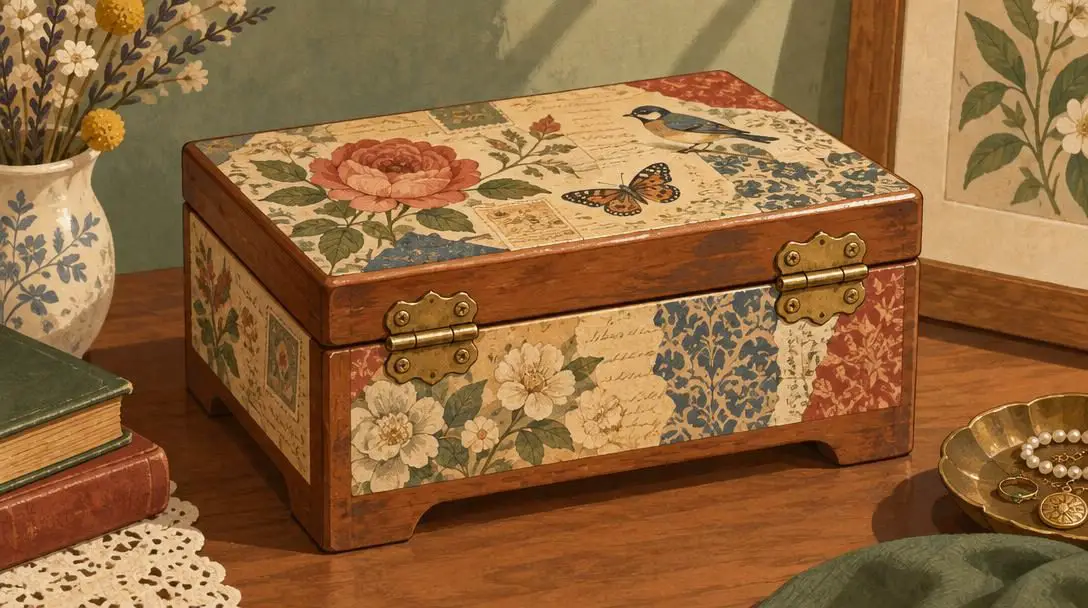
Upgrade humble wooden boxes, gift containers, or keepsake chests into customized storage vessels. Decoupaging the exterior panels turns storage solutions into cherished family keepsakes or personalized gift boxes. Hinged lids and recessed compartments provide natural framing boundaries that make motif placement intuitive and elegant.
Furniture
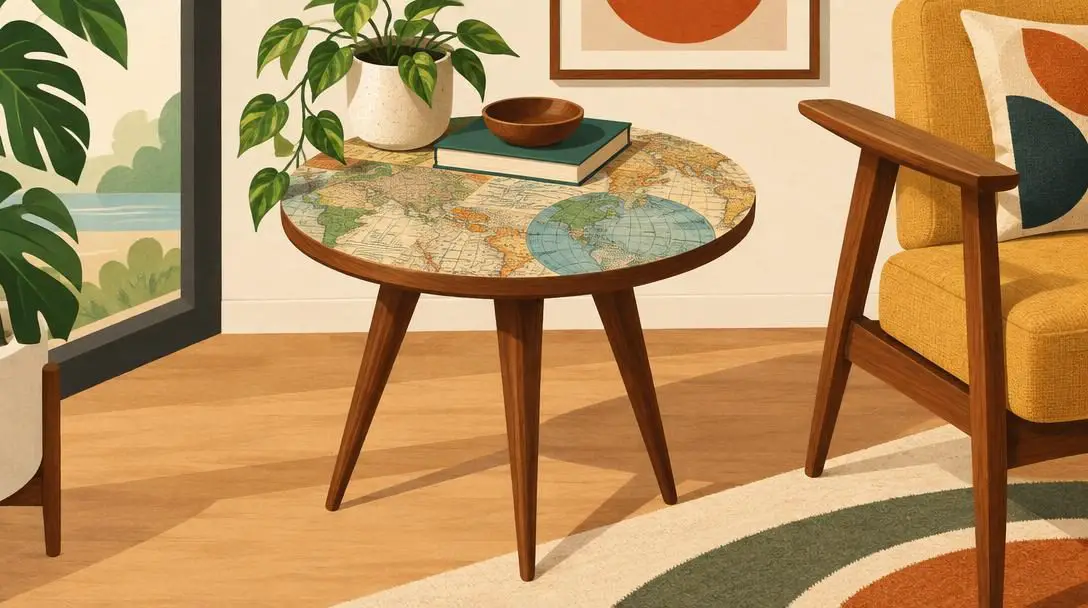
Reinvent worn or plain furniture pieces—such as accent tables, dressers, desks, or wooden chairs—by decoupaging large-format paper designs, map prints, or vintage illustrations onto drawer fronts and tabletops. Because furniture undergoes regular mechanical friction and contact, pair your design with a heavy-duty varnish or resin topcoat to ensure long-term resilience.
Decorative Plates

Utilize the reverse decoupage technique on transparent glass plates or platters. Affixing patterned paper to the rear surface creates an exquisite, luminous display plate suitable for shelving or wall displays. Because the design rests safely on the backside, the pristine gloss of the glass serves as a protective viewing window.
Frequently asked questions
Can I use regular white school glue instead of decoupage medium?
While standard white polyvinyl acetate (PVA) craft glue can bond paper in an emergency, specialized decoupage mediums are formulated with flexible acrylic binders designed specifically to prevent yellowing, minimize paper wrinkling, and function effectively as both an adhesive and a clear top sealant.
How do I prevent decorative paper napkins from tearing during application?
Separate and discard the plain white backing plys of the napkin, using only the topmost printed layer. Lay down a thin, uniform layer of decoupage medium, set the fragile napkin down gently, and use a dry, soft brush or plastic wrap over your fingertip to tap the paper into place from the center outward without dragging.
Why did my decoupage project turn cloudy or develop white spots?
Cloudiness typically occurs when a topcoat or protective sealant is brushed over decoupage layers that have not cured completely. Trapped moisture cannot evaporate through a cured varnish or resin barrier, resulting in permanent haze. Always allow underlying adhesive layers to dry fully before sealing.
Can I decoupage over plastic or metal surfaces?
Yes, provided the surface is properly prepped. Non-porous surfaces like plastic and metal must be degreased and scuffed with fine-grit sandpaper to provide mechanical tooth for the medium to grip. Applying an appropriate bonding primer before adhering decorative papers ensures maximum durability.
What is digital decoupage and how does it differ from traditional methods?
Traditional decoupage relies on physical cutouts sourced from ephemera, paper napkins, and vintage publications. Digital decoupage incorporates modern graphic design software to composite, edit, and custom-scale digital motifs or public-domain artwork, which are then printed onto specialty papers sized exactly to the object's dimensions.
The bottom line
Decoupage remains one of the most rewarding decorative crafts because it marries accessible materials with boundless creative possibilities. By respecting the fundamentals—taking time to properly clean and sand your base, applying measured coats of adhesive, smoothing paper from the center outward, and sealing the final composition against wear—you can transform ordinary, discarded, or utilitarian items into custom works of art. Whether you are embellishing a modest picture frame or restoring a statement piece of furniture, thoughtful preparation and deliberate technique ensure your finished creations will be cherished for years to come.