The Art of Leatherworking: Crafting Timeless Accessories
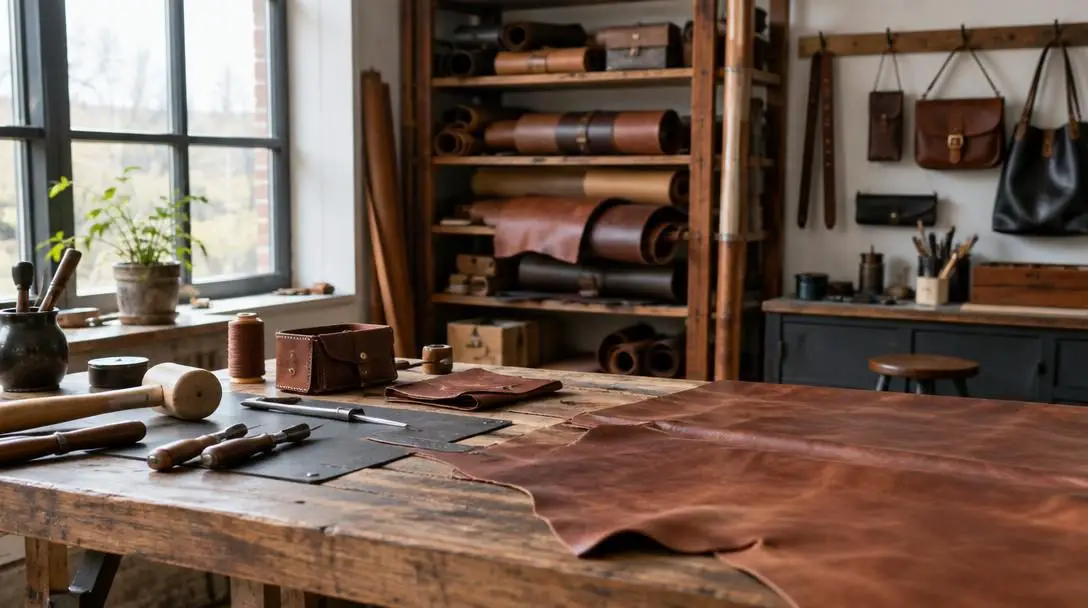
Leatherworking stands as one of humanity's oldest, most resilient crafts. For thousands of years, civilizations relied on the manual transformation of animal skins into protective, durable material to ensure fundamental survival, facilitate long-distance trade, and withstand grueling physical labor. Historic trades such as traditional shoemaking and master saddle-making produced indispensable functional gear that shaped the course of human industry. Today, while the basic mechanical principles of handling hide remain unaltered, modern artisans have channeled this legacy into contemporary everyday carry accessories, creating refined cardholders, structured wallets, phone covers, and bespoke travel bags.
In an era dominated by automated manufacturing and disposable synthetic goods, handcrafted leather goods offer a tangible antidote to mass production. Discerning hobbyists and consumers are increasingly drawn to the tactile, authentic narrative embedded within custom hide goods. A handmade leather accessory does not rely on petroleum-based synthetic membranes or short-lived glues; instead, it marries ancient assembly principles with modern styling, yielding durable pieces that develop a rich, personal patina over a lifetime of use.
Key takeaways
- Handcrafted leatherwork bridges millennia of utilitarian craftsmanship with sleek, modern functional design.
- A foundational workshop requires precision blades, specialized blunt needles, waxed thread, and dedicated cutting surfaces.
- Core fabrication methods center on accurate measuring, hand-stitching with dual needles, deep-penetrating dyeing, and surface stamping.
- Strict workshop safety practices—including eye protection, cut-resistant gloves, and dust mitigation—are mandatory when handling sharp skiving tools and sanding hides.
- Hand-stitched leather goods outlast automated factory alternatives because they rely on mechanical strength rather than synthetic binders.
Essential workshop tools, raw materials, and studio safety
Embarking on a leatherworking project requires assembling a specialized suite of manual implements before making a single cut. Because hide permanently registers every impression, slice, and punch, working with suboptimal equipment will quickly compromise the aesthetic and structural integrity of a finished build. Equipping a studio with high-grade components ensures uninterrupted concentration and clean mechanical execution across all phases of construction.
Every dedicated leather craft bench relies on five fundamental material categories:
- Heavy-duty cutting board or self-healing mat: A dense substrate protects the underlying workbench surface while preventing fine, hand-honed blade edges from dulling prematurely.
- Quality leather hides: Sourced materials must match the intended accessory, balancing structural rigidity, grain temper, hide thickness, and tensile strength.
- Waxed thread: Specially lubricated cordage glides through compacted hide fibers without snagging, seals open puncture holes against atmospheric moisture, and prevents seam fraying.
- Specialized leather needles: Built with robust shanks and blunt tips, these needles glide through pre-punched openings without splitting the structural thread core or breaking under tension.
- Precision layout and cutting instruments: Steel rulers, engineering combination squares, rotary cutters, and dedicated skiving knives ensure panels remain strictly symmetrical and true.
Studio safety demands the same deliberate discipline as mastering decorative tooling. Leathercraft routinely involves skiving knives, rotary shears, heavy awls, and high-impact punches. To protect against severe injuries, artisans should wear cut-resistant gloves when handling exposed edges and utilize impact-resistant eye protection against snapped needle shards or projectile metal debris. Furthermore, artisans must avoid inhaling airborne leather particulates generated during mechanical sanding, edge beveling, and rim burnishing by keeping workshops well-ventilated or wearing dust protection.
Core leatherworking techniques
Converting a supple, two-dimensional skin into a rugged three-dimensional object demands a diverse technical repertoire. Because hide fibers vary in stretch and tensile resistance depending on which quadrant of the animal they originate from, leathercrafters must evaluate each piece of hide before selecting their construction methodology. The following four techniques form the bedrock of bespoke accessory manufacturing.
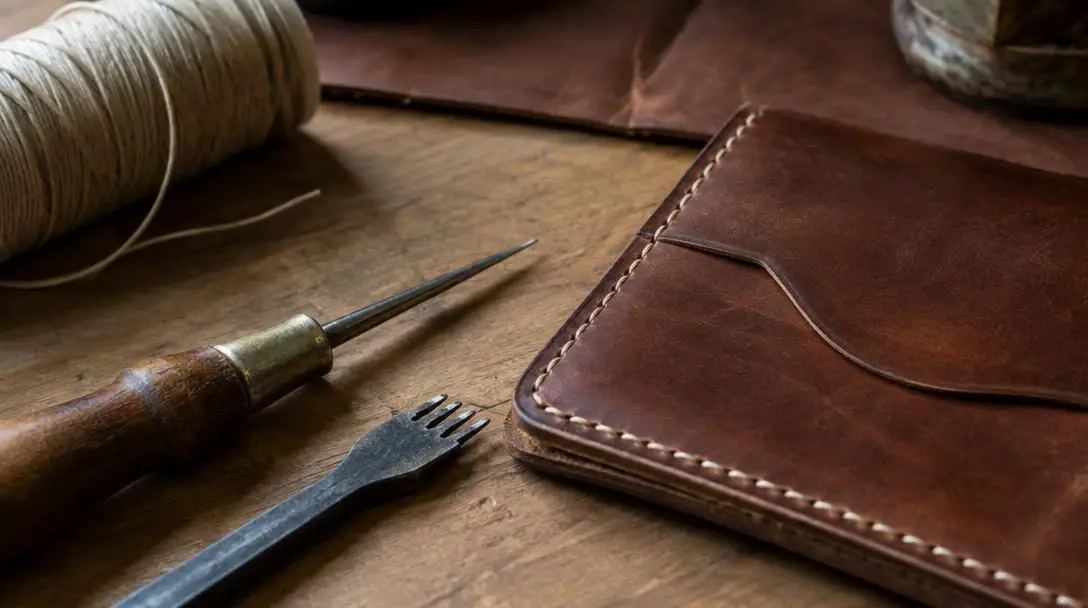
Embellishing
Embellishing encompasses a comprehensive suite of decorative surface adaptations designed to turn a basic cut panel into an expressive, personalized work of craft. Once master patterns are excised, artisans introduce customized character through contrast border stitching, complex edge lacing, localized relief, or delicate geometric stamping. These detailed interventions break up broad, uniform grain fields, impart visual depth, and allow a craftsperson to showcase individualized design sensibilities.
Hand-Stitching
Hand-stitching remains the quintessential signature of uncompromising traditional leather fabrication. Often executed as a saddle stitch using two needles mounted to opposing ends of a single waxed thread, this manual technique creates an interlocking figure-eight configuration through pre-punched holes. Unlike automated machine lockstitches that can completely unravel if a single thread breaks, hand-stitched seams retain their mechanical lock even if an individual loop experiences friction damage. Mastering this method requires rhythmic, balanced tension and muscle memory to ensure uniform alignment along the seamline.
Stamping and Embossing
Stamping and embossing introduce three-dimensional architectural relief across smooth leather grain. In practice, the leatherworker lightly dampens the surface fibers, transfers a template guide using a fine tracing or modeling stylus, and positions specialized metal stamps over the layout. Striking these tools with deliberate mallet blows permanently compresses localized fiber matrices while leaving untreated surrounding areas elevated. The resulting raised relief yields high tactile contrast and transforms everyday functional items into heirloom-tier possessions.
Dyeing
Dyeing unlocks vast creative opportunities by infusing unfinished or vegetable-tanned hides with rich, deep-seated coloration. Utilizing water-, oil-, or alcohol-based formulas, craftspeople apply pigments across unfinished hides using sheepskin wool daubers, porous sponges, or immersion dip vats. Premium dyes penetrate deeply into the hide's microscopic pore structure rather than remaining as a brittle topical film on top of the grain. This deep saturation prevents cracking or peeling over time, enabling makers to craft vibrant custom belts, vivid card cases, and eye-catching keychains.
Comparing primary leathercraft techniques
Each foundational technique offers distinct advantages, technical demands, and functional roles within the workshop. Choosing the correct approach depends on whether a project requires structural reinforcement, decorative individuality, or pure visual color alteration.
| Technique | Primary Purpose | Required Tools | Key Structural Benefit |
|---|---|---|---|
| Embellishing | Decorative personalization | Lacing chisels, stamps, edge markers | Elevates plain grain aesthetics and edges |
| Hand-Stitching | Mechanical seam bonding | Twin blunt needles, waxed cord, pricking irons | High durability; will not unravel if worn |
| Stamping & Embossing | Tactile surface relief | Metal motif stamps, mallet, tracing stylus | Permanently textures surface fibers |
| Dyeing | Chromatic coloration | Wool daubers, sponges, penetrating dyes | Soaks into hide pores without surface cracking |
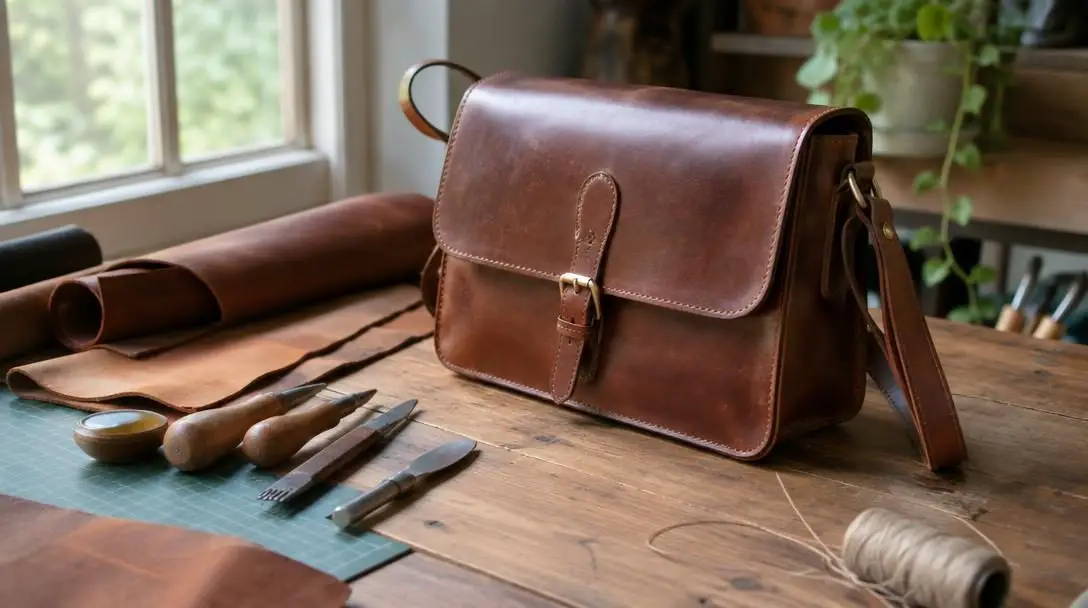
Handcrafted leather pieces unite ancient functional trade traditions with refined modern aesthetics to create accessories that readily outlast synthetic alternatives.
Step-by-step guide to crafting a leather accessory
Producing a professional-grade leather good requires an orderly, patient workflow. Because raw hide cannot be un-cut or un-punched once altered, bypassing sequential milestones will compromise the finished piece. Follow this step-by-step roadmap to navigate assembly from raw hide to finished item.
- Gather materials and prepare the workspace: Clear your workbench and lay out the cutting mat, precision steel rulers, combination squares, sharpened knives, waxed thread, needles, and required safety gear. Ensure your workspace is well-lit and free of clutter before starting.
- Select and inspect the hide: Choose leather with a temper, thickness, and fiber density suited to the specific mechanical demands of the project. Carefully scan the grain surface to identify natural stretch directions, marks, or blemishes that could weaken critical seam margins.
- Measure and cut the pattern: Using a rigid steel square and layout rulers, scribe dimensional guidelines directly onto the hide. Make deliberate, perpendicular passes with a razor-sharp blade against the cutting mat to achieve straight, un-frayed edges.
- Apply surface embellishments and color: If applying decorative stamped impressions, case the leather lightly with water, trace the artwork, and strike your stamps squarely. Apply penetrating dyes evenly across the panels with daubers or sponges, and let the hide cure and dry completely before proceeding to assembly.
- Punch stitch channels and sew: Align matching panel components, temporarily securing seam borders with leather adhesive. Mark hole spacing using a pricking iron, drive holes with a mallet, and hand-stitch the panels using twin blunt needles and waxed thread, maintaining uniform pull tension on every pass.
- Execute edge finishing: Terminate seams securely by back-stitching several spaces. Trim away minute panel overhangs, bevel the perimeter corners, and burnish or sand the exposed leather rims smooth to guarantee a refined, durable, and weather-resistant edge.
Common workshop mistakes to avoid
Because leather permanently captures every cut and impression, mistakes during layout or assembly are exceptionally difficult to rectify. Keeping these frequent beginner errors in mind helps safeguard your time, energy, and raw material investments:
- Skipping safety protocols: Operating sharp utility knives, rotary blades, or skiving tools without protective gloves and eye protection invites serious hand lacerations or projectile injuries. Skipping dust masks when sanding leather edges also introduces irritating hide fibers into the lungs.
- Commencing without complete workspace preparation: Cutting hide before having matching thread, sharpened tools, and precise measurements ready forces unexpected work pauses, often causing misalignments, uneven dry times, and flawed fits.
- Imprecise measuring and out-of-square cuts: Failing to double-check layout dimensions with a certified machinist square leads to trapezoidal panels that will not mate cleanly along edges, resulting in crooked margins during glue-up.
- Inconsistent hand-stitching tension: Jerking thread tight on one stitch while leaving the next relaxed creates wavy, puckered seamlines and leaves localized weak spots along the perimeter of the item.
- Improper hammer pressure during tooling: Striking stamping tools with variable mallet force or allowing the tool face to shift produces double-struck, ghosted, or unevenly recessed surface designs that cannot be erased.
Frequently asked questions
Why are blunt needles preferred over sharp sewing needles in leathercraft?
Leather needles feature blunt tips because stitch holes are always punched in advance using pricking irons or awls. A blunt point guides smoothly through the pre-formed opening without accidentally piercing the core of the existing waxed thread or gouging the inner hide fibers.
What is the primary advantage of waxed thread over regular thread?
The wax coating on leather thread lubricates the fibers as they pass through dense hide, reducing friction and thread wear. In addition, the wax helps fill and seal the punched hole, protecting the interior seams against moisture while locking the stitch tension in place.
How does hand-stitching differ from machine stitching on leather?
Hand-stitching uses two needles passing through the same hole from opposite directions to create an interlocking figure-eight bond. If a thread wears through in hand-stitching, the surrounding stitches remain locked; machine lockstitches, by contrast, use two looped threads that can easily unravel along the entire seam if broken.
Can leather dyes crack or peel off over time?
High-quality leather dyes formulated with water, alcohol, or oil are designed to penetrate deeply into the open pore structure of vegetable-tanned hide rather than sitting atop the grain as a film. Because the color bonds with the internal fibers, it will not flake or peel like synthetic topcoats.
Why is it critical to use a specialized cutting mat?
A self-healing or heavy-duty cutting mat creates a stable, non-slip foundation for precise cuts while protecting the workspace surface beneath. Crucially, the resilient material absorbs the knife tip without blunting or chipping honed cutting edges, preserving sharp blades.
The bottom line
Leatherworking is far more than a practical method for assembling accessories; it is an enduring creative tradition that fosters mental clarity, patience, and technical precision. Transforming an irregular sheet of raw hide into a structured, utilitarian object demands strict focus across layout, cutting, decorating, and hand-stitching. The resulting pieces outshine mass-market factory items in both longevity and aesthetic depth, resisting mechanical fatigue and maturing with age.
Whether you choose to set up a home bench to craft bespoke cardholders and belts or seek out independent leather artisans in your community, embracing handcrafted leather goods represents a direct commitment to sustainability, historic trade preservation, and conscious consumerism. By prioritizing handmade quality over disposable convenience, makers and supporters ensure that this timeless, tactile craft continues to flourish for generations to come.