The Art of Soap Making: Crafting Natural and Unique Soaps
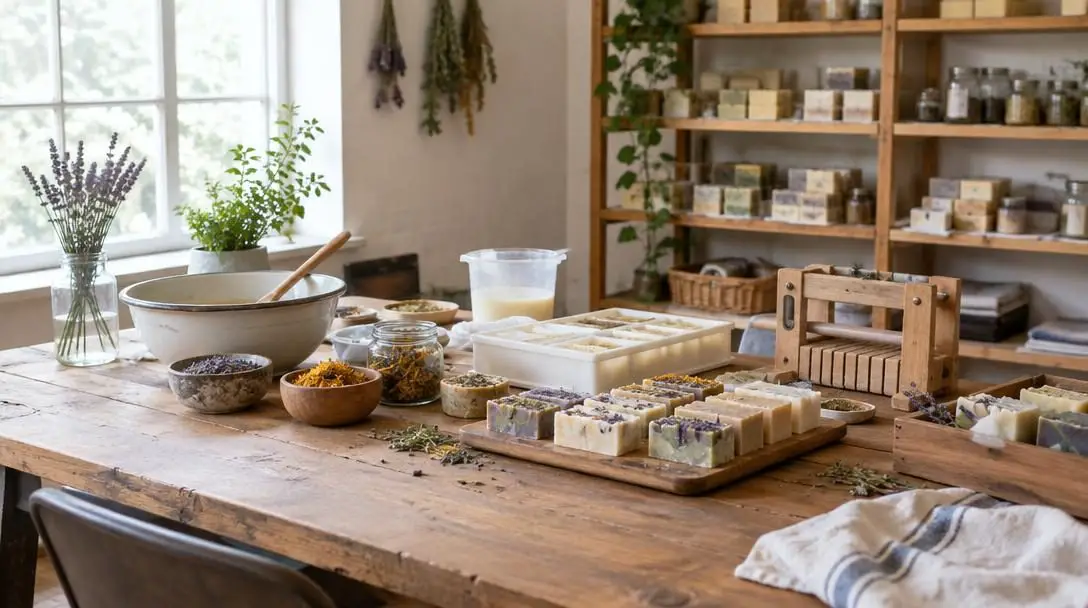
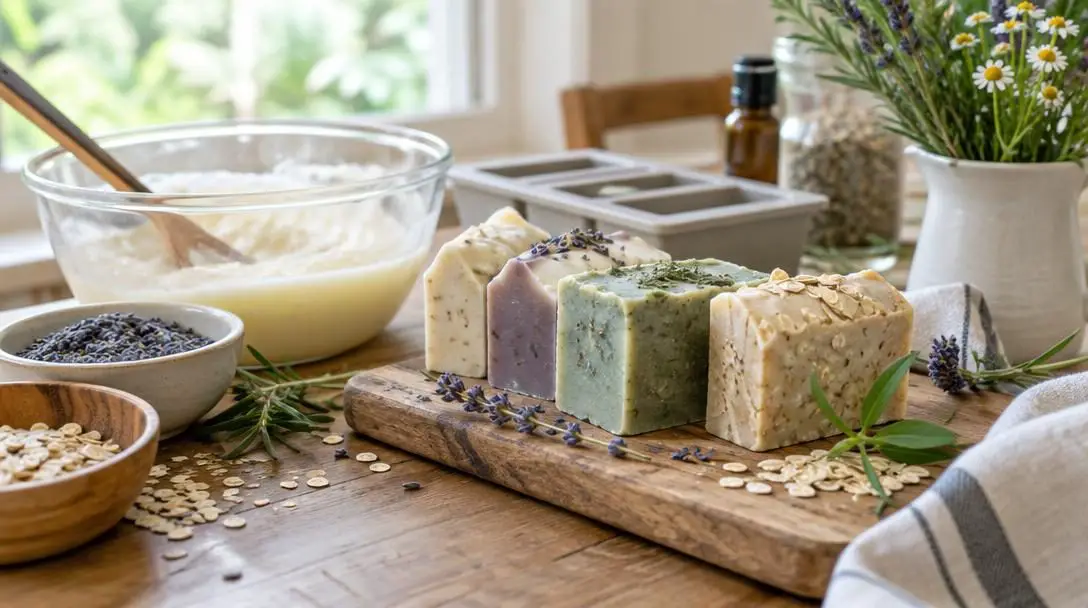
Crafting natural soap at home transforms a mundane household staple into an intentional act of self-care and artistic expression. While commercial cleansing bars frequently rely on harsh synthetic detergents that strip moisture, handmade soap gives craftspeople total command over every component that touches their skin, from nourishing base oils to botanical additives. What began centuries ago as a domestic necessity for basic hygiene has evolved into a rewarding, soothing hobby that balances exact chemical science with tactile culinary artistry.
Whether you want to formulate custom bars tailored to delicate skin or create thoughtful, personalized gifts for friends and family, understanding the principles of soap craft is essential. By mastering the core chemical reaction, acquiring the proper safety gear, and exploring various production methods, anyone can safely manufacture mild, long-lasting bars of true soap in a home kitchen.
Key takeaways
- True soap is created through saponification, a chemical reaction between natural oil fatty acids and caustic lye that leaves behind no raw chemical residue when properly calculated.
- Safety is paramount when working with caustic lye, requiring personal protective equipment, dedicated heat-resistant containers, and proper ventilation.
- Makers can choose between cold process, hot process, and beginner-friendly melt and pour techniques depending on their desired design complexity and production timeline.
- Precise ingredient weight measurements via a digital scale prevent dangerous lye imbalances, oily textures, or batch failures.
- Allowing finished cold process bars to cure for several weeks guarantees water evaporation, creating a hard, gentle, and long-lasting lather.
The Science of Saponification and Raw Ingredients
Every genuine bar of soap relies on a fundamental chemical reaction known as saponification. This process takes place when the fatty acids present in plant or animal oils are blended with an alkaline solution composed of water and sodium hydroxide, commonly referred to as lye. During this molecular transformation, the caustic nature of the lye and the slick texture of the fats neutralize each other completely, producing solid soap salts and naturally occurring glycerin.
Because lye is fully transformed during the reaction, a properly calculated and thoroughly cured bar of soap contains no active lye whatsoever. Instead, the final product retains its natural glycerin, an organic humectant that attracts ambient moisture to the skin, setting artisan soaps far apart from industrial cleansers that often strip away natural moisture barriers.
The foundation of any custom recipe begins with selecting balanced base oils. Different oils impart unique structural and sensory qualities to the final bar, allowing makers to tailor the finished lather, hardness, and conditioning characteristics:
- Olive Oil: Revered for producing an exceptionally mild, conditioning bar that delivers deep hydration, making it ideal for sensitive skin formulations.
- Sweet Almond Oil: Packed with nourishing qualities that condition dry, delicate skin while adding a silky glide to the lather.
- Coconut Oil: Introduces structural hardness and potent cleansing power, generating large, fluffy bubbles and a rich lather.
Beyond oils and lye, optional components like pure essential oils and cosmetic-grade colorants give craftspeople the opportunity to elevate a functional cleansing bar into an invigorating sensory experience.
Through the natural science of saponification, caustic lye and pure plant oils undergo a complete chemical transformation into mild, skin-nourishing soap and moisturizing glycerin.
Workspace Setup and Essential Safety Equipment
Because soap making from scratch requires working with sodium hydroxide, establishing a secure workspace and acquiring the proper equipment is an absolute requirement before mixing ingredients. Lye is an extremely caustic chemical capable of inflicting severe chemical burns if splashed onto exposed skin or into the eyes.
Safe and efficient soap craft requires specialized tools designed to withstand intense temperatures and maintain exact measurements:
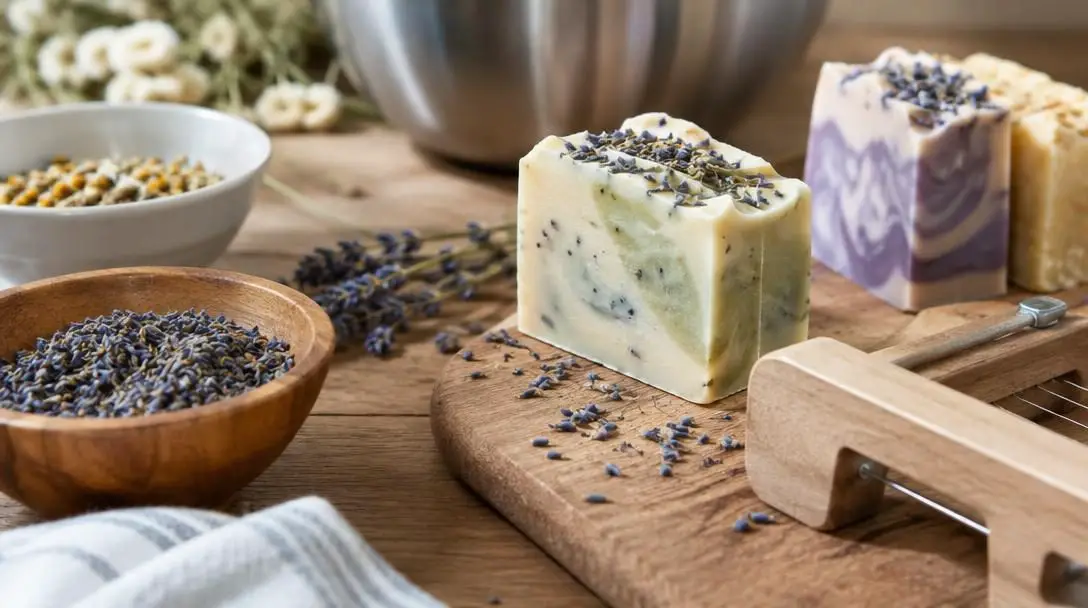
- Digital Kitchen Scale: Standard volumetric cups and spoons lack the precision necessary for soap making; all liquid and dry components must be weighed in grams or ounces.
- Immersion Stick Blender: An electric stick blender drastically cuts down physical effort, bringing the oil and lye mixture into a stable emulsion within minutes rather than hours.
- Liquid Thermometer: Monitoring temperatures ensures that both the melted oils and the cooling lye solution are within the ideal processing window before blending.
- Heat-Resistant Containers: Mixing vessels must safely tolerate the rapid temperature spikes produced when dry lye crystals dissolve in water.
- Soap Molds: Available in long silicone-lined rectangular loaves or silicone molds with intricate individual cavities, molds give the liquid batter its resting structure.
- Personal Protective Equipment: Heavy-duty rubber or silicone gloves, splash-proof safety goggles, and full-length sleeves must be worn throughout the entire measuring, mixing, and pouring process.
Three Core Soap-Making Techniques
Artisans generally utilize three distinct methods to produce soap at home. The choice between these approaches dictates the required equipment, working time, cure duration, and decorative possibilities.
Cold Process Soap
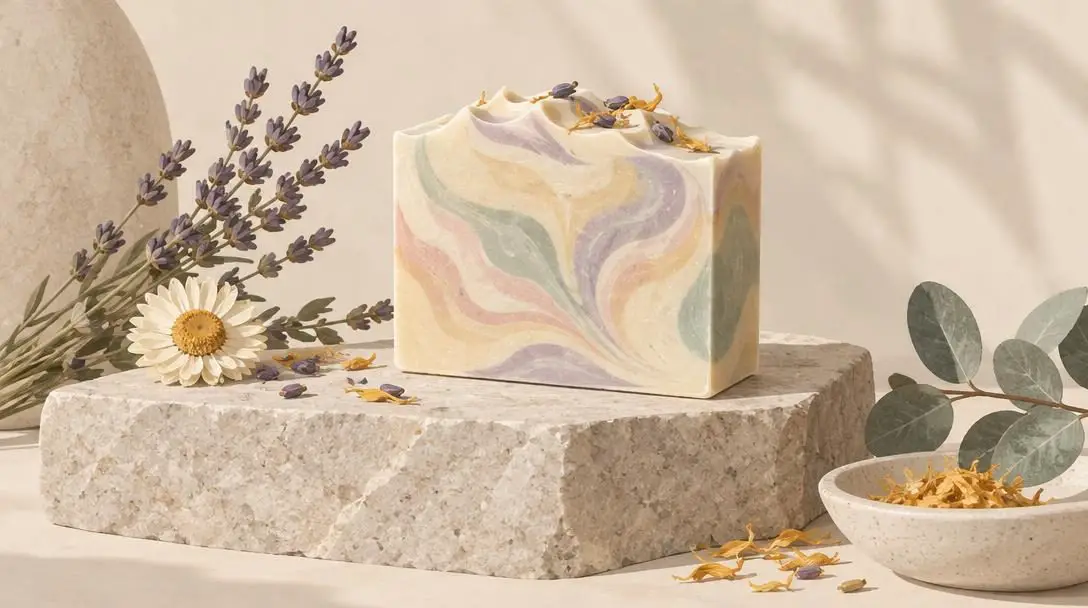
The cold process method stands as the most traditional and customizable soap-making technique. In this approach, base oils and the lye solution are blended together at room temperature or gentle heat until the mixture achieves trace. The raw batter is then poured into an insulated mold, where saponification proceeds naturally over the course of 24 to 48 hours. After unmolding and slicing, the bars require an extended curing period of several weeks in a dry, ventilated room. This curing window allows residual water to evaporate, transforming soft raw blocks into hard, resilient bars. Cold process provides makers with the greatest creative freedom, supporting delicate color swirls, visual layers, and intricate top texturing.
Hot Process Soap
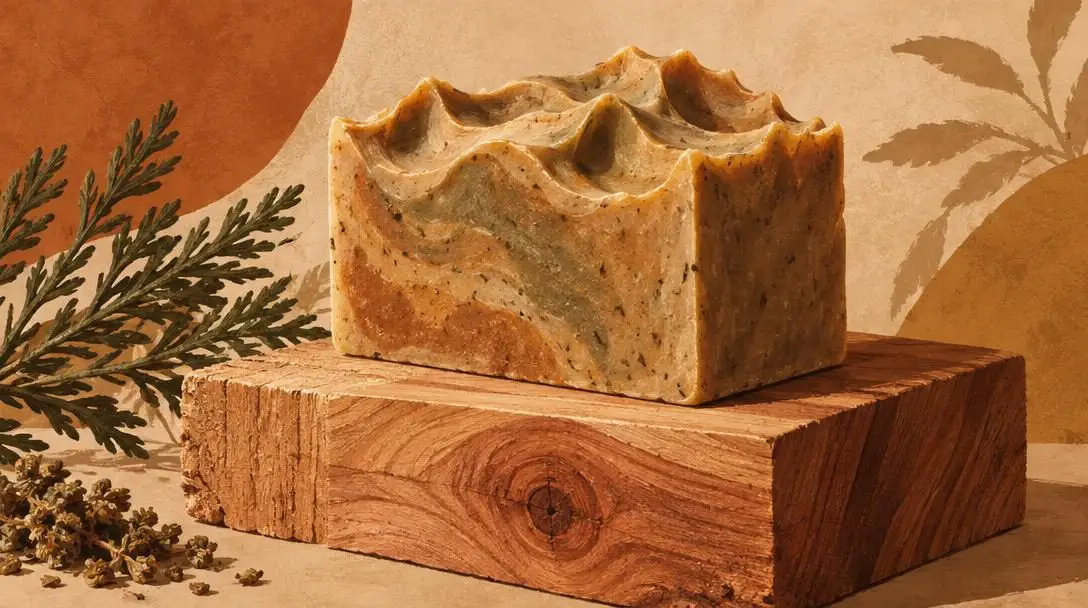
Hot process soap making accelerates saponification by introducing external heat during production. Crafters combine the lye and oils inside a dedicated slow cooker or oven, actively cooking the batter until the chemical reaction is complete. Because saponification occurs entirely inside the cooking vessel, the soap is chemically finished before it is ladled into the mold. While a brief resting period helps moisture escape, hot process bars can be safely used much sooner than cold process equivalents. The resulting batter is noticeably thick, warm, and gel-like, yielding a charming, rustic bar with organic textures rather than crisp, fluid swirl patterns.
Melt and Pour Soap
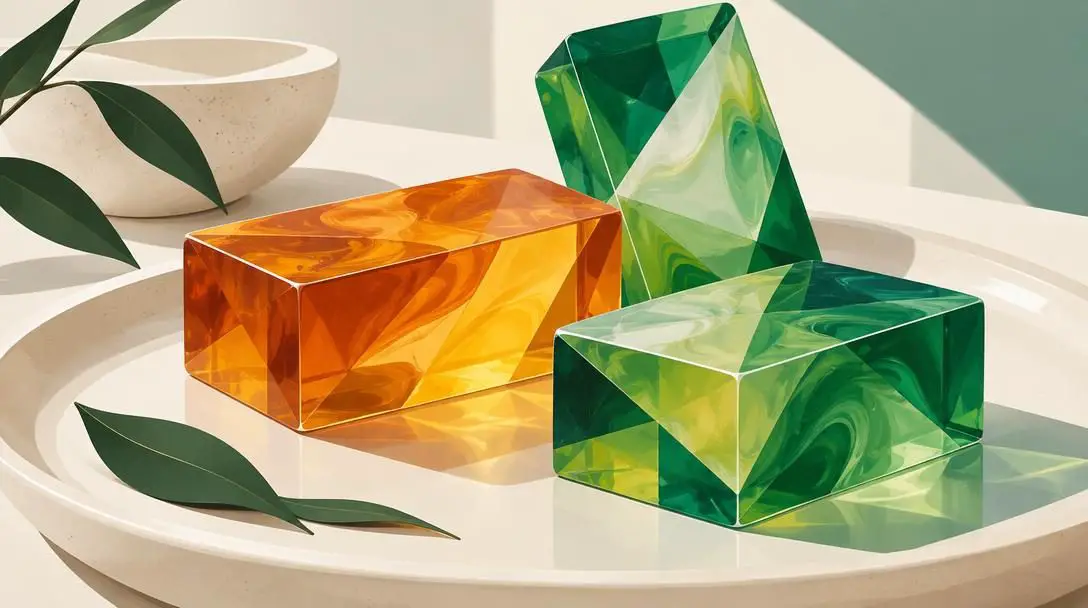
The melt and pour approach is the most accessible entry point for beginners and craftspeople who prefer not to handle caustic lye. With this method, the chemical saponification has already been completed in an industrial facility. Crafters purchase pre-formed blocks of clear or opaque soap base, melt them gently over a double boiler or in a microwave, stir in desired fragrances, color pigments, and botanicals, and pour the liquid into decorative molds. Because no active chemical reactions take place, melt and pour requires minimal safety equipment and produces bars that are fully set, hardened, and ready for immediate use once they cool.
| Technique | Heat Requirement | Saponification Timing | Curing Period | Design Capabilities |
|---|---|---|---|---|
| Cold Process | Low internal heat from chemical reaction | Occurs naturally in the mold over 24 to 48 hours | Requires several weeks to harden fully | Superior flexibility for swirls, layers, and fine detail |
| Hot Process | External heat applied via slow cooker or oven | Completes fully during the cooking phase | Brief resting period; ready much sooner | Textured, rustic finishes with limited swirling options |
| Melt and Pour | Gentle melting of pre-saponified base | Pre-saponified prior to purchase | Immediate use as soon as soap cools and sets | Ideal for geometric molds, embedding, and clear bases |
Step-by-Step Guide to Cold Process Soap
For crafters who wish to tackle traditional soap making from scratch, maintaining an orderly workflow guarantees consistent results and reduces chemical hazards. Follow these practical steps to complete a batch of cold process soap safely:
- Prepare the Workspace: Clear all counter space, open windows or activate exhaust fans to establish proper ventilation, and put on safety goggles, gloves, and long sleeves.
- Weigh All Ingredients: Using a digital scale, measure the distilled liquid, dry lye crystals, and base oils into separate, dedicated containers.
- Mix the Lye Solution: Slowly sprinkle the lye crystals into the liquid inside a heat-resistant container, stirring steadily until dissolved. Allow the steaming, hot solution to cool down in a safe, undisturbed location.
- Heat and Combine Oils: Melt solid fats over low heat and blend them with liquid oils in your primary mixing bowl, using a thermometer to verify that the oils and the lye water fall within a compatible temperature range.
- Blend to Trace: Submerge your immersion stick blender completely into the oils to eliminate air pockets, slowly introduce the cooled lye solution, and pulse in brief bursts until the mixture emulsifies to "trace," leaving a visible trail when drizzled across the surface.
- Incorporate Additives: Rapidly fold in your selected essential oils, natural fragrances, cosmetic colorants, or texturing agents using a manual silicone spatula.
- Pour into the Mold: Empty the smooth batter into your prepared mold, tapping it firmly against the work surface to dislodge trapped air bubbles.
- Insulate and Solidify: Cover the mold and place it in a warm, draft-free spot for 24 to 48 hours, allowing the saponification reaction to finish and the block to harden.
- Unmold, Slice, and Cure: Release the solid soap block from the mold, slice it into uniform bars, and place them on an airy drying rack in a cool, dry room for several weeks to cure completely.
Customizing Recipes with Natural Additives
Formulating customized recipes allows soap crafters to transition from mechanical execution to artistic creativity. By incorporating functional botanicals and natural kitchen staples, you can modify the lather, visual appeal, and skin-conditioning benefits of your bars.
Oatmeal
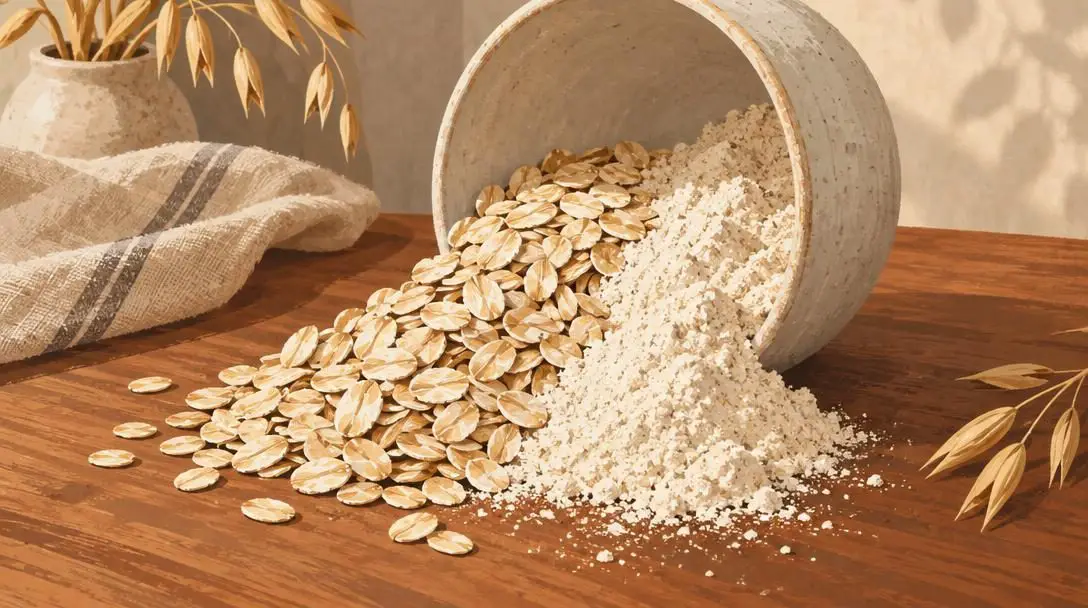
Finely ground or colloidal oatmeal provides exceptional soothing qualities to homemade soap, making it a staple addition for dry, sensitive, or reactive skin. In addition to calming irritated skin barriers, oatmeal imparts a gentle, silky exfoliation that sloughs away dead surface cells without scratching delicate tissues.
Honey
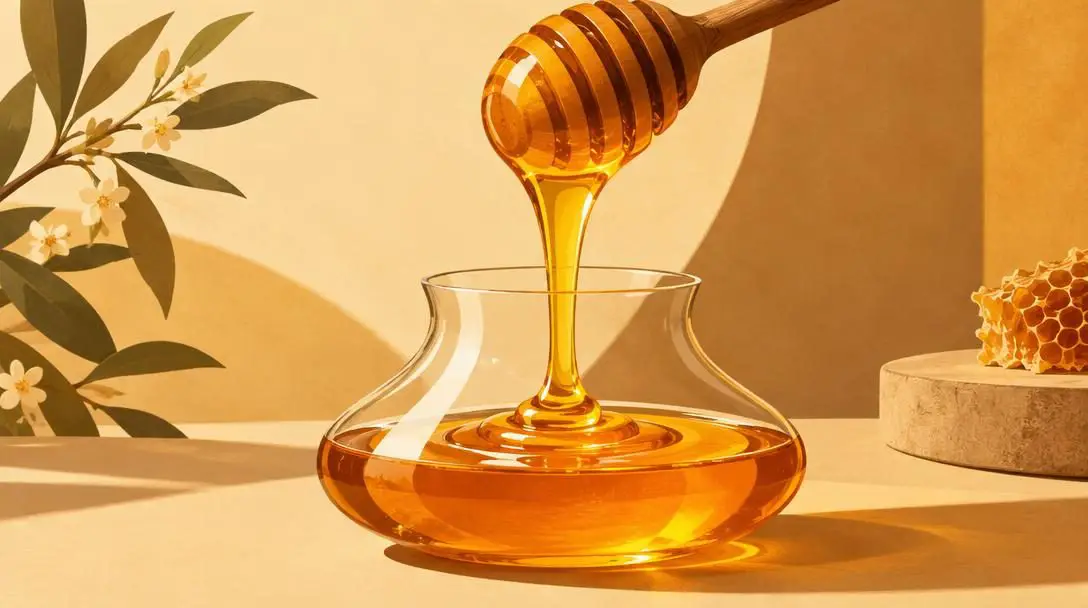
Pure honey serves as a potent natural humectant that draws environmental moisture directly into the skin. When blended into soap batter, the natural sugars present in honey also accelerate the saponification process and dramatically amplify the rich, creamy volume of the final lather.
Coffee Grounds
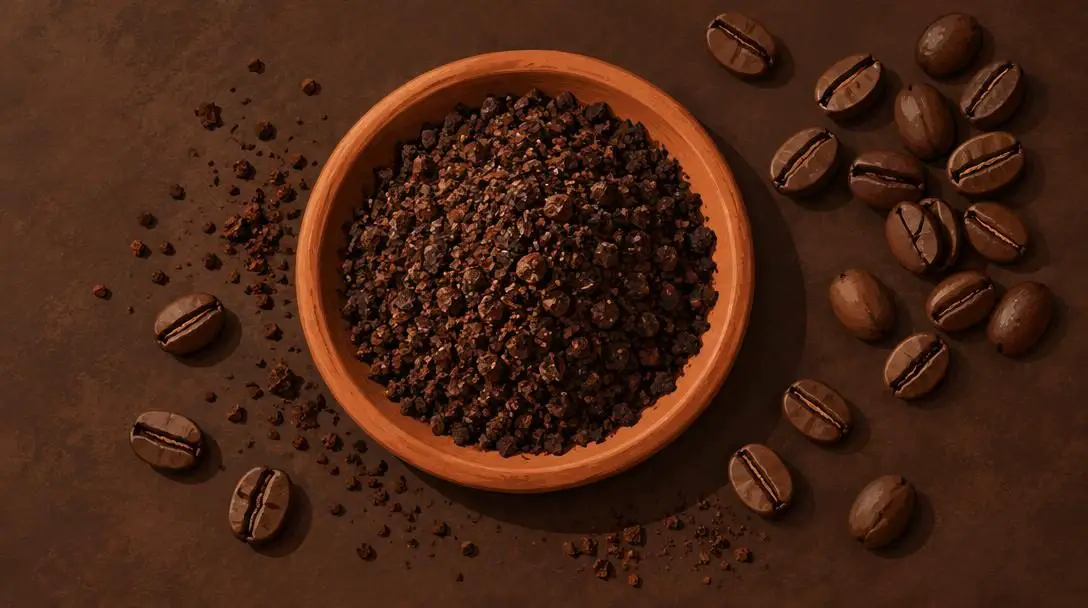
Fresh or spent coffee grounds introduce a striking, rustic speckled visual aesthetic to finished soap bars. Mechanically, the coarse particles act as a robust physical scrub, delivering intense exfoliation that revitalizes rough skin on elbows, feet, and hands while washing away persistent kitchen odors.
When selecting natural aromas, pure essential oils like lavender and peppermint provide distinct, uplifting therapeutic benefits. Lavender offers a calming, tranquil bathing experience, while peppermint provides an invigorating, cooling burst of freshness. Crafters can use these botanicals alone or blend complementary notes together to produce bespoke signature scents.
Troubleshooting Common Soap-Making Pitfalls
Even meticulous crafters occasionally encounter unexpected outcomes when blending oils, lye, and botanical additives. Recognizing the root causes of common formulation defects allows you to adjust your recipes and safeguard your raw materials.
- Rancidity and Discoloration: Utilizing base oils that are expired or improperly stored leads to batch spoilage, resulting in foul odors and unsightly orange blemishes known as dreaded orange spots. Store all raw oils in cool, dark cabinets to prevent oxidation.
- Fragrance Browning: Natural spice additives or fragrance oils containing vanilla or vanillin interact chemically with lye, turning light batter deep shades of tan or brown. While completely harmless to skin safety, this browning should be accounted for when planning visual color palettes.
- Volumetric Inaccuracies: Relying on measuring cups rather than a calibrated digital scale can cause severe chemical imbalances, yielding batches that are either uncomfortably oily or dangerously lye-heavy. Always weigh liquids and solids alike.
- Accelerated Trace and Seizing: Specific spicy or floral essential oils can cause soap batter to solidify almost instantly inside the mixing bowl, preventing you from pouring it into molds. Working at moderate temperatures and incorporating fragrances manually with a spatula minimizes sudden acceleration.
- Rushing the Curing Phase: Using a cold process bar before it has completed several weeks of curing yields a soft, mushy soap that dissolves rapidly when wet and generates a thin, weak lather. Patient drying ensures a resilient, economical bar.
Curing, Packaging, and Proper Long-Term Storage
Once your bars have been unmolded and cut, careful handling protects their structural integrity and aromatic qualities over time. Finished cold process soaps must undergo several weeks of open-air curing on non-reactive drying racks, such as coated wire or unfinished wood slats, situated in a cool, dry room away from direct sunlight, dampness, and intense heat.
Because handcrafted soap retains its natural, humectant-rich glycerin, it naturally absorbs water vapor from humid ambient air. Storing fully cured bars in breathable, dry environments prevents sweating—a condition where moisture beads collect on the surface of the soap. For long-term preservation, keep excess bars inside well-ventilated cardboard boxes or open crates rather than sealed plastic containers.
When preparing handmade bars as gifts or retail items, packaging must balance aesthetics with breathability. Opt for permeable wrappings such as paper cigar bands, unsealed parchment wraps, fabric ribbons, or open-ended cardboard sleeves. Always include a comprehensive ingredient label detailing base oils, essential oils, and textural additives, providing essential transparency for individuals with allergies or sensitive skin.
Frequently asked questions
Is true soap possible to make without using lye?
No, authentic soap cannot be made from scratch without lye, as saponification requires a chemical reaction between caustic lye and oil fatty acids. However, beginners can use pre-made melt and pour bases where saponification has already occurred industrially.
Why must cold process soap cure for several weeks?
While the chemical transformation of saponification completes within 24 to 48 hours, an extended curing window of several weeks allows excess moisture to evaporate fully, resulting in a significantly harder, longer-lasting bar with a richer lather.
What should I do if raw lye solution splashes onto my skin?
Immediately flush the affected skin area with generous amounts of cool running water for several minutes while removing any contaminated clothing, and seek appropriate medical attention if irritation or burning persists.
Why did my finished soap develop dreaded orange spots?
Dreaded orange spots are caused by oxidation and rancidity in the base oils used to make the soap. Prevent this issue by using fresh, high-quality oils and storing raw ingredients and cured bars in cool, dark, well-ventilated locations.
Can I safely use food-grade kitchen measuring cups for soap ingredients?
No, volumetric kitchen cups are not precise enough for safe soap formulating. You must use a calibrated digital kitchen scale to measure all dry and liquid ingredients by weight to ensure exact chemical balance.
The bottom line
Handcrafting natural soap bridges the gap between functional hygiene and creative domestic art. By mastering the core chemistry of saponification, maintaining rigorous safety habits, and choosing the right combination of nourishing plant oils, anyone can formulate luxurious, skin-friendly bars tailored to specific dermatological needs. As you build confidence with basic batches, introducing natural exfoliants, soothing humectants, and aromatic essential oils unlocks endless opportunities for sensory exploration and custom craftsmanship.