5 Fundamentals of Baking Bread
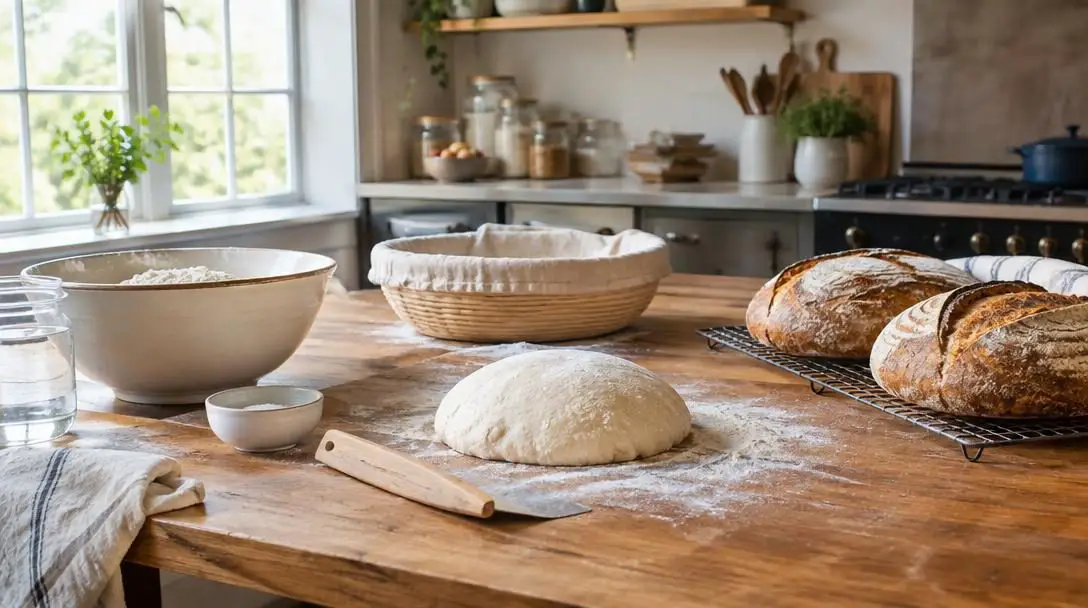
Few domestic activities offer the sheer satisfaction of slicing into a loaf of freshly baked, crusty bread made entirely from scratch. For generations, mixing flour, water, and leavening was an ordinary household routine rather than an intimidating culinary chore. Long before modern supermarkets stocked pre-packaged sandwich loaves, home cooks relied on basic pantry staples and timeless baking techniques to feed their families wholesome, everyday nourishment.
Today, home bread baking is experiencing a vibrant resurgence as more people seek to recreate the rich flavors, comforting textures, and wholesome simplicity missing from mass-produced bread. While the process can feel daunting to a beginner, mastering the craft does not require professional training. By setting aside casual cooking habits and understanding the underlying science, anyone can turn basic kitchen ingredients into exceptional loaves.
Key takeaways
- Baking requires absolute measurement precision because even minor ingredient imbalances can ruin dough structure and rise.
- Proper gluten development is achieved when dough reaches the smooth, pliable elasticity of chewed bubble gum.
- Yeast is a delicate living organism that dies when exposed to liquid temperatures between 120 and 130 degrees.
- A stand mixer fitted with a dough hook saves considerable time and physical effort during the kneading phase.
- Stocking backup quantities of flour and yeast ensures you can restart immediately whenever a batch fails.
The Science of Flour, Water, and Fermentation
To succeed at baking bread, it helps to look inside the mixing bowl at the biochemical reactions occurring between your ingredients. Bread making is fundamentally different from standard weeknight stovetop cooking. On the stovetop, you can taste as you go, adjust seasonings on the fly, and eyeball liquid volumes without disastrous consequences. In baking, however, every ingredient triggers a specific chemical reaction that directly determines the final crumb, crust, and loft of the loaf.
The foundation of almost every loaf begins with flour proteins: gliadin and glutenin. When water is added to the flour, these proteins bond together to construct an elastic framework known as gluten. Kneading stretches, aligns, and strengthens these protein strands into an interlocking mesh. This structural network functions very much like a collection of tiny, flexible balloons distributed throughout the dough.
Baking differs substantially from typical weeknight cooking because a successful loaf depends on precise biochemical reactions rather than casual improvisation.
While the gluten matrix is forming, the yeast gets to work. Yeast feeds on the accessible starches in the flour, producing carbon dioxide gas and alcohol through natural fermentation. The elastic gluten web traps these expanding pockets of carbon dioxide, inflating the internal chambers and forcing the entire mass of dough to expand and rise. If the gluten network is underdeveloped, the pockets tear open, allowing the gas to vent into the room and leaving you with a flat, collapsed loaf. If the network is overdeveloped and rigid, the pockets cannot stretch, producing an unpleasantly dense crumb.
The 5 Fundamentals of Baking Bread
Achieving a reliable, bakery-worthy loaf depends on honoring five essential rules. These fundamentals govern how your dough forms, handles, ferments, and responds to heat.
| Fundamental | Primary Objective | Common Risk to Avoid |
|---|---|---|
| 1. Precision Is Key | Maintain exact hydration and chemistry ratios | Eyeballing ingredients and throwing off dough balance |
| 2. Don't Over- or Under-Knead | Develop an elastic, gas-trapping gluten mesh | Creating heavy, dense bread or flat, weak dough |
| 3. Invest in a Mixer With a Hook | Incorporate ingredients and develop gluten efficiently | Exhausting physical energy on heavy, stubborn dough |
| 4. Keep Extra Ingredients On-Hand | Allow immediate restarts after beginner errors | Halting work to make unplanned trips to the grocery store |
| 5. Don't Kill the Yeast | Activate fermentation safely with lukewarm liquid | Using water above 120–130 degrees, killing living cultures |
1. Precision Is Key
Unlike loose pasta sauces or soups that welcome creative improvisation, bread recipes demand absolute accuracy. There really is no room for error when building the structural foundation of a loaf. Eyeballing flour scoops, guessing salt amounts, or casually pouring liquids will quickly disrupt the balance of hydration and leavening. A minor miscalculation can cause your dough to refuse to rise, prevent it from baking through properly in the center, or produce an unpleasantly hard brick that belongs in the trash.
2. Don't Over- (Or Under-) Knead
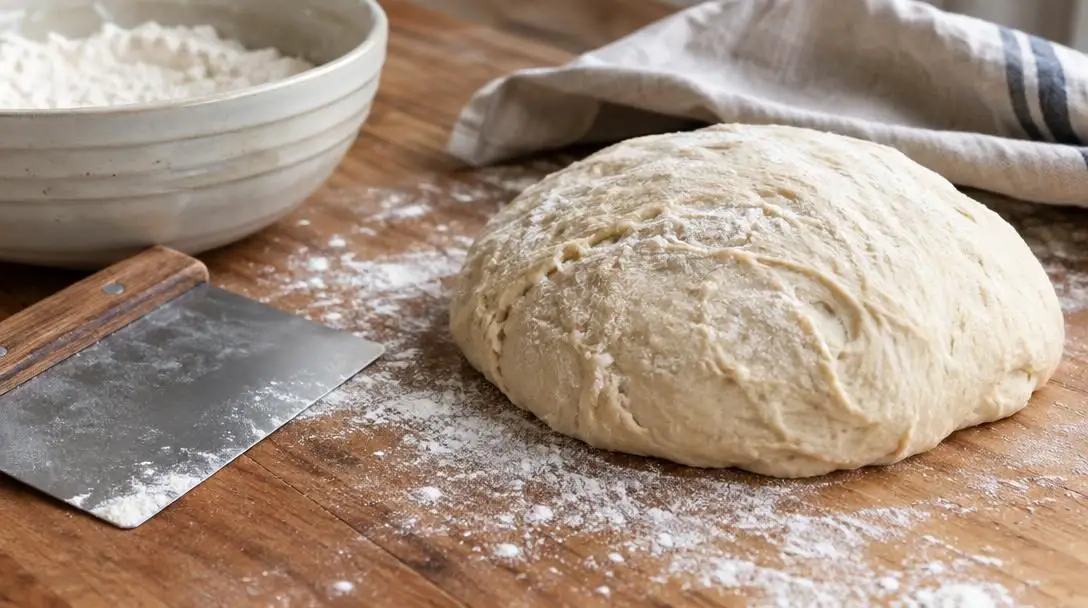
Unless you are following a recipe specifically engineered for no-knead preparation, kneading is a mandatory mechanical step. It is remarkably easy for beginners to misjudge this phase. Under-kneading leaves the protein strands weak and disarranged, meaning the dough lacks the internal architecture needed to trap carbon dioxide. Over-kneading, on the other hand, tightens the gluten into an unyielding, rigid web that results in heavy, dense bread. To find the ideal balance, monitor the physical state of the dough: knead until the texture resembles chewed bubble gum, offering a smooth, pliable surface that gently springs back when touched.
3. Invest in a Mixer With a Dough Hook
Working heavy, hydrated dough by hand is physically taxing and requires considerable upper-body stamina. If you plan on baking bread even a few times a year, investing in a stand mixer equipped with a dough hook is well worth the expense. A stand mixer incorporates dry and wet components thoroughly and rapidly, saving you noticeable time while eliminating physical fatigue. The mechanical action of the dough hook repeatedly folds, stretches, and slaps the dough against the bowl walls, developing uniform gluten strands far more efficiently than tired human hands can manage.
4. Keep Extra Ingredients On-Hand
Mistakes are a natural, inevitable part of learning the art of bread making. When an initial batch goes awry, the most frustrating outcome is having to pause your afternoon, abandon your kitchen workspace, and drive to the store just to purchase another packet of yeast or an extra bag of flour. Maintain a well-stocked pantry with plenty of surplus flour and leavening. Having backup supplies readily available allows you to scrap an unsuccessful attempt and start over immediately while your motivation is still high.
5. Don't Kill the Yeast
Yeast is not an inert flavoring agent; it is a sensitive, living single-celled organism responsible for the biological engine of your bread. For the yeast to awaken from dormancy and ferment the flour starches, it requires moisture and gentle warmth. However, excessive heat is fatal. Always use lukewarm water when introducing liquid to your leavening. Yeast can generally withstand liquid temperatures between 120 and 130 degrees Fahrenheit, but anything warmer will kill the cells, leaving you with completely lifeless, flat dough that cannot rise.
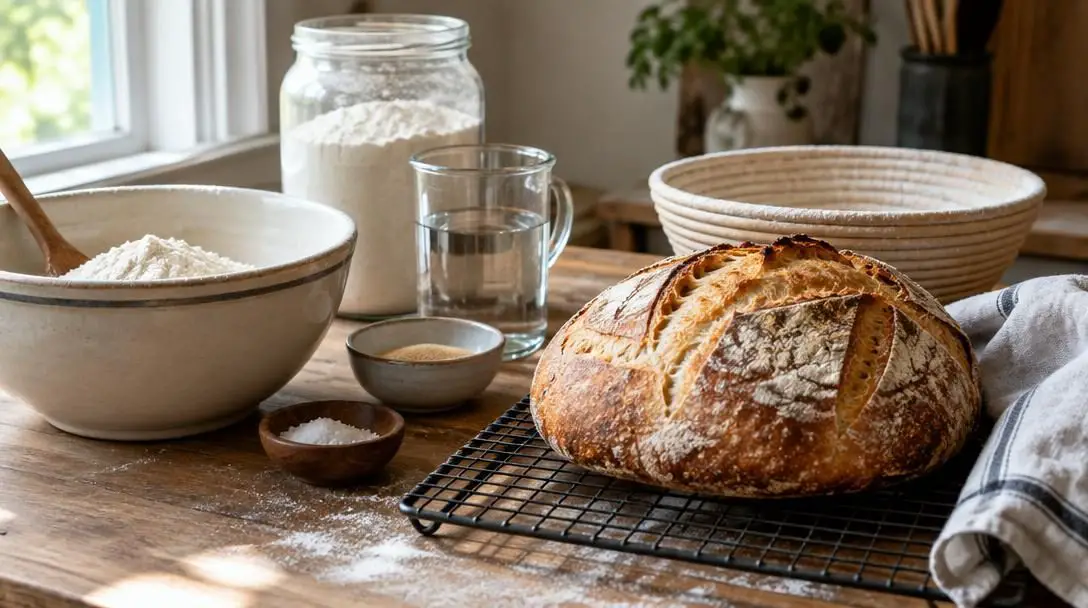
Step-by-Step Guide to a Successful Bake
Executing your first loaf with calm deliberation removes uncertainty and dramatically improves your final results. Approach your baking session using an organized, step-by-step process:
- Organize and measure your ingredients: Clear your counters completely and measure every ingredient with extreme precision using level measuring tools. Double-check your flour, liquid, salt, and yeast amounts before mixing to prevent accidental omissions.
- Check liquid temperatures: Ensure all liquids used to hydrate the yeast are lukewarm to the touch. Never pour hot water into your mixing bowl, as temperatures above 120 to 130 degrees will kill your leavening cultures.
- Combine and incorporate: Blend your dry and wet ingredients together in the bowl. If using a stand mixer fitted with a dough hook, operate it at the recipe's recommended speed until the ingredients leave the sides of the bowl and form a unified ball.
- Knead to the right consistency: Continue working the dough until it evolves from a shaggy, sticky mass into a smooth, supple, and elastic ball resembling chewed bubble gum. Stop before the structure becomes rigid and tight.
- Allow the dough to rise: Transfer the dough into a lightly greased bowl, cover it with a towel or plastic wrap, and place it in a draft-free spot. Let the yeast feed and produce gas until the dough has expanded as directed by your recipe.
- Shape the loaf: Turn the risen dough onto your clean work surface. Handle it gently to preserve the internal gas pockets, shaping it neatly into your intended format, such as a traditional sandwich loaf, round boule, or dinner rolls.
- Complete final proof and bake: Let the shaped dough undergo its second, final rise until it appears swollen and airy. Transfer it directly into a thoroughly preheated oven and bake until the crust is deeply colored and the loaf sounds hollow when tapped.
Common Beginner Mistakes to Avoid
Even with careful reading, beginner bakers frequently run into recurring stumbling blocks. Avoiding these common traps will protect your ingredients and ensure your loaves emerge tall and tender:
- Improvising ingredient ratios: Adding unmeasured handfuls of flour to sticky dough or splashing in extra water disrupts the hydration balance, frequently resulting in gummy, dry, or dense bread.
- Relying exclusively on kitchen timers: Ambient kitchen temperatures and humidity alter rise times significantly. Always gauge your dough by its physical expansion and tactile elasticity rather than sticking rigidly to the clock.
- Using scalding water: Impatience often leads beginners to use hot tap water to speed up the yeast bloom, which reliably destroys the living culture before it can ferment.
- Giving up after an initial failure: A failed loaf is simply an indicator of an imbalance in temperature, kneading, or measurement. Use your backup pantry ingredients to diagnose the issue and try again right away.
Expanding Your Baking Horizons
Once you develop comfort with the five fundamentals, bread making transforms from a tense experiment into a versatile, creative hobby. You can apply the identical mechanics of precision measurement, gluten organization, and careful temperature management to countless styles of baked goods. Moving beyond standard everyday sandwich loaves, you can explore crusty French baguettes, tender pull-apart dinner rolls, rich and buttery brioche, or rustic European hearth boules.
Every style features slight variations in hydration levels, shaping techniques, and baking temperatures, but the underlying biological and physical rules never change. With regular practice, working with dough becomes second nature, filling your home with incredible aromas and providing your dinner table with delicious, wholesome food.
Frequently asked questions
How can I tell if my dough has been kneaded sufficiently?
Dough that is properly kneaded will transform from a sticky, shaggy mixture into a smooth, elastic mass with a texture very similar to chewed bubble gum. It should feel supple, hold its shape well, and spring back gently when poked with a finger.
What liquid temperature will kill bread yeast?
Yeast is sensitive to heat and will die if exposed to liquids that exceed 120 to 130 degrees Fahrenheit. For best results, use lukewarm water that feels comfortable and gentle to the touch.
Why is precision so much more critical in baking than in cooking?
Baking is governed by biochemical reactions between proteins, water, and living yeast cultures. Altering ingredient amounts disrupts hydration ratios and gluten development, which can prevent the dough from rising or baking through correctly.
Do I have to own a stand mixer to bake bread at home?
No, you can knead bread dough entirely by hand. However, a stand mixer fitted with a dough hook saves substantial time and physical effort, especially when working with heavy, dense doughs on a regular basis.
What should I do if my bread dough completely fails to rise?
A failure to rise almost always means the yeast was inactive or killed by water that was too hot (over 120 to 130 degrees). Discard the lifeless batch, check that your liquid is only lukewarm, confirm your yeast is fresh, and restart using your pantry backup supplies.
The Bottom Line
Baking homemade bread does not require complex culinary equipment or ancestral secrets, but it does demand an appreciation for precision and dough mechanics. By respecting the life cycle of yeast, measuring your ingredients with meticulous care, kneading until you achieve that telltale bubble-gum elasticity, and utilizing labor-saving tools like a dough hook, you remove the guesswork from the process. Treat baking as a scientific craft, keep extra staples in the pantry, and enjoy the rewarding journey of making wholesome, handcrafted bread in your own kitchen.